How can I help you?
Deploy Blazor Web App to Azure App Service
17 Mar 20261 minute to read
This section provides information about deploying a Blazor Web applications with the Syncfusion Blazor components to Azure App Service.
Refer to Host and deploy ASP.NET Core Blazor topic for more information.
Deployment procedure
If you don’t have a login for Azure, sign up to access the Azure Portal.
Create a resource in Azure
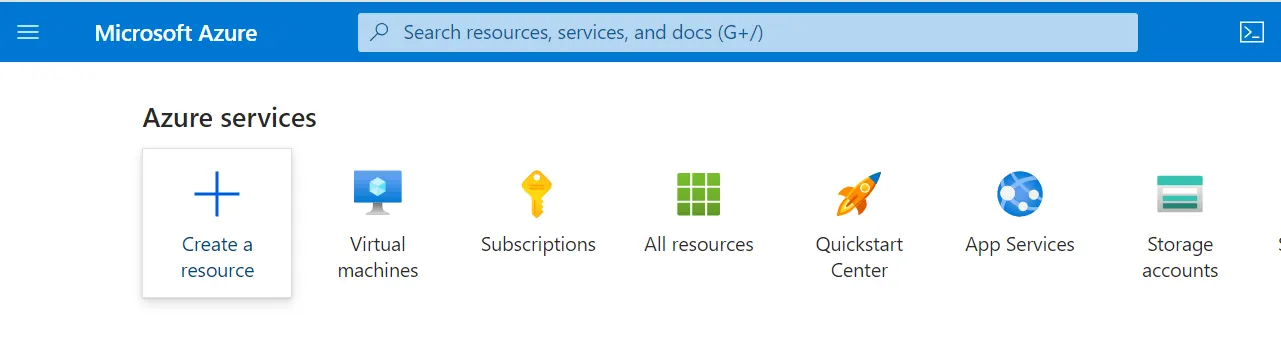
- Click Create a resource in Azure Portal to create a resource group.
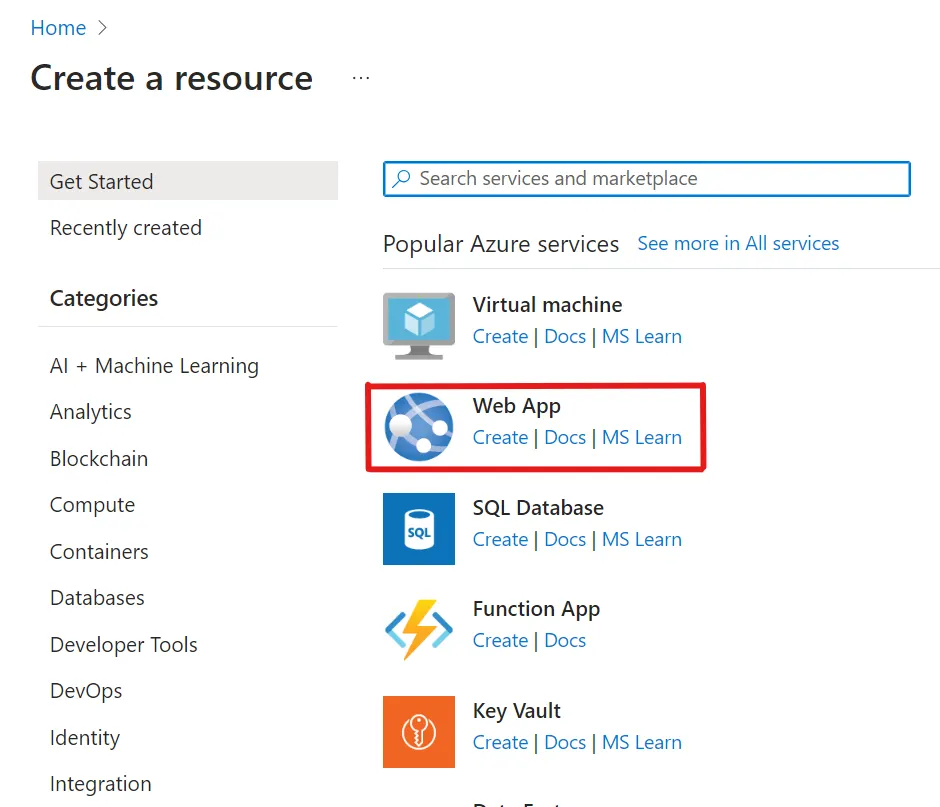
- Select Web App Azure application service.
-
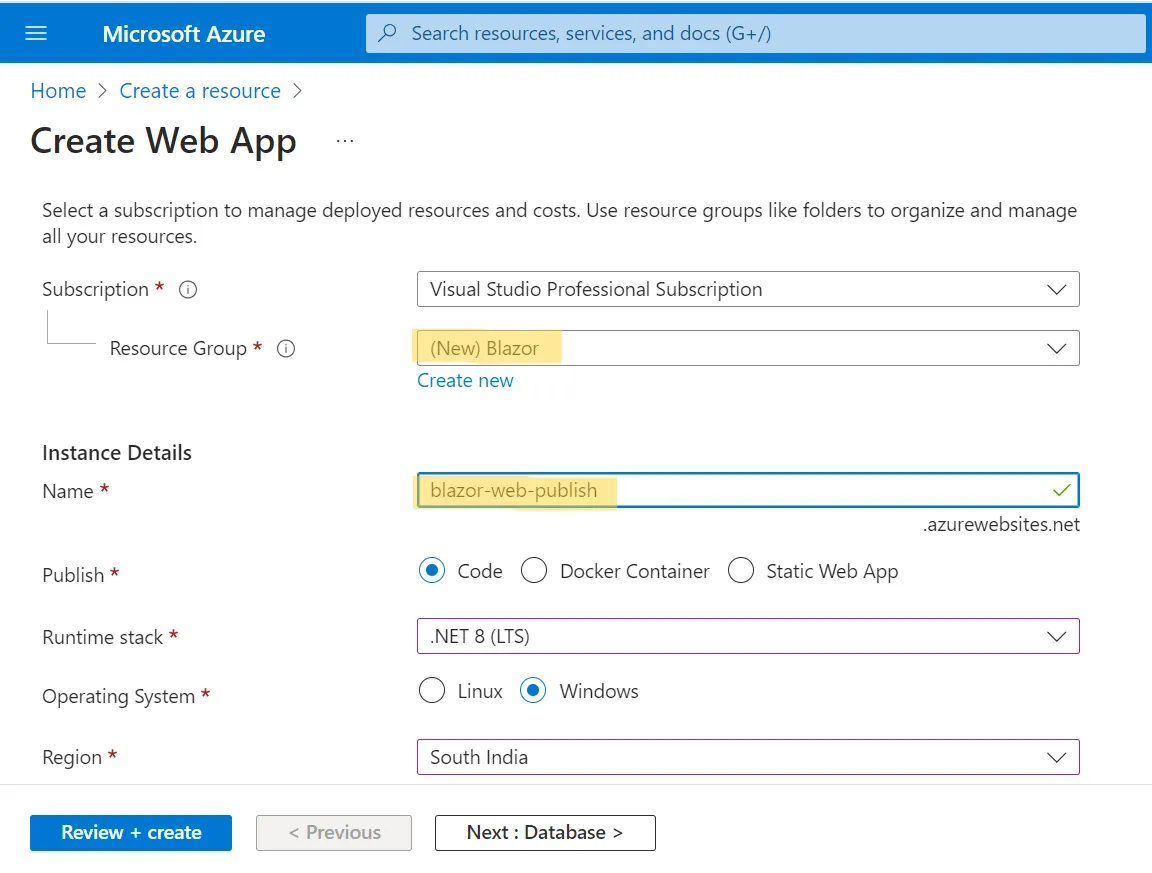
After selecting Web App option, choose an appropriate resource group name and instance details.
-
Once this is done, click Review + create.
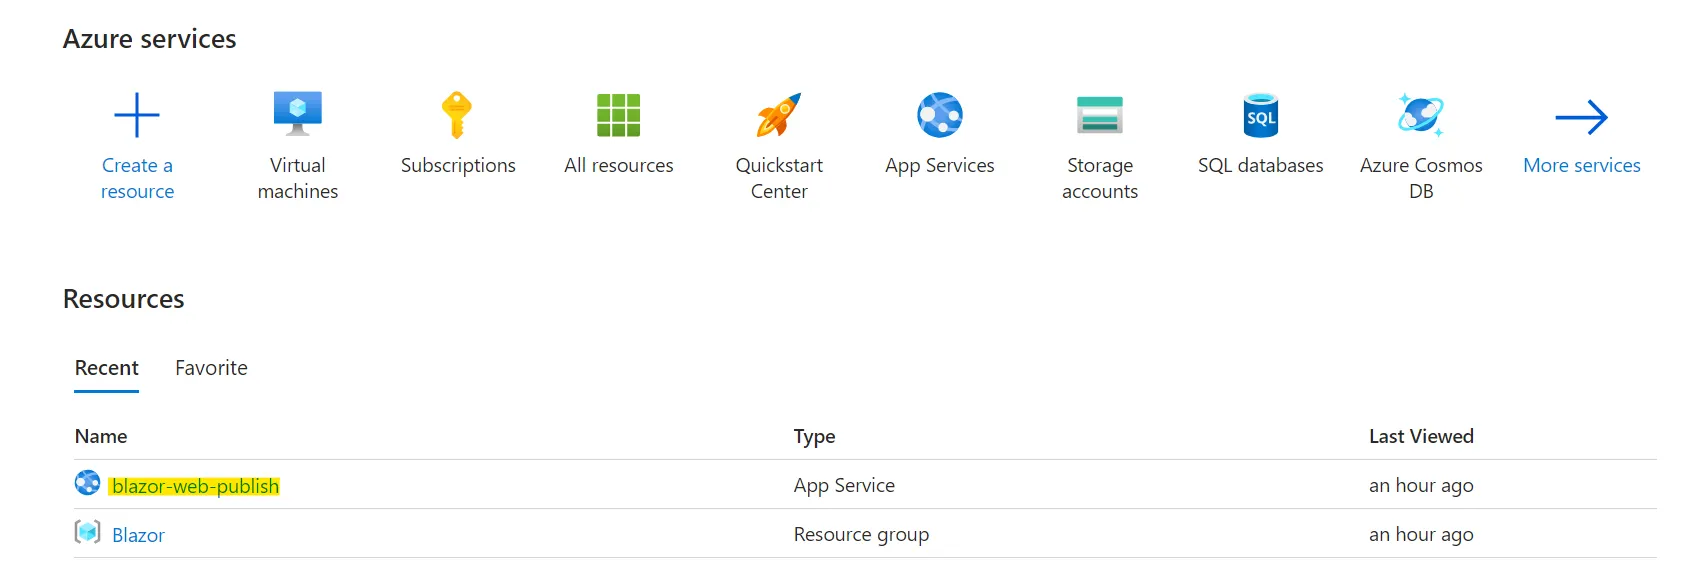
- After configuring the Web App service. Select the created web app service (blazor-web-publish).
- Now, select the overview section, click on Download publish profile, and save the profile locally.

Publish the Application in Azure
Using Azure account login
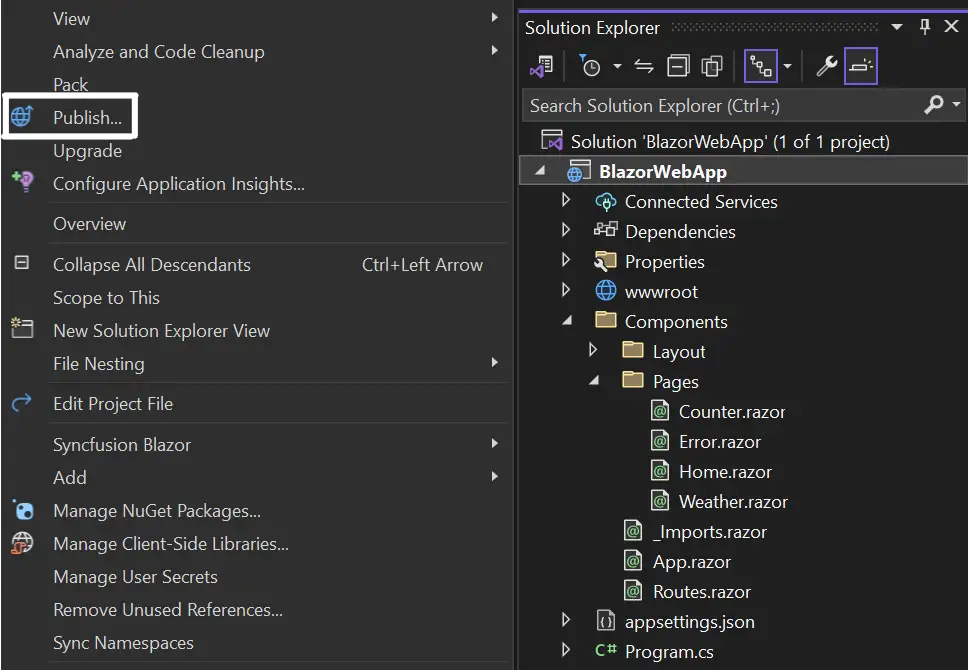
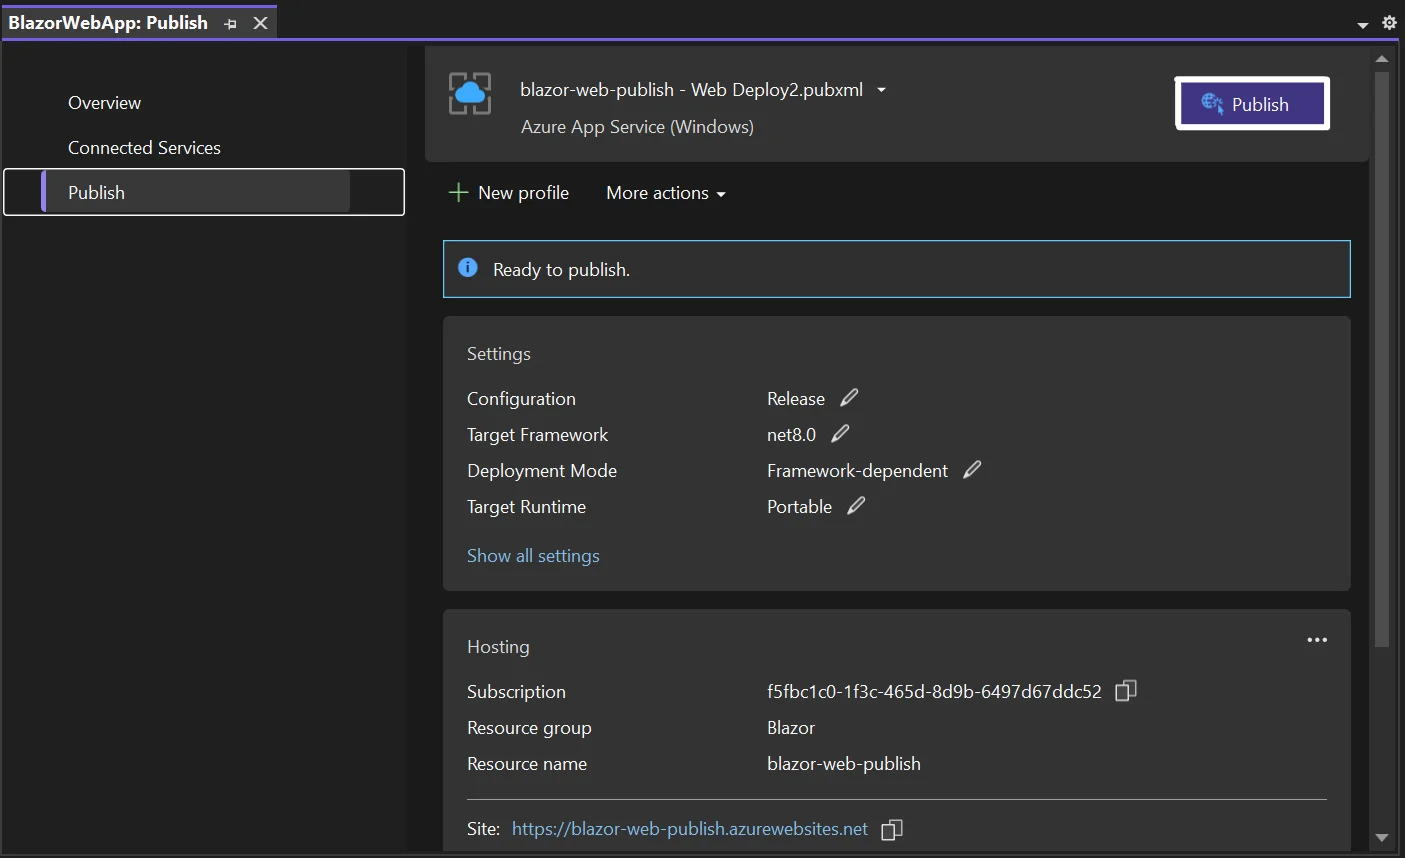
- To publish the project, right-click on it and choose Publish from the context menu.
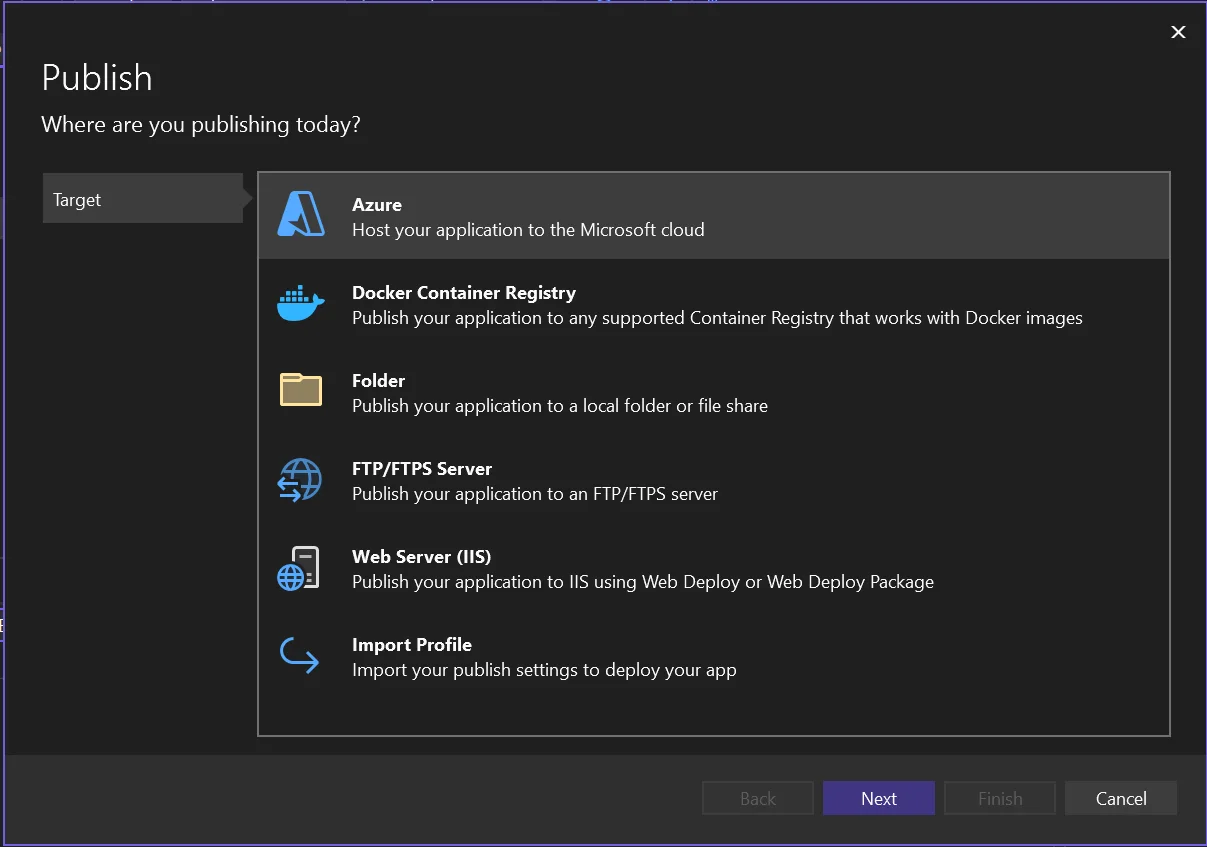
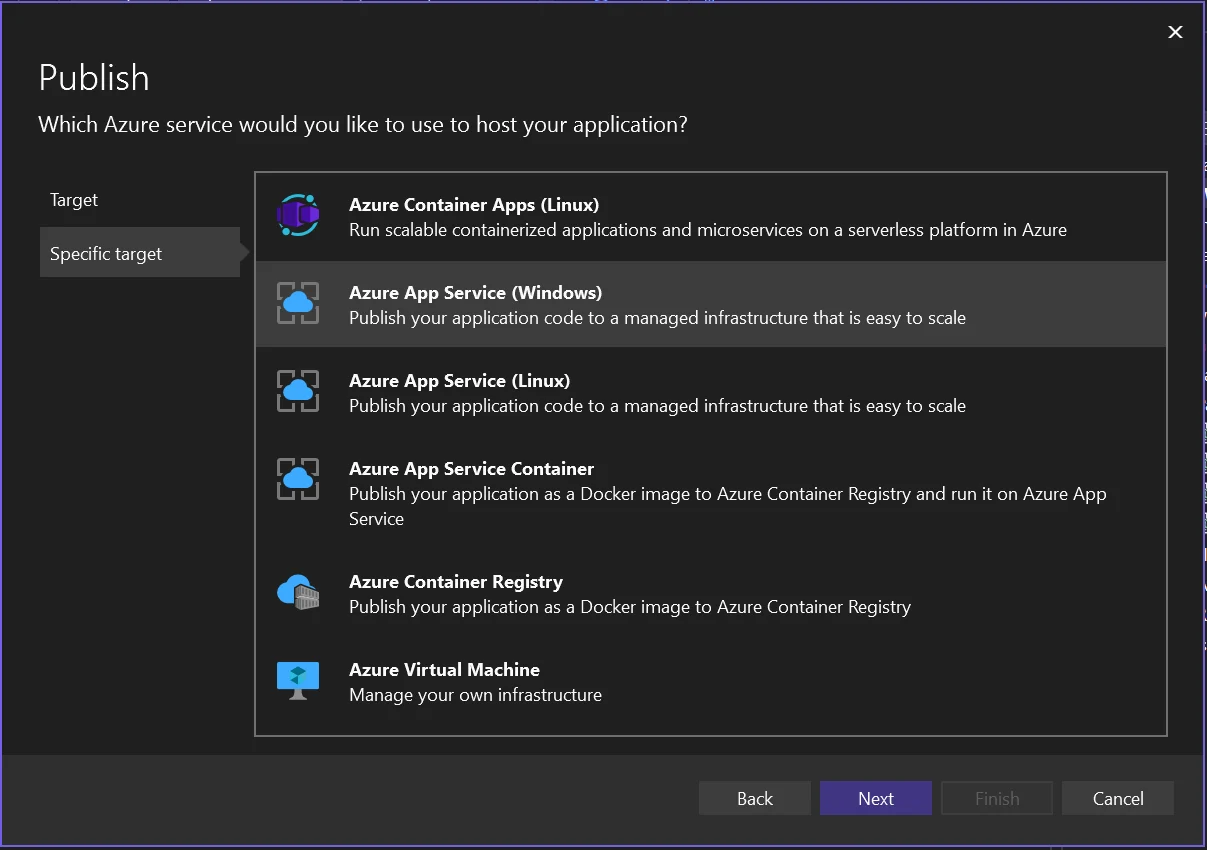
- Select Azure as the target and Azure App Service (Windows) as the specific target.
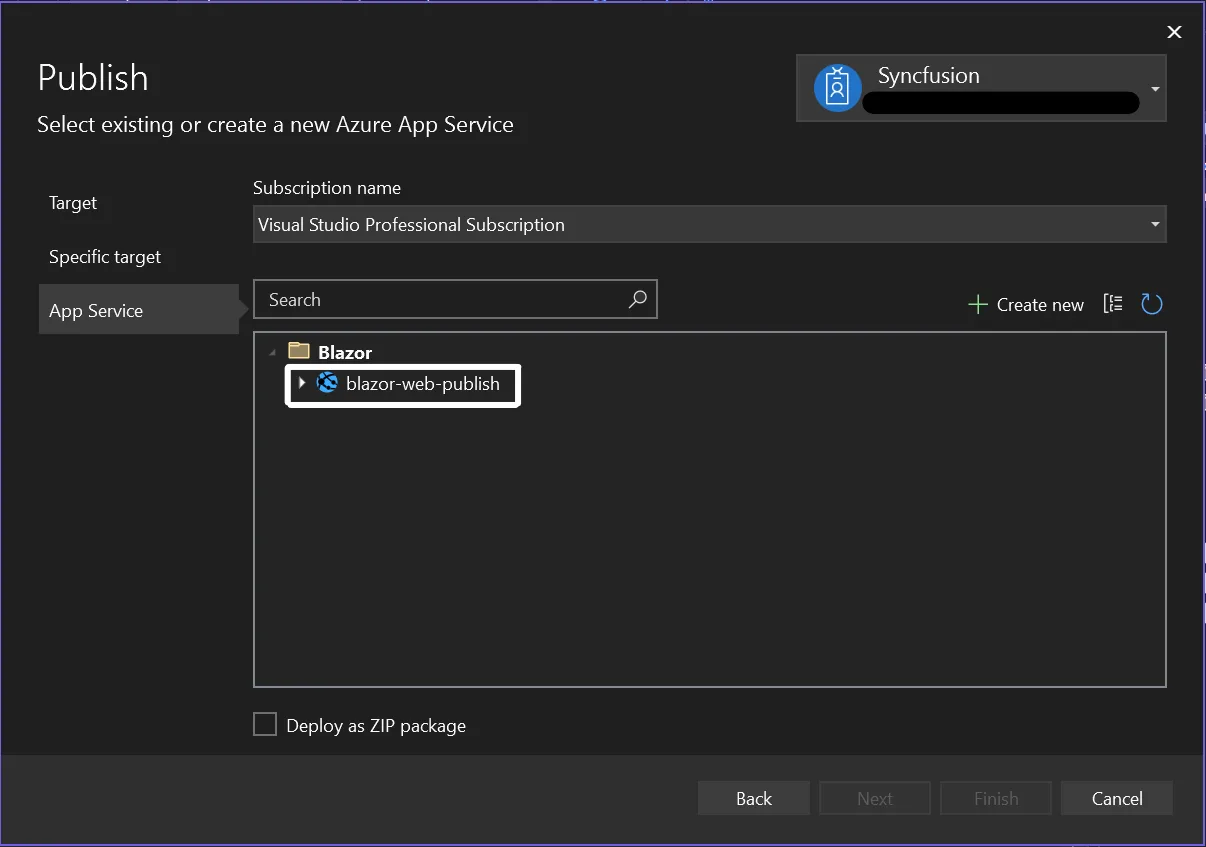
- You need to log into your Azure account and choose the web app service (blazor-web-publish) that you have created. Then, click Publish.
Using Import Profile option
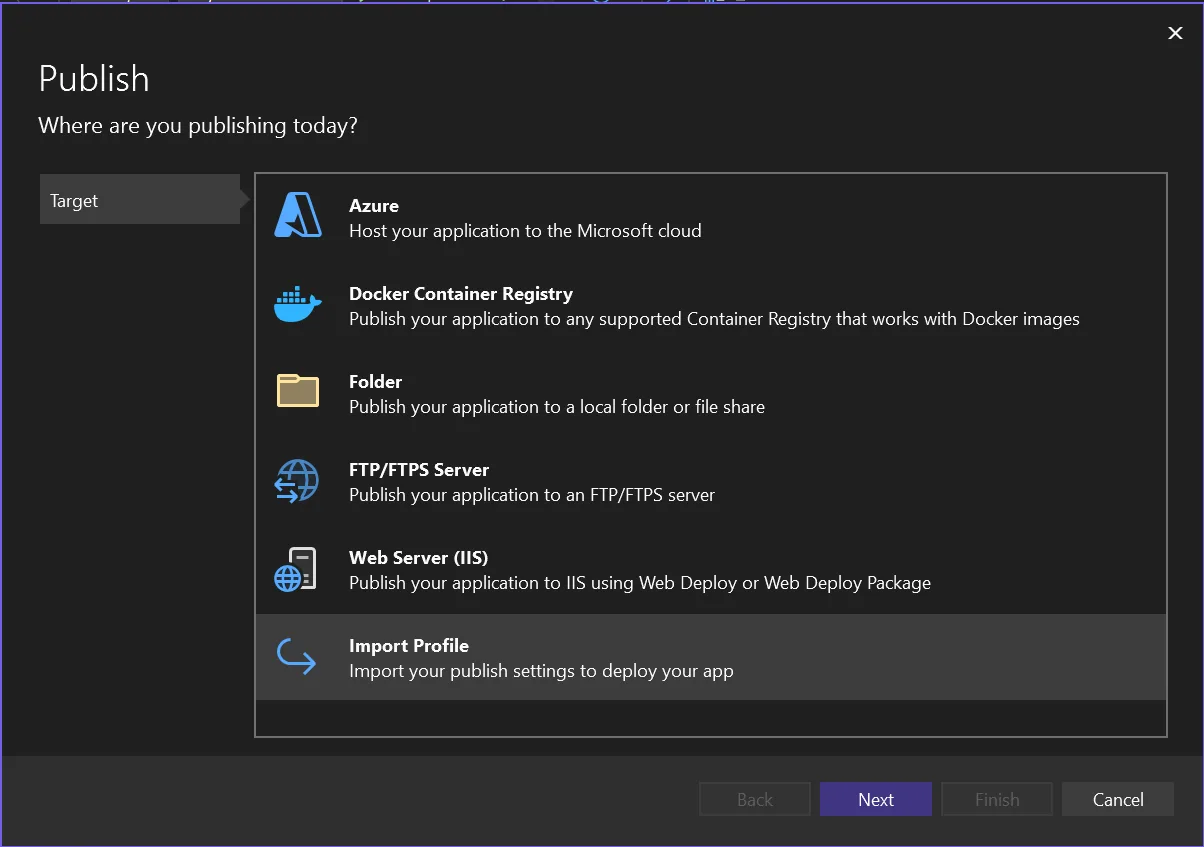
- To publish the project, right-click on it and choose Publish from the context menu.
- Select Import Profile as the target and browse the downloaded publish folder. Then, click Publish
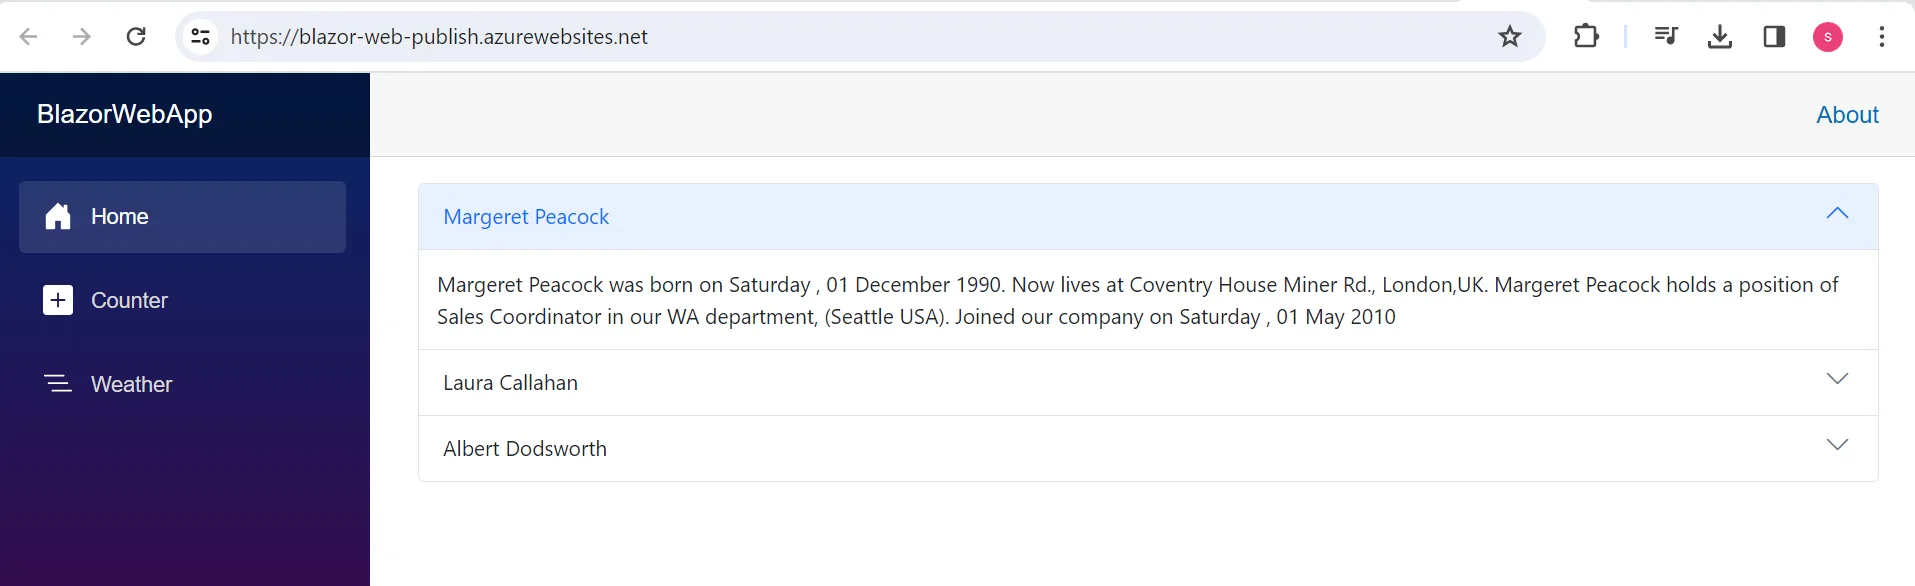
- Now, the application will be deployed and will be available in the specified URL: https://blazor-web-publish.azurewebsites.net/.
See also
Refer here for publishing the application to Azure App Service using Visual Studio.