How can I help you?
Add Syncfusion® Blazor components to the Visual Studio Toolbox
12 Mar 20261 minute to read
This guide explains how to add Syncfusion® Blazor component snippets to the Visual Studio Toolbox on Windows. By default, the Toolbox shows HTML elements and Bootstrap snippets. Open the Toolbox with Ctrl+Alt+X or navigate to View → Toolbox.
To include Syncfusion® components for Blazor in the Toolbox, follow these steps:
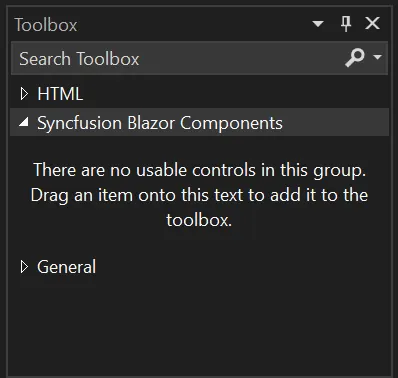
- Right-click anywhere within the Visual Studio Toolbox, select Add Tab, then name the tab (for example, “Syncfusion Blazor Components”) and press Enter.
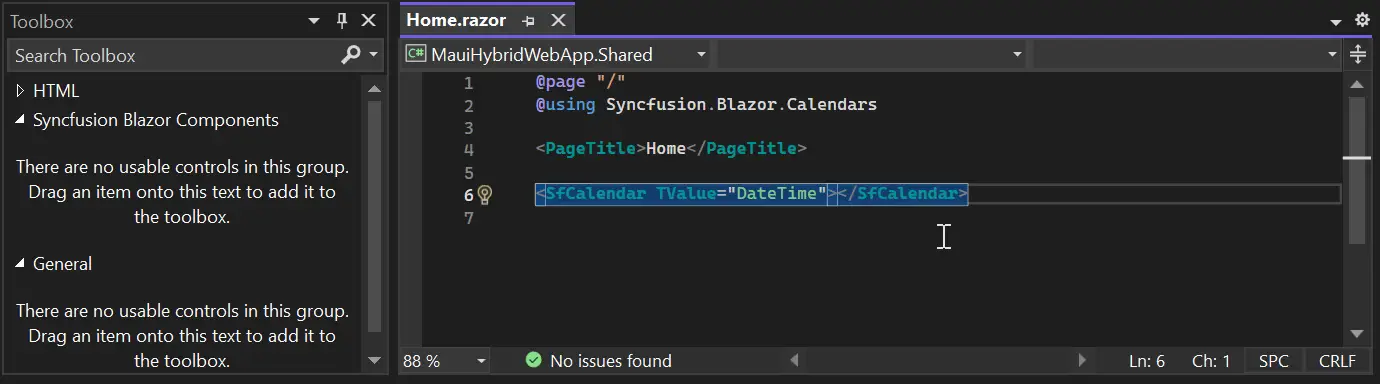
- In the code editor, write or paste a Blazor component snippet (for example, the Syncfusion®
SfCalendar). Select the entire snippet, then drag and drop it into the new tab in the Toolbox.
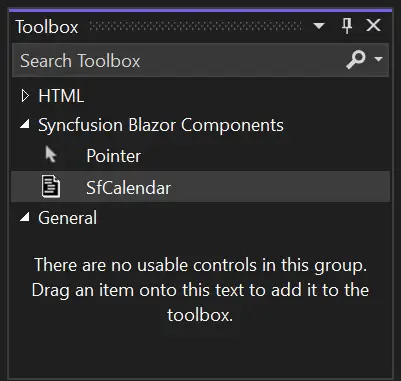
- After the snippet is added, the Toolbox assigns a default name. Right-click the item, select Rename, and enter a descriptive name (for example, “SfCalendar”).
- Drag the component from the Toolbox into the code editor to insert the snippet into your Blazor project.
NOTE
Dragging a Toolbox item inserts code into the editor. Ensure required namespaces and services are present in the project (for example,
@using Syncfusion.Blazorand registering Syncfusion services in Program.cs).
