Working with Components in Blazor Playground
16 Jun 20261 minute to read
The Blazor Playground allows you to create and manage multiple Blazor components within a single project. You can add child components to your Blazor Playground project and remove them when they are no longer needed.
Add a child component
1. Click the + button to add a new component.
2. Name the component in the input box.
3. Add code to the child component file (for example, ChildComponent.razor).
<input @oninput="OnPasswordChanged"
type="@(_showPassword ? "text" : "password")"
value="@Password" />
<button class="btn btn-primary" @onclick="ToggleShowPassword"> Show password </button>
@code {
private bool _showPassword;
[Parameter]
public string Password { get; set; }
[Parameter]
public EventCallback<string> PasswordChanged { get; set; }
private Task OnPasswordChanged(ChangeEventArgs e)
{
Password = e.Value.ToString();
return PasswordChanged.InvokeAsync(Password);
}
private void ToggleShowPassword()
{
_showPassword = !_showPassword;
}
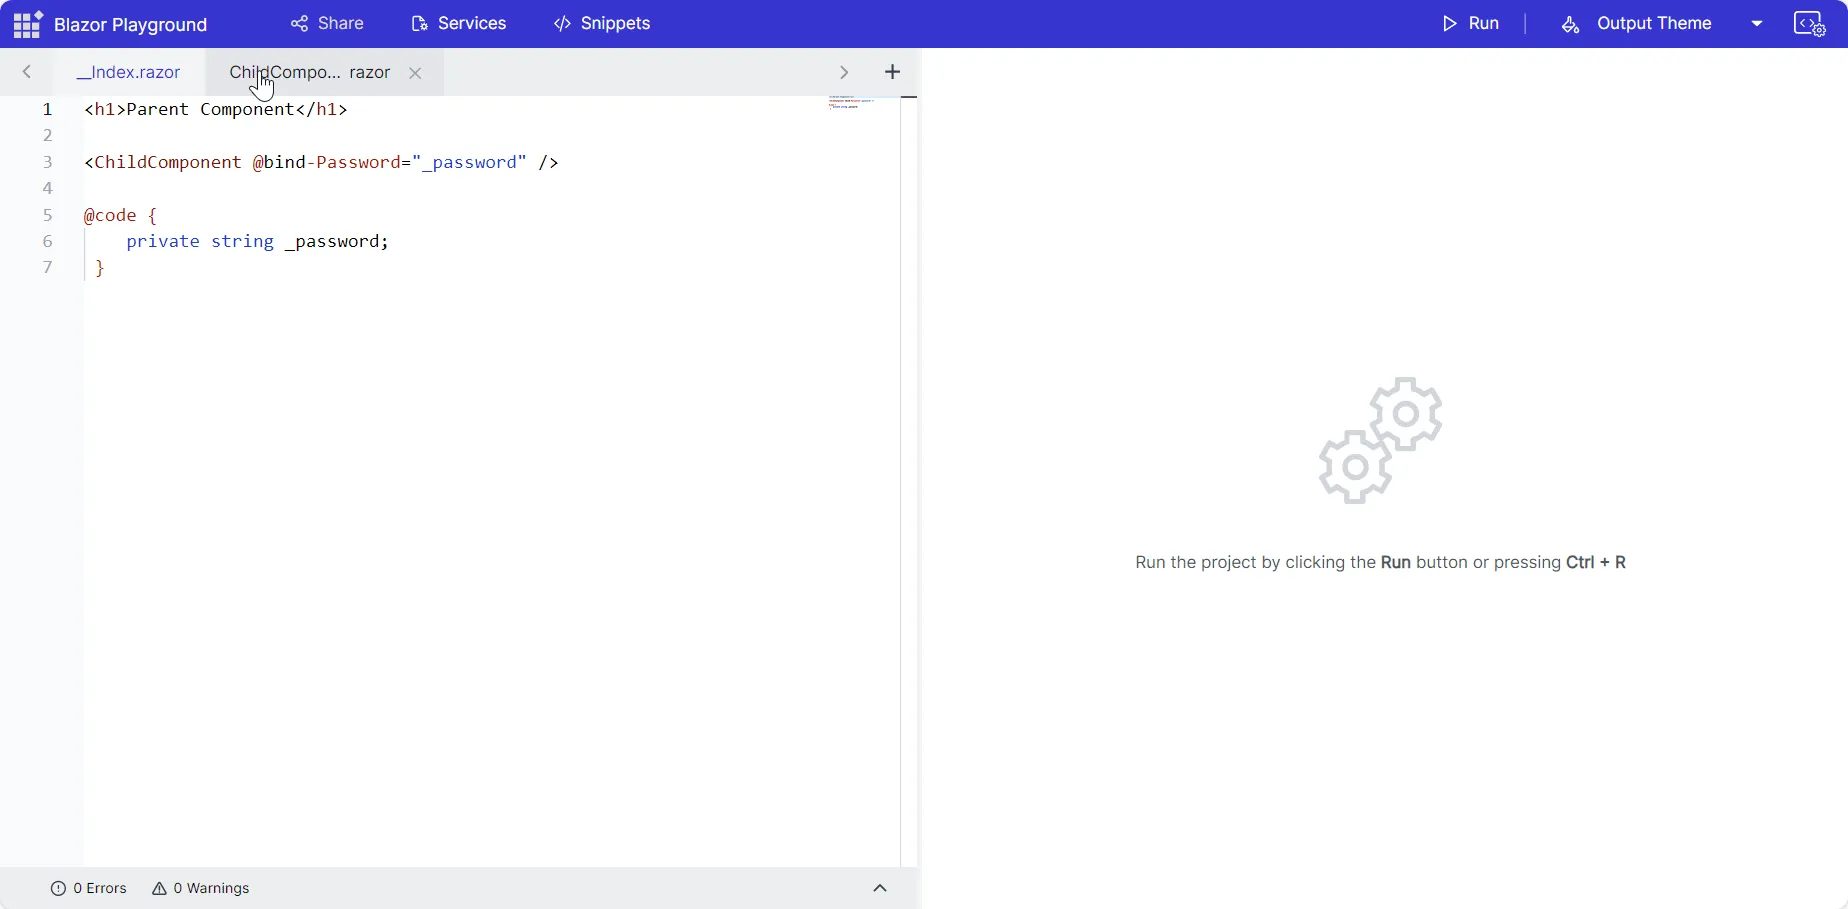
}4. The _Index.razor file is the main entry point in the Blazor Playground. To render the child component, reference it in _Index.razor file.
<h1>Parent Component</h1>

<ChildComponent @bind-Password="_password" />

@code {
    private string _password;
}
5. Press the Run button or Ctrl+R to execute the code. The output appears in the result view.
Remove a child component
Click the cancel (✕) icon next to the child component tab in the Playground.
NOTE
Blazor Playground does not automatically remove component references from
_Index.razor. After deleting a child component, remove any corresponding@usingdirectives and component tags from_Index.razorto prevent build errors.