Install the Syncfusion® Blazor web installer
24 Jun 20267 minutes to read
Installation
The steps below show how to install the Essential Studio® Blazor web installer.
-
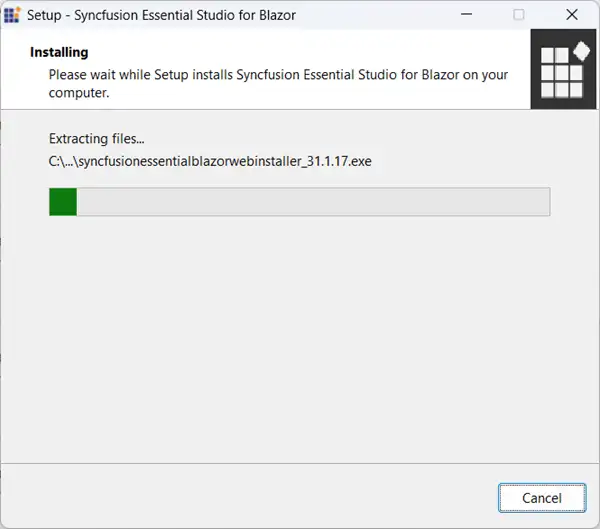
Open the Syncfusion® Essential Studio® Blazor web installer (.exe) from the download location by double‑clicking it. The installer wizard opens and extracts the package.
NOTE
The installer extracts syncfusionessentialblazorwebinstaller_{version}.exe and displays the extraction progress.
-
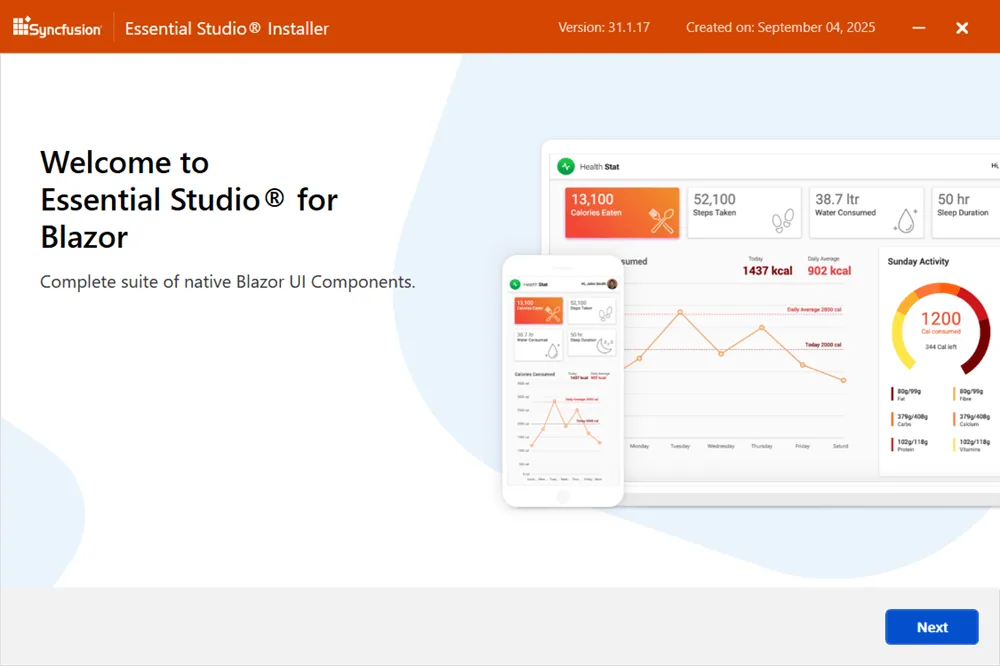
The Syncfusion® Blazor Web Installer’s welcome wizard will be displayed. Click Next button.
-
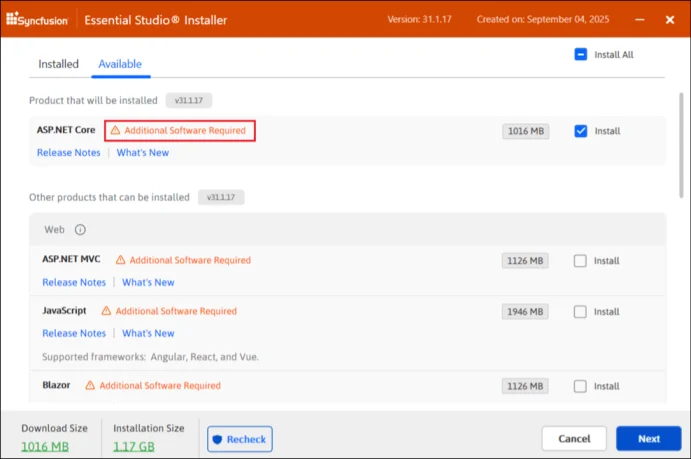
The Platform selection wizard appears. On the Available tab, select the products to install. To install all products, click Install All.
Available
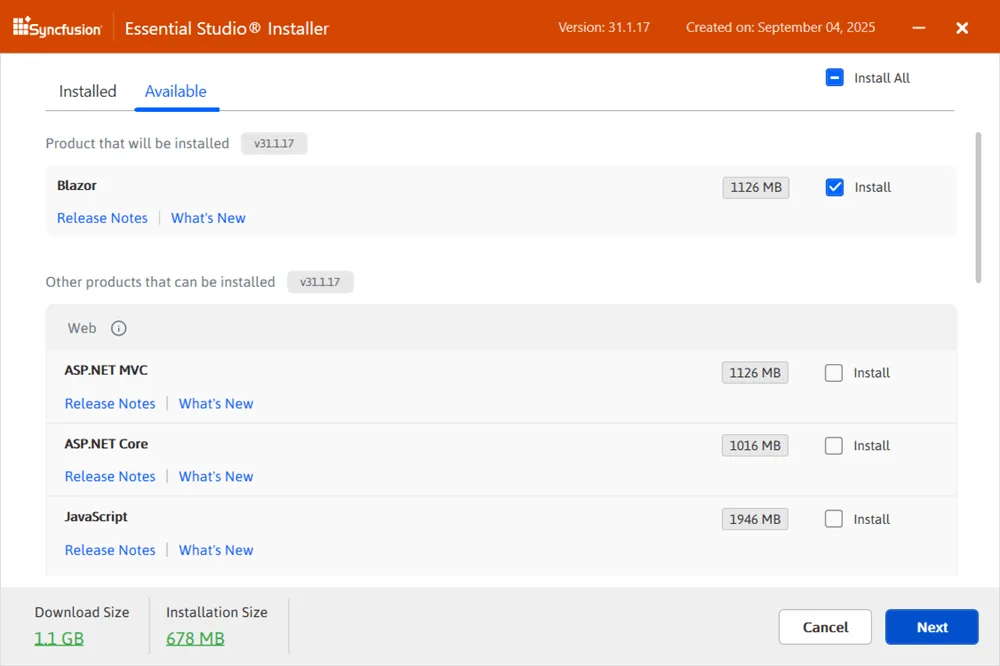
If multiple products are already installed for the same version, they are listed under the Installed tab. You can also select products to uninstall from that version. Click Next.
Installed
IMPORTANT
If required software for a selected product is missing, an Additional Software Required alert appears. You can, however, continue the installation and install the necessary software later.
Required Software
-
If previous versions of selected products are detected, the Uninstall previous versions wizard is displayed. Review the list and select Uninstall All to remove all prior versions. Click Next.
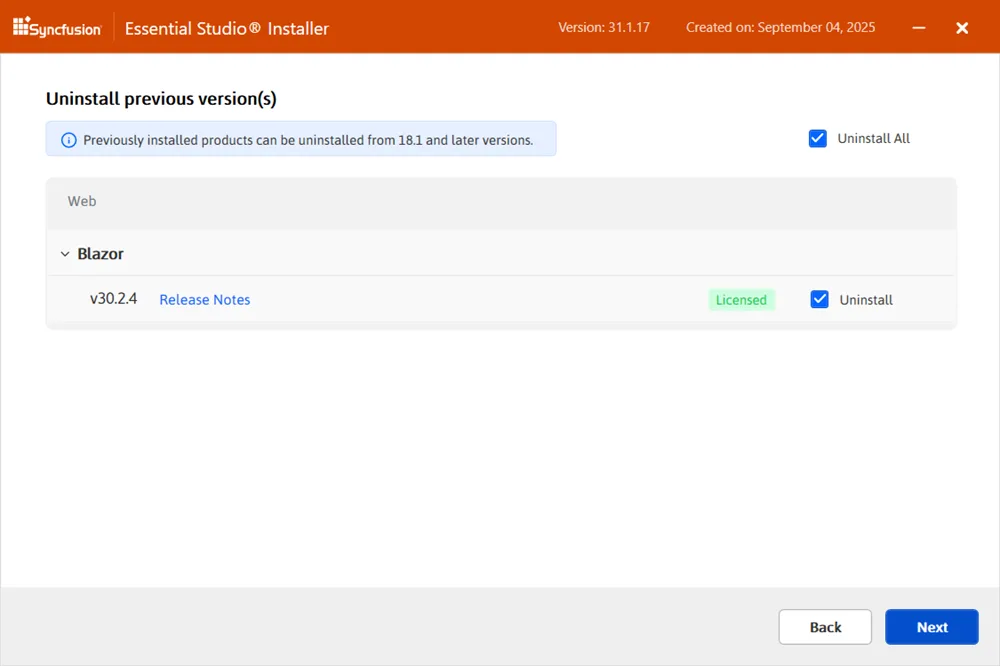
NOTE
From the 2021 Volume 1 release, Syncfusion® has provided option to uninstall the previous versions from 18.1 while installing the new version.
-
A confirmation dialog is shown to uninstall the selected previous versions.

-
The Confirmation wizard lists products to be installed or uninstalled. Review and modify the list as needed.
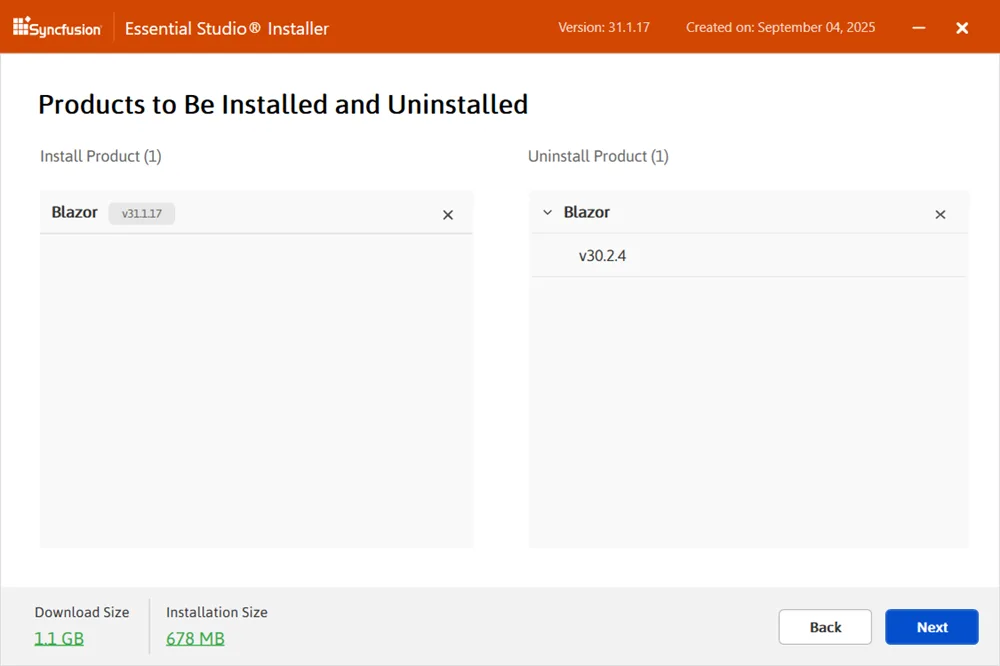
NOTE
Click the Download size and Installation size links to view approximate sizes.
-
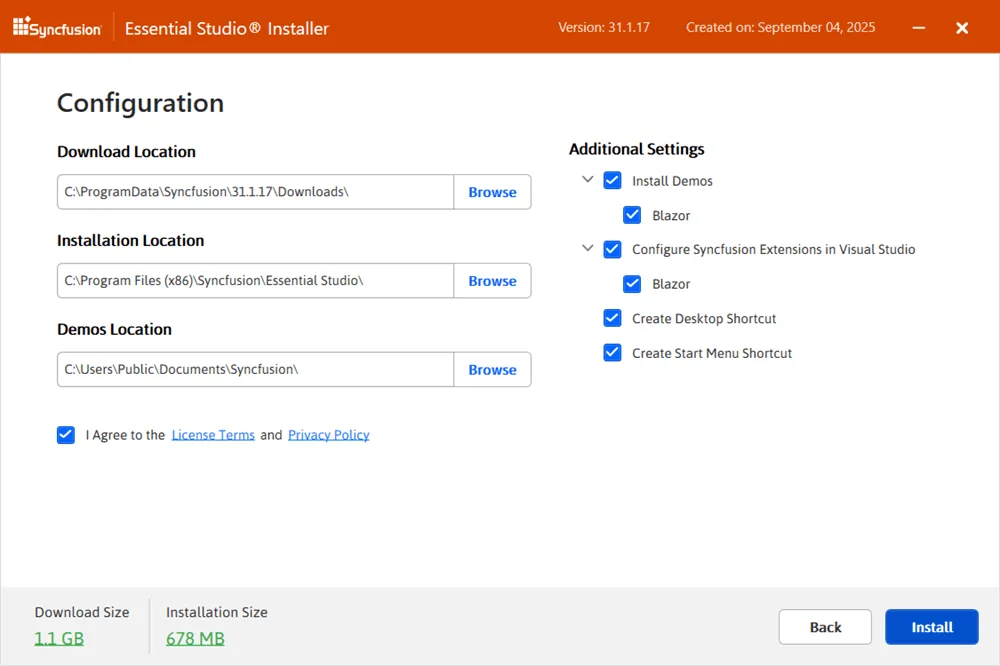
The Configuration Wizard will appear. You can change the Download, Install, and Demos locations from here. You can also change the Additional settings on a product-by-product basis. Click Next to install with the default settings.

Additional settings
-
Select Install demos to install Blazor samples, or clear it to skip sample installation.
-
Select Configure Syncfusion extensions in Visual Studio to configure extensions, or clear it to skip configuration.
-
Select Create Desktop Shortcut to add a shortcut for Syncfusion® Control Panel.
-
Select Create Start Menu Shortcut to add a shortcut to the Start menu entry for Syncfusion® Control Panel.
-
-
Read the License Terms and Privacy Policy, then select I agree to the License Terms and Privacy Policy. Click Next.
-
The Login wizard appears. Enter the Syncfusion account email and password. To create an account, select Create an account. To reset a password, select Forgot password. Click Install.
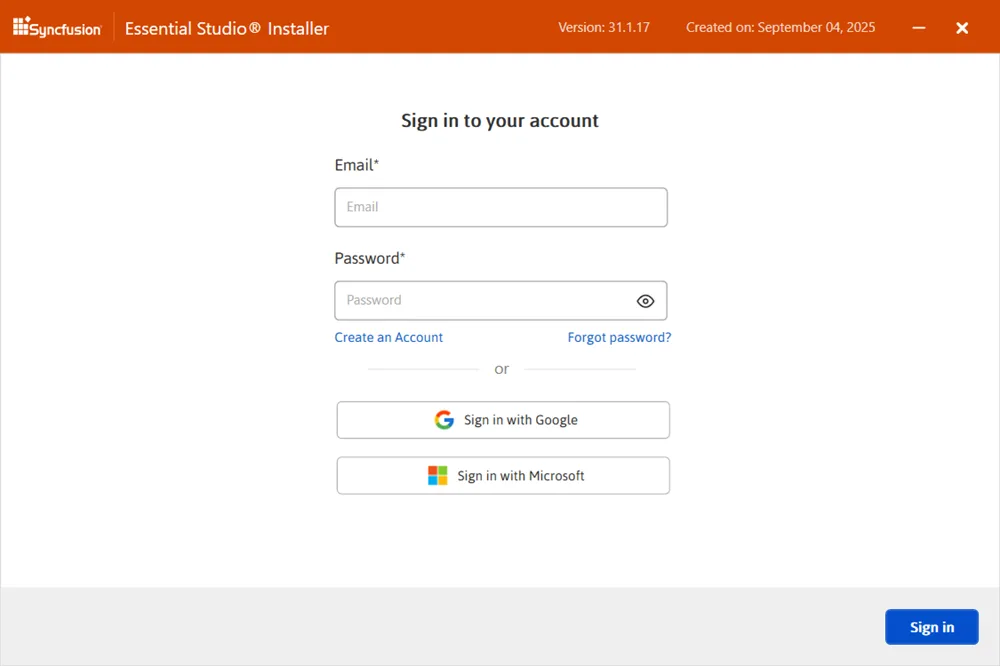
IMPORTANT
Products are installed based on your syncfusion® license (trial or licensed).
-
The download, installation, and uninstallation progress is displayed.
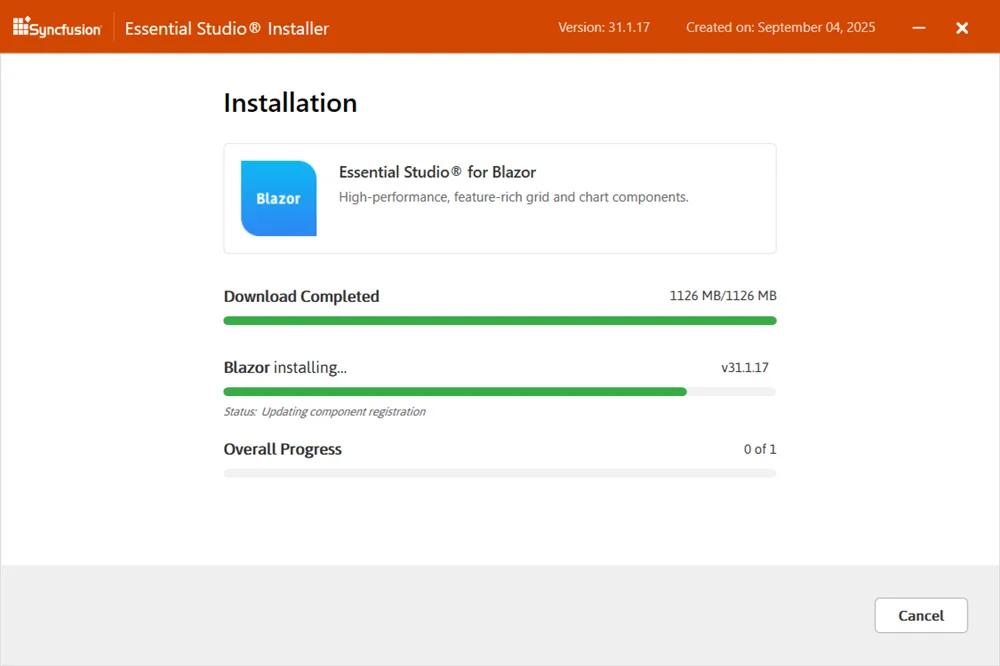
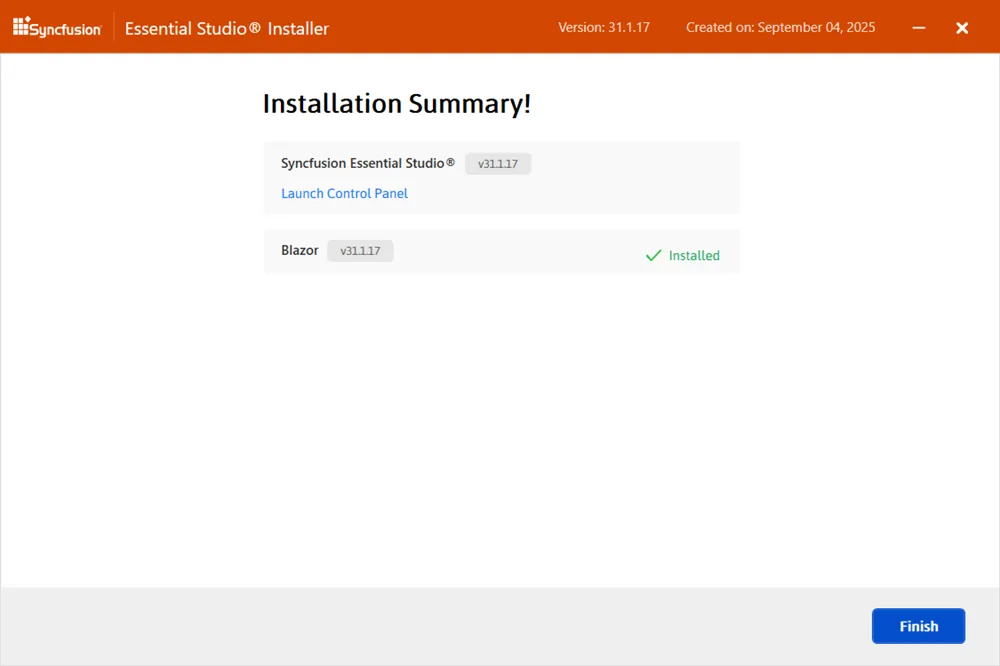
To open the Syncfusion® Control Panel, click Launch Control Panel. -
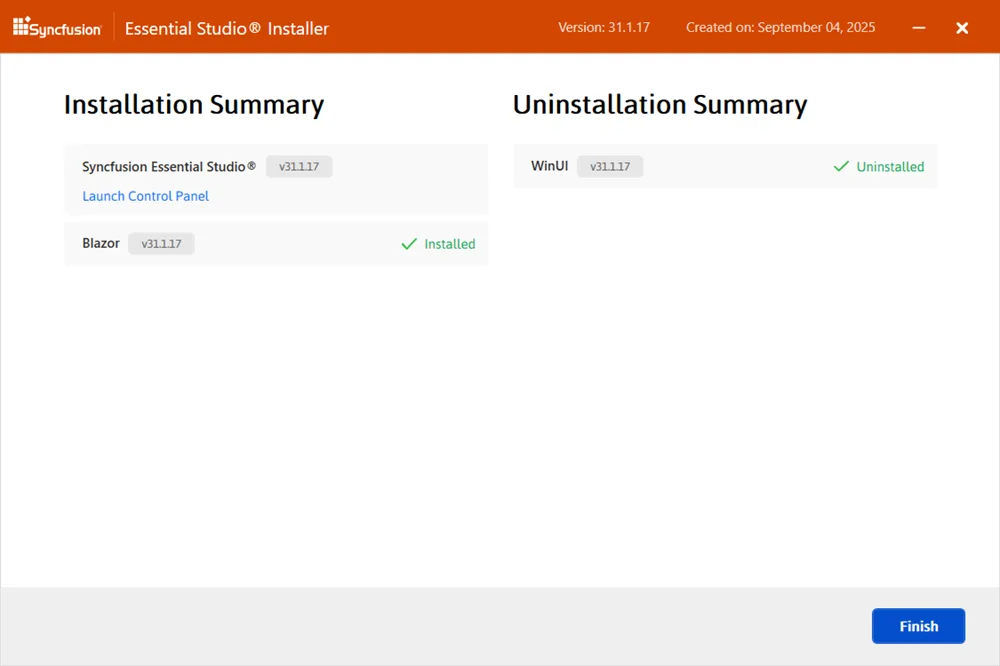
When the installation is finished, the Summary wizard will appear. Here you can see the list of products that have been installed successfully and those that have failed. To close the Summary wizard, click Finish.
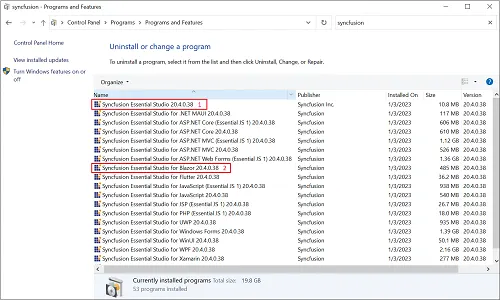
- After installation, there will be two Syncfusion® control panel entries, as shown below. The Essential Studio® entry will manage all Syncfusion® products installed in the same version, while the Product entry will only uninstall the specific product setup.
Uninstallation
Syncfusion® Blazor can be uninstalled in two ways.
-
Uninstall using the Syncfusion® Blazor web installer
-
Uninstall from Windows Control Panel
Follow one of the options below to uninstall the Syncfusion® Essential Studio® Blazor installer.
Option 1: Uninstall using the Syncfusion® Blazor web installer
Syncfusion® provides the option to uninstall products of the same version directly from the Web Installer application. Open the Syncfusion® Essential Studio® Blazor Online Installer file from downloaded location by double-clicking it. Select the products to be uninstalled from the list, and Web Installer will uninstall them one by one.

Option 2: Uninstall from Windows Control Panel
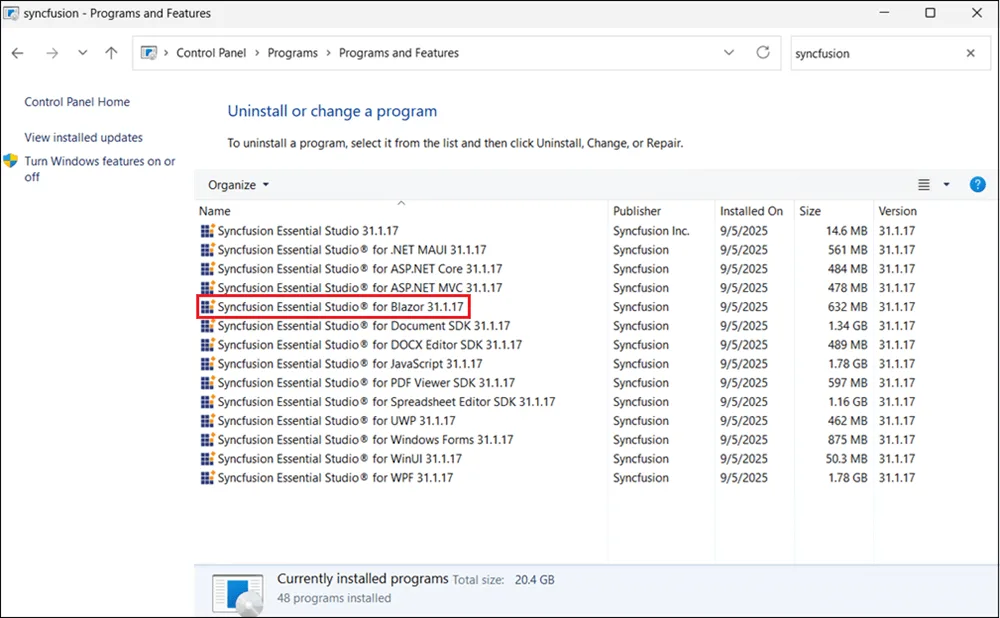
You can uninstall all the installed products by selecting the Syncfusion® Essential Studio® {version} entry (element 1 in the below screenshot) from the Windows control panel, or you can uninstall Blazor alone by selecting the Syncfusion® Essential Studio® for Blazor {version} entry (element 2 in the below screenshot) from the Windows control panel.
NOTE
If the Syncfusion® Essential Studio® for Blazor {version} entry is selected from the Windows control panel, the Syncfusion® Essential Studio® Blazor alone will be removed and the below default MSI uninstallation window will be displayed.
-
The Blazor web installer Welcome wizard is displayed. Click Next.
-
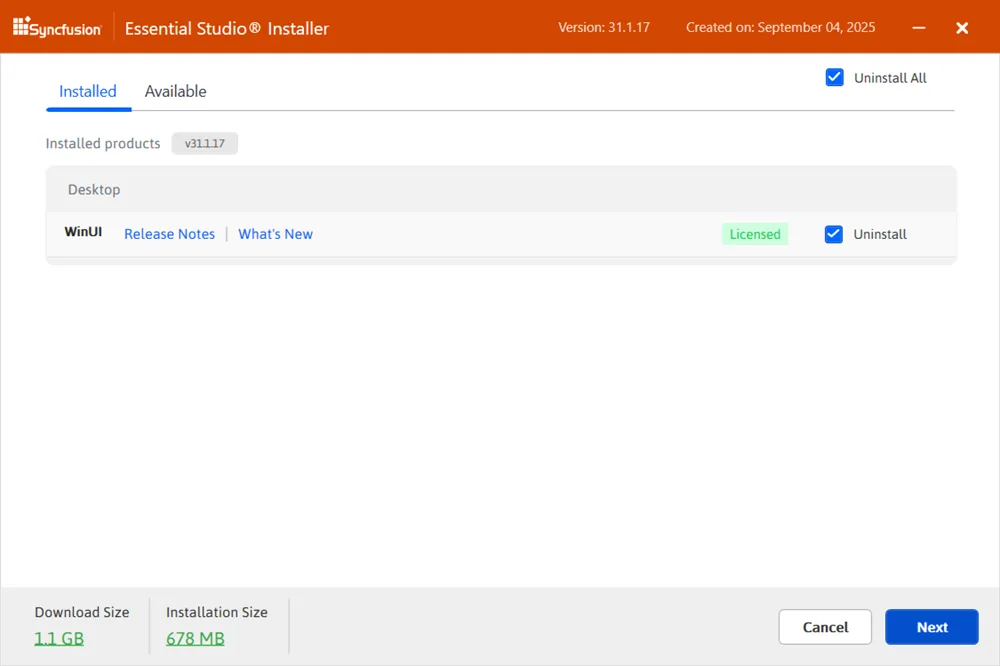
The Platform selection wizard appears. On the Installed tab, select products to uninstall. To uninstall all, select Uninstall All. Click Next.
Installed
You can also select products to install from the Available tab. Click Next.
Available

-
If other products are selected for installation, the Uninstall previous versions wizard shows any installed previous versions for those products. Select Uninstall All to remove all versions. Click Next.

-
A confirmation dialog is shown to uninstall the selected previous versions.
-
The Confirmation Wizard lists products to be installed or uninstalled. Review and modify as needed.
NOTE
By clicking the Download Size and Installation Size links, you can determine the approximate size of the download and installation.
-
The Configuration Wizard will appear. You can change the Download, Install, and Demos locations from here. You can also change the Additional settings on a product-by-product basis. Click Next to install with the default settings.
-
Read the License Terms and Privacy Policy, then select I agree to the License Terms and Privacy Policy. Select Next.
-
The Login Wizard appears. Enter the Syncfusion® account email and password, or select Create an account or Forgot password. Click Install.
IMPORTANT
The products you have chosen will be installed based on your Syncfusion® License (Trial or Licensed).
-
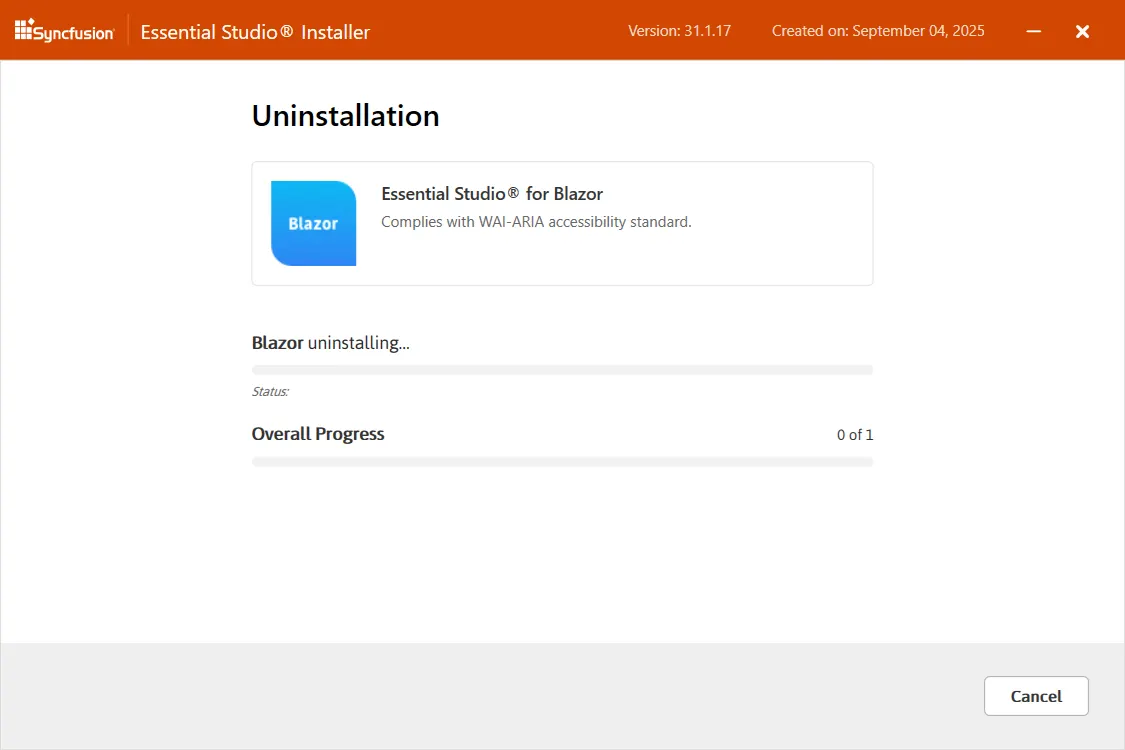
The download, installation, and uninstallation progress is shown.
-
When the installation is finished, the Summary wizard will appear. Here you can see the list of products that have been successfully and unsuccessfully installed/uninstalled. To close the Summary wizard, click Finish.
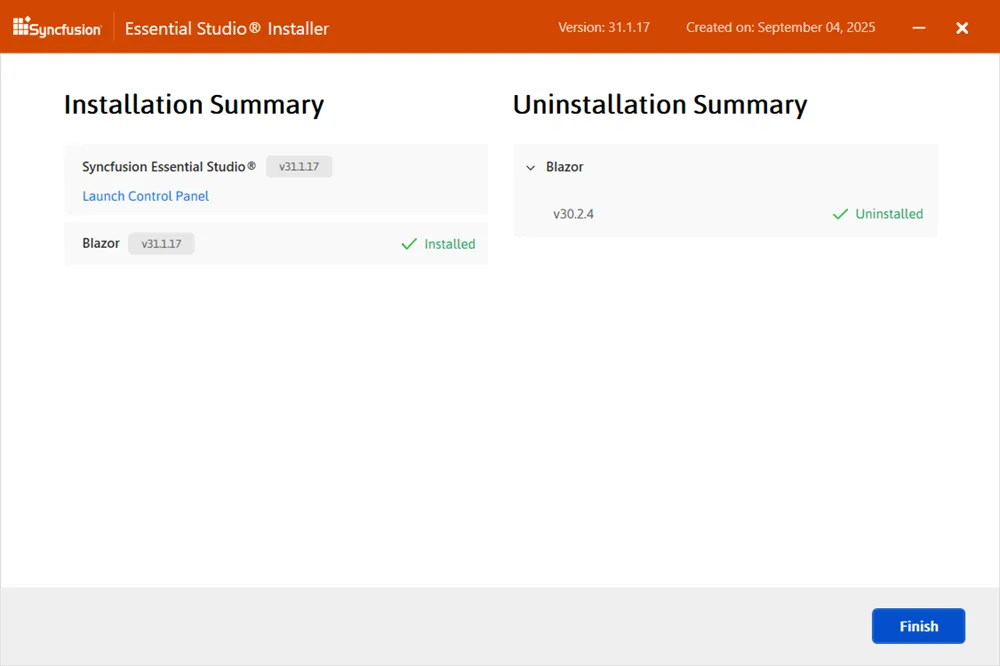
- To open the Syncfusion® Control Panel, click Launch Control Panel.