Deploy Blazor Server App on AWS Elastic Beanstalk Linux
13 Dec 20244 minutes to read
This section briefly explains about how to integrate Blazor PDF Viewer component in your Blazor Server App using Visual Studio and deploy it on AWS Elastic Beanstalk.
Prerequisites
Integrate PDF Viewer into Blazor Server App
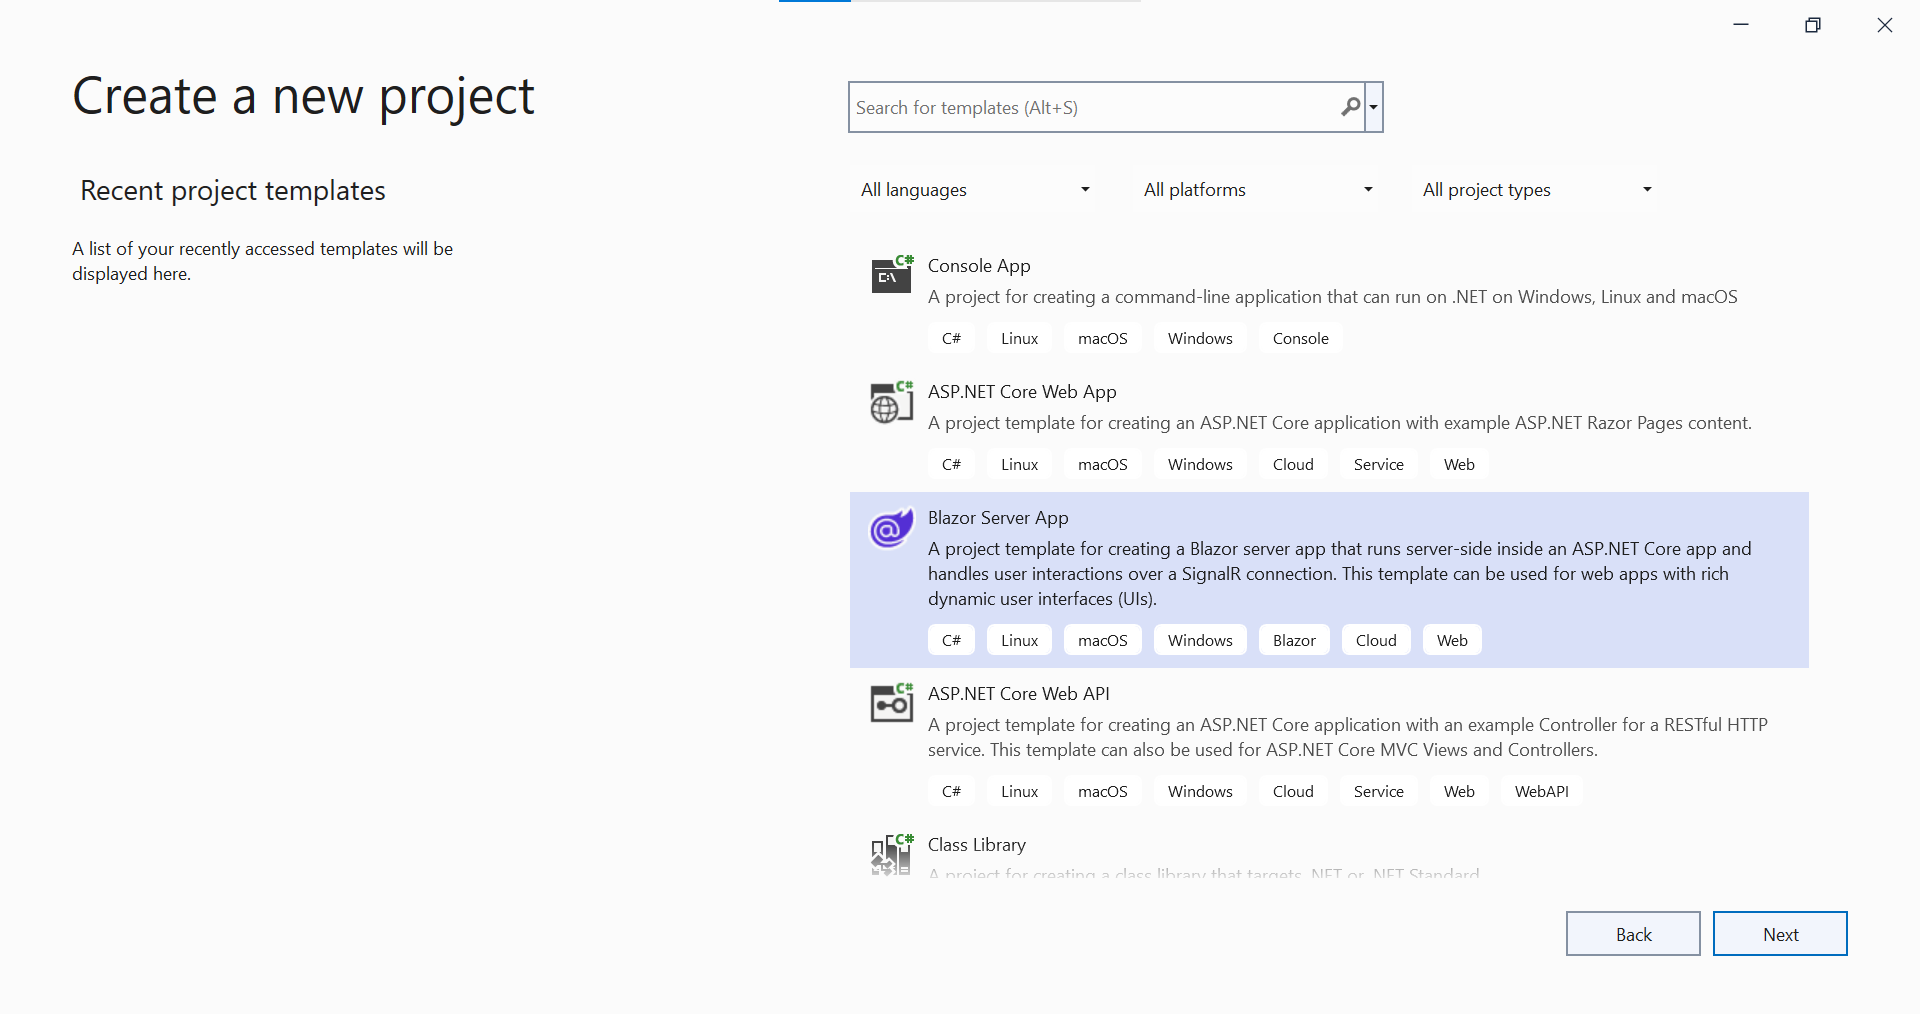
- Start Visual Studio and select Create a new project.
- For a Blazor Server experience, choose the Blazor Server App template. Select Next.
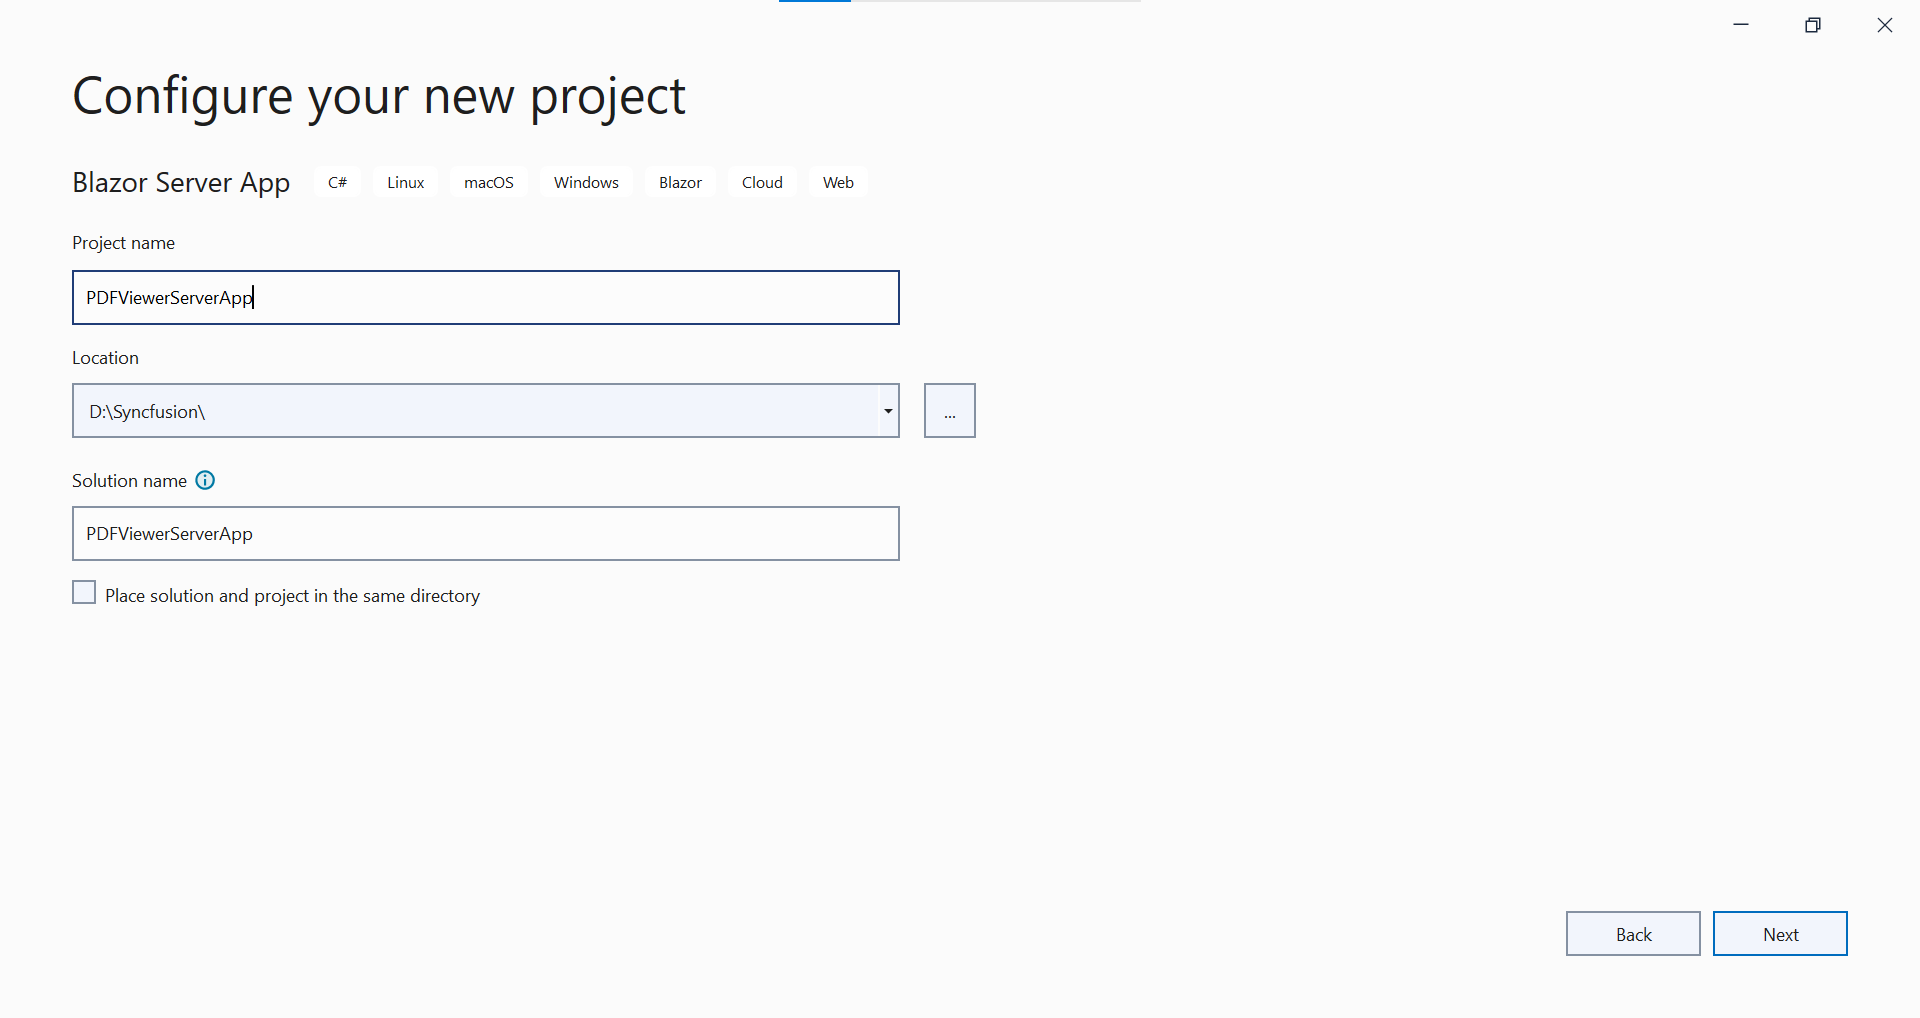
- Provide a Project Name and confirm that the Location is correct. Select Next.
- In the Additional information dialog, set the target framework.

Install Blazor PDF Viewer NuGet package in Blazor Server App to deploy in AWS Elastic Beanstalk Linux
To add Blazor PDF Viewer component in Blazor Server App and deploy it to AWS Elastic Beanstalk Linux, use SfPdfViewerServer component and theme style sheet in corresponding NuGet based on the operating system of the server you intend to host, as shown below.
- Syncfusion.Blazor.PdfViewerServer.Linux
- Syncfusion.Blazor.Themes
- SkiaSharp.NativeAssets.Linux.NoDependencies
Register Syncfusion® Blazor Service
Open ~/_Imports.razor file and import the Syncfusion.Blazor and Syncfusion.Blazor.PdfViewerServer namespaces.
@using Syncfusion.Blazor
@using Syncfusion.Blazor.PdfViewerServer
Now, register the Syncfusion® Blazor Service in the Blazor Server App. Here
using Microsoft.AspNetCore.Components;
using Microsoft.AspNetCore.Components.Web;
using Syncfusion.Blazor;

var builder = WebApplication.CreateBuilder(args);

// Add services to the container.
builder.Services.AddRazorPages();
builder.Services.AddServerSideBlazor().AddHubOptions(o => { o.MaximumReceiveMessageSize = 102400000; });
// Add Syncfusion Blazor service to the container.
builder.Services.AddSyncfusionBlazor();

var app = builder.Build();
....
Adding Style Sheet and Script Reference
Add the theme style sheet and script reference as below in the Blazor Server App.
Refer script and style sheet in the <head> of the ~/Pages/_Layout.cshtml.
<head>
    ....
    <!-- Syncfusion Blazor PDF Viewer controls theme style sheet -->
    <link href="_content/Syncfusion.Blazor.Themes/bootstrap5.css" rel="stylesheet" />
    <!-- Syncfusion Blazor PDF Viewer controls scripts -->
    <script src="_content/Syncfusion.Blazor.PdfViewer/scripts/syncfusion-blazor-pdfviewer.min.js" type="text/javascript"></script>
</head>
Adding Blazor PDF Viewer Component
Add the Syncfusion® PDF Viewer component in the ~/Pages/Index.razor file.
@page "/"
<SfPdfViewerServer DocumentPath="@DocumentPath" Height="500px" Width="1060px" ></SfPdfViewerServer>

@code{
private string DocumentPath { get; set; } = "wwwroot/Data/PDF_Succinctly.pdf";
}
Press Ctrl+F5 (Windows) or ⌘+F5 (macOS) to run the application. Then, the Syncfusion® Blazor PDF Viewer component will be rendered in the default web browser.
Steps to Configure the Linux VM used for deploying Blazor Server App in AWS Elastic Beanstalk Linux
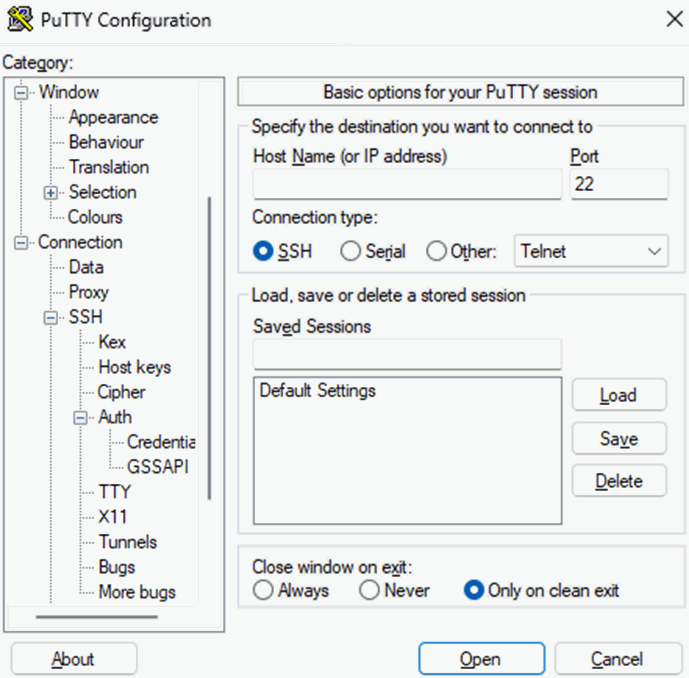
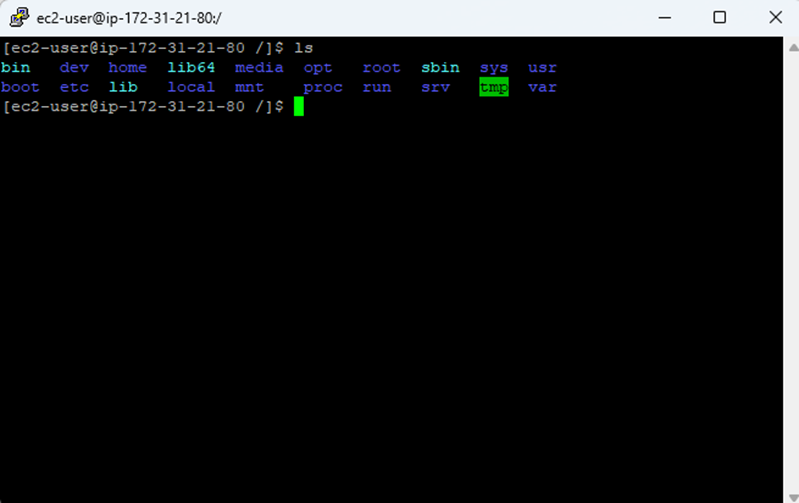
- Open the PuTTY app and Login as ec2-user in Linux VM after adding SSH Authentication credentials.
- Navigate to root directory in the opened terminal and type ls for listing the directories
- Install the dotnet framework for running the Blazor Server App in Linux by running the following code.
wget https://packages.microsoft.com/config/ubuntu/22.10/packages-microsoft-prod.deb -O packages-microsoft-prod.deb
sudo dpkg -i packages-microsoft-prod.deb
rm packages-microsoft-prod.deb
sudo yum update && \
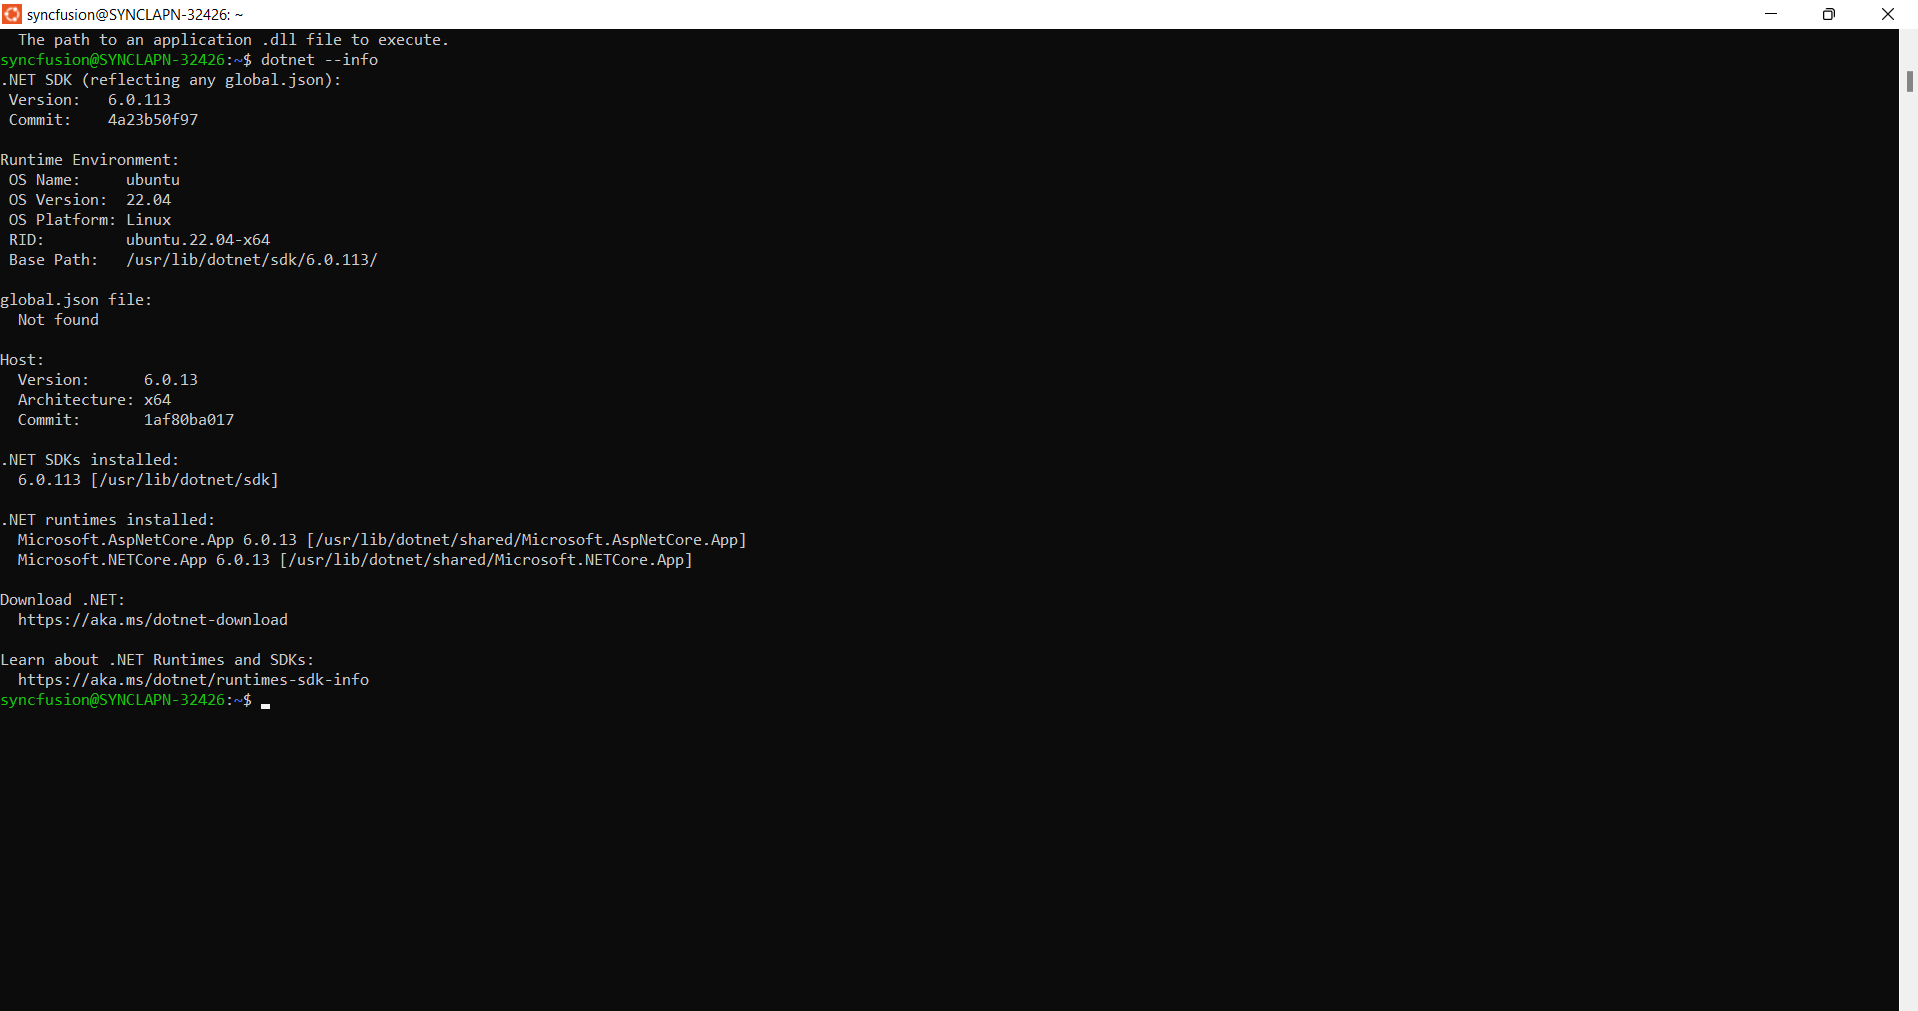
sudo yum install -y dotnet-sdk-6.0
Check the comment dotnet –info and it should come as follows.
- Navigate to lib64 directory and use the following commands
sudo cp -u libdl.so.2 libdl.so
Steps to publish as AWS Elastic Beanstalk
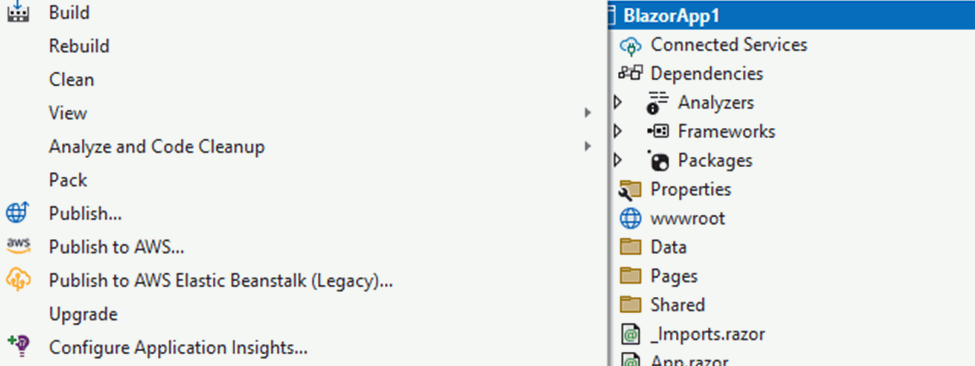
- Right-click the project and select Publish to AWS Elastic Beanstalk (Legacy) option.
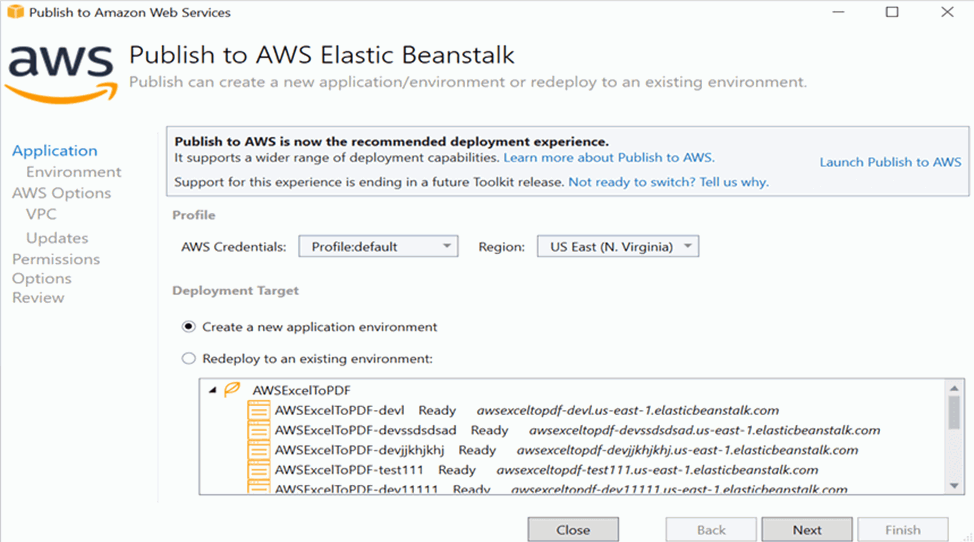
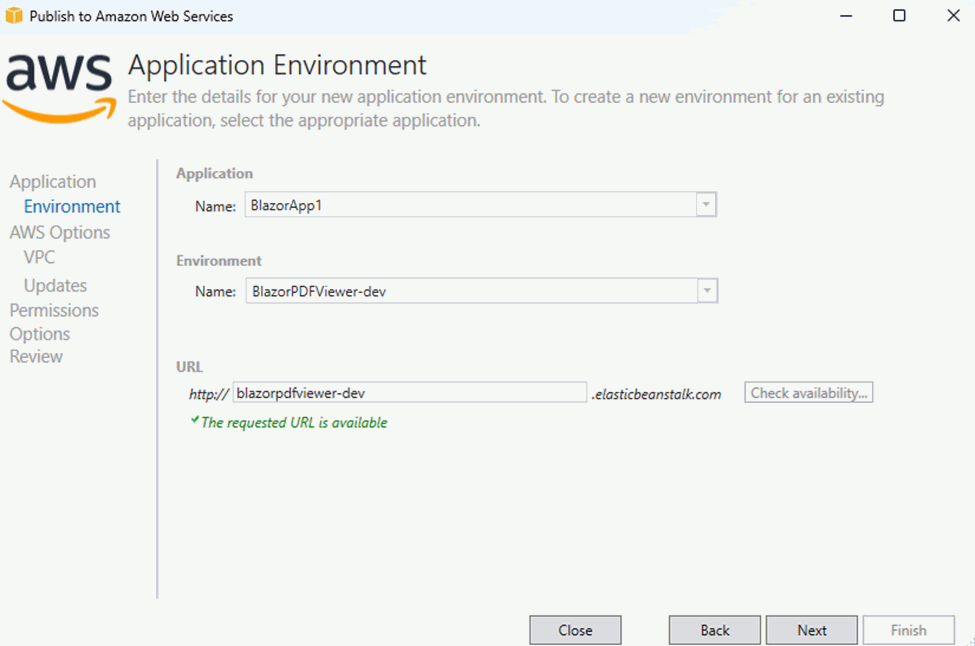
- Select the Deployment Target as Create a new application environment and click Next button.
- Choose the Environment Name in the dropdown list and the URL will be automatically assign and check the URL is available, if available click next otherwise change the URL
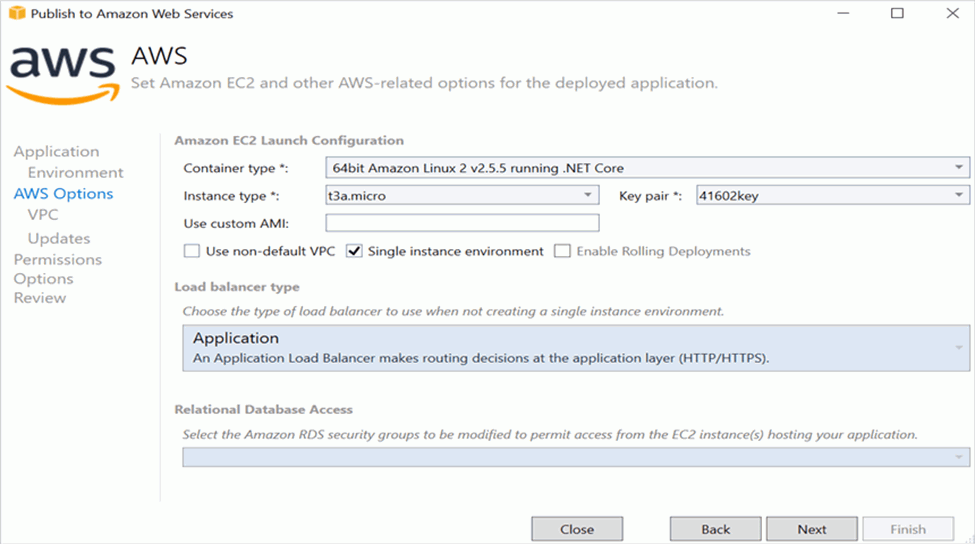
- Select the instance type in t3a.micro from the dropdown list and click next.
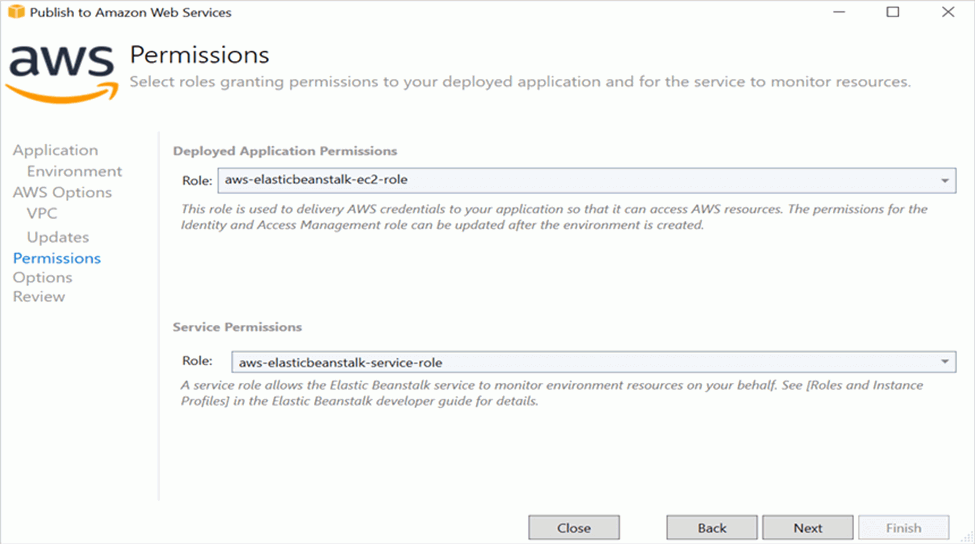
- Click the Next button to proceed further.
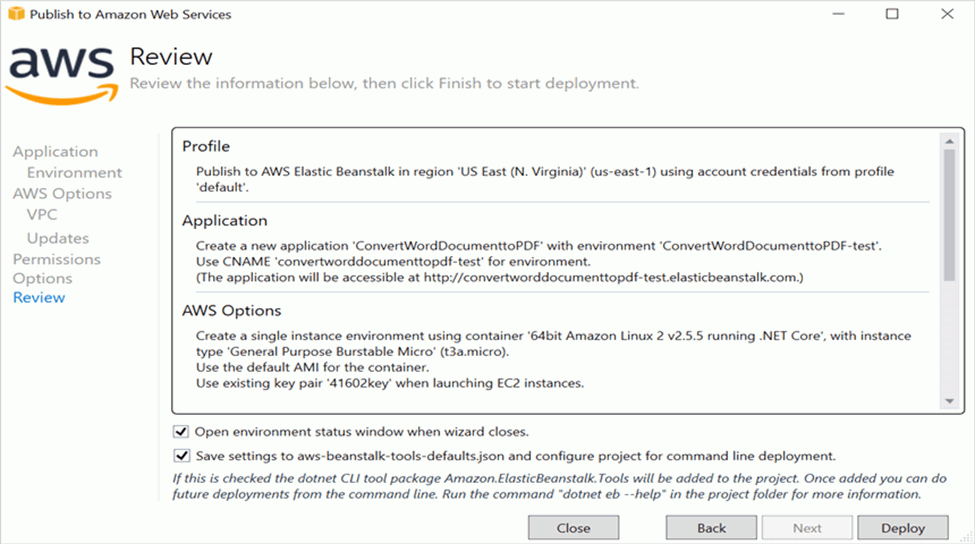
- Click the Next button

- Click the Deploy button to deploy the sample on AWS Elastic Beanstalk.
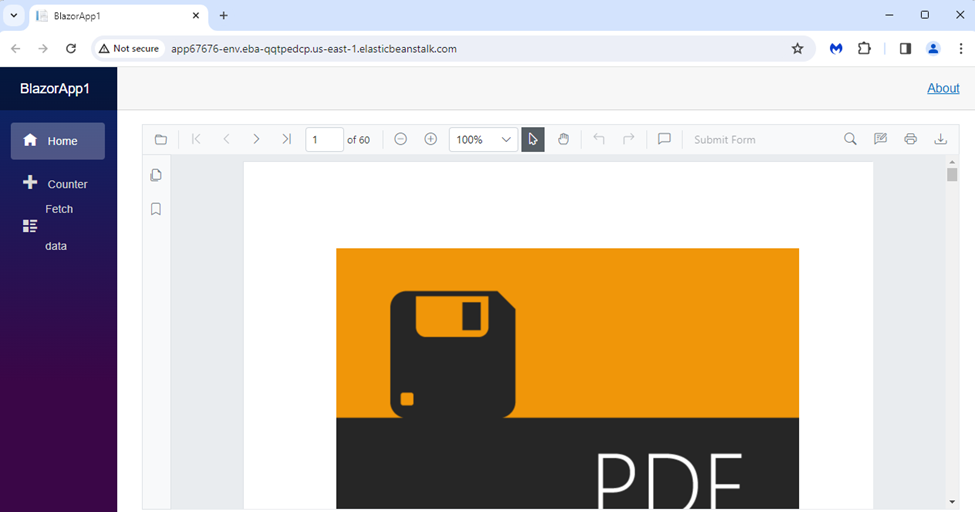
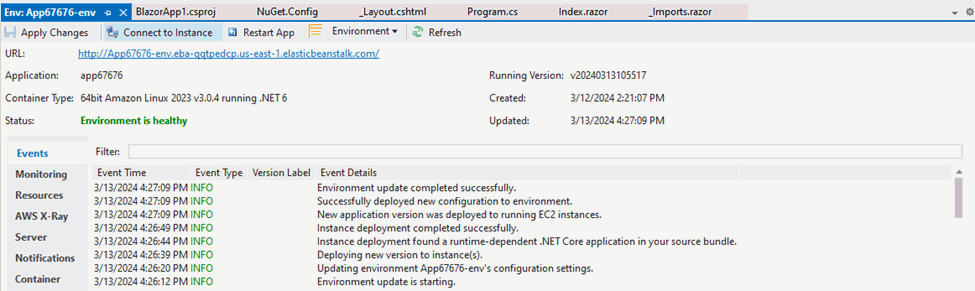
- After changing the status from Updating to Environment is healthy, click the URL.
- After opening the provided URL the provided PDF document will be displayed in PDF Viewer.