Create a Blazor application
26 Jun 20265 minutes to read
The Syncfusion® Blazor Template Studio for Visual Studio Code scaffolds a Blazor application preconfigured with Syncfusion® NuGet packages, namespaces, themes, and sample component render code. Use the guided wizard to quickly create an application tailored to your platform and selected controls.
NOTE
Blazor project templates require Essential Studio
v17.4.0.39and later are supported by the Syncfusion® Visual Studio Code project template.
Use the following steps to create Syncfusion® Blazor applications in Visual Studio Code:
-
Open the Command Palette (
Ctrl+Shift+P) and search for Syncfusion to list available commands.
-
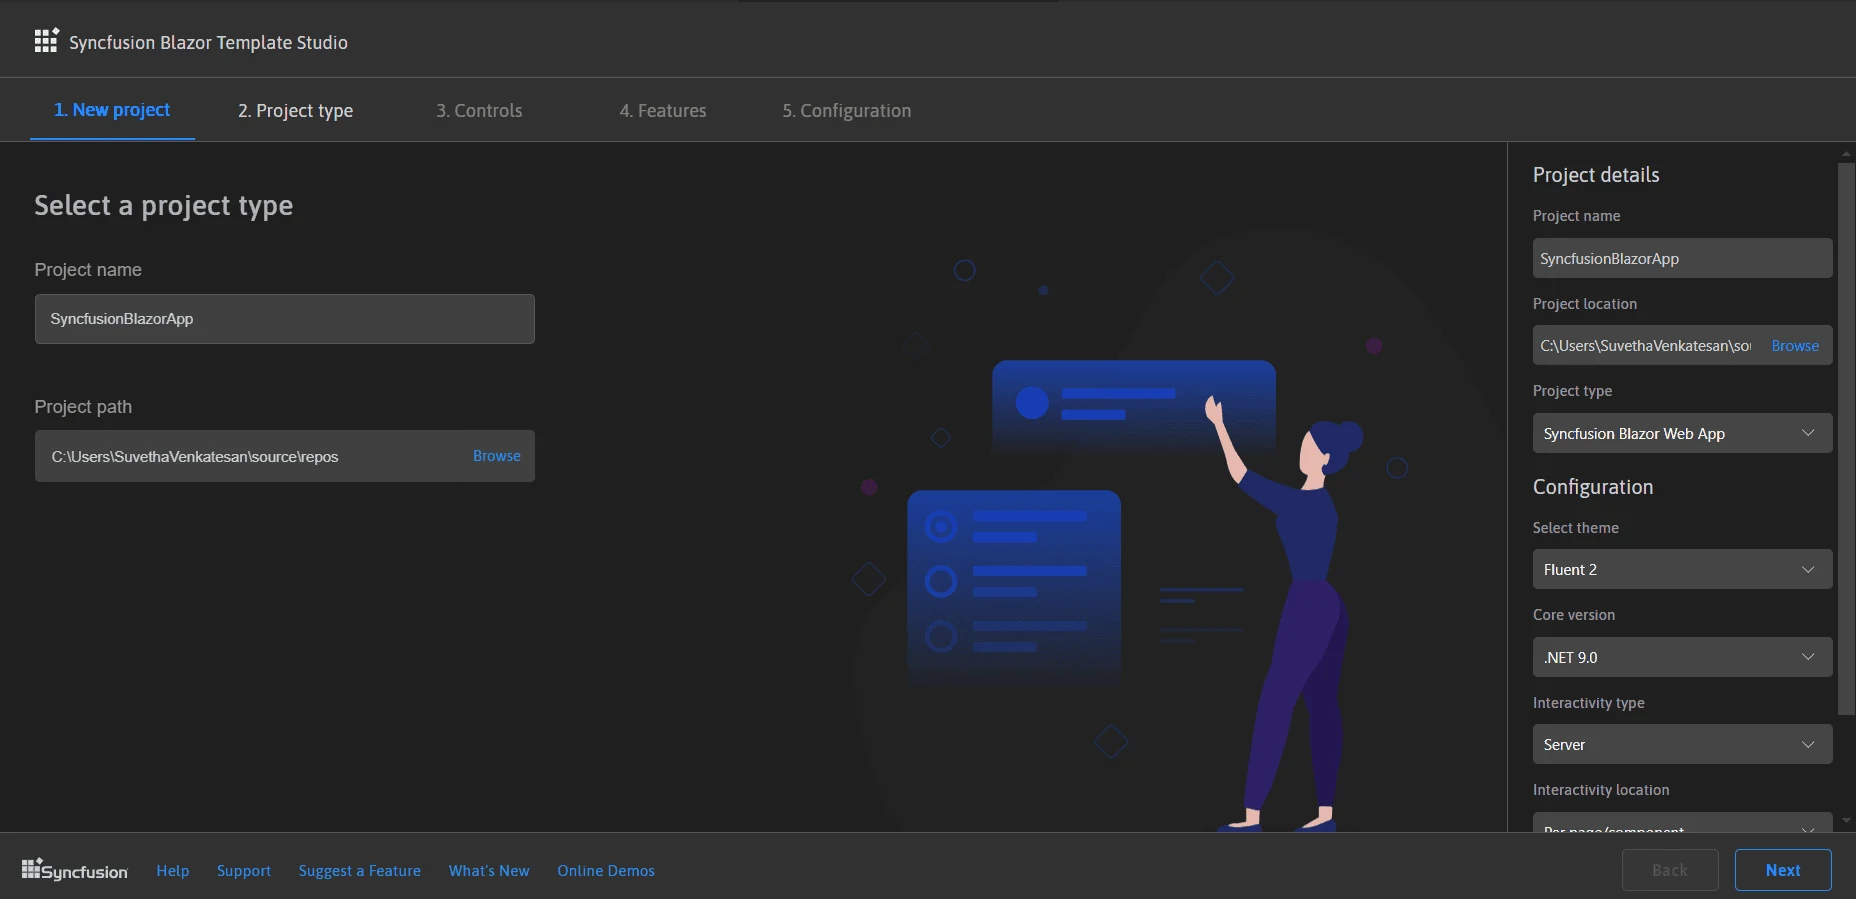
Choose Syncfusion Blazor Template Studio: Launch and provide the project name and path in the wizard.
-
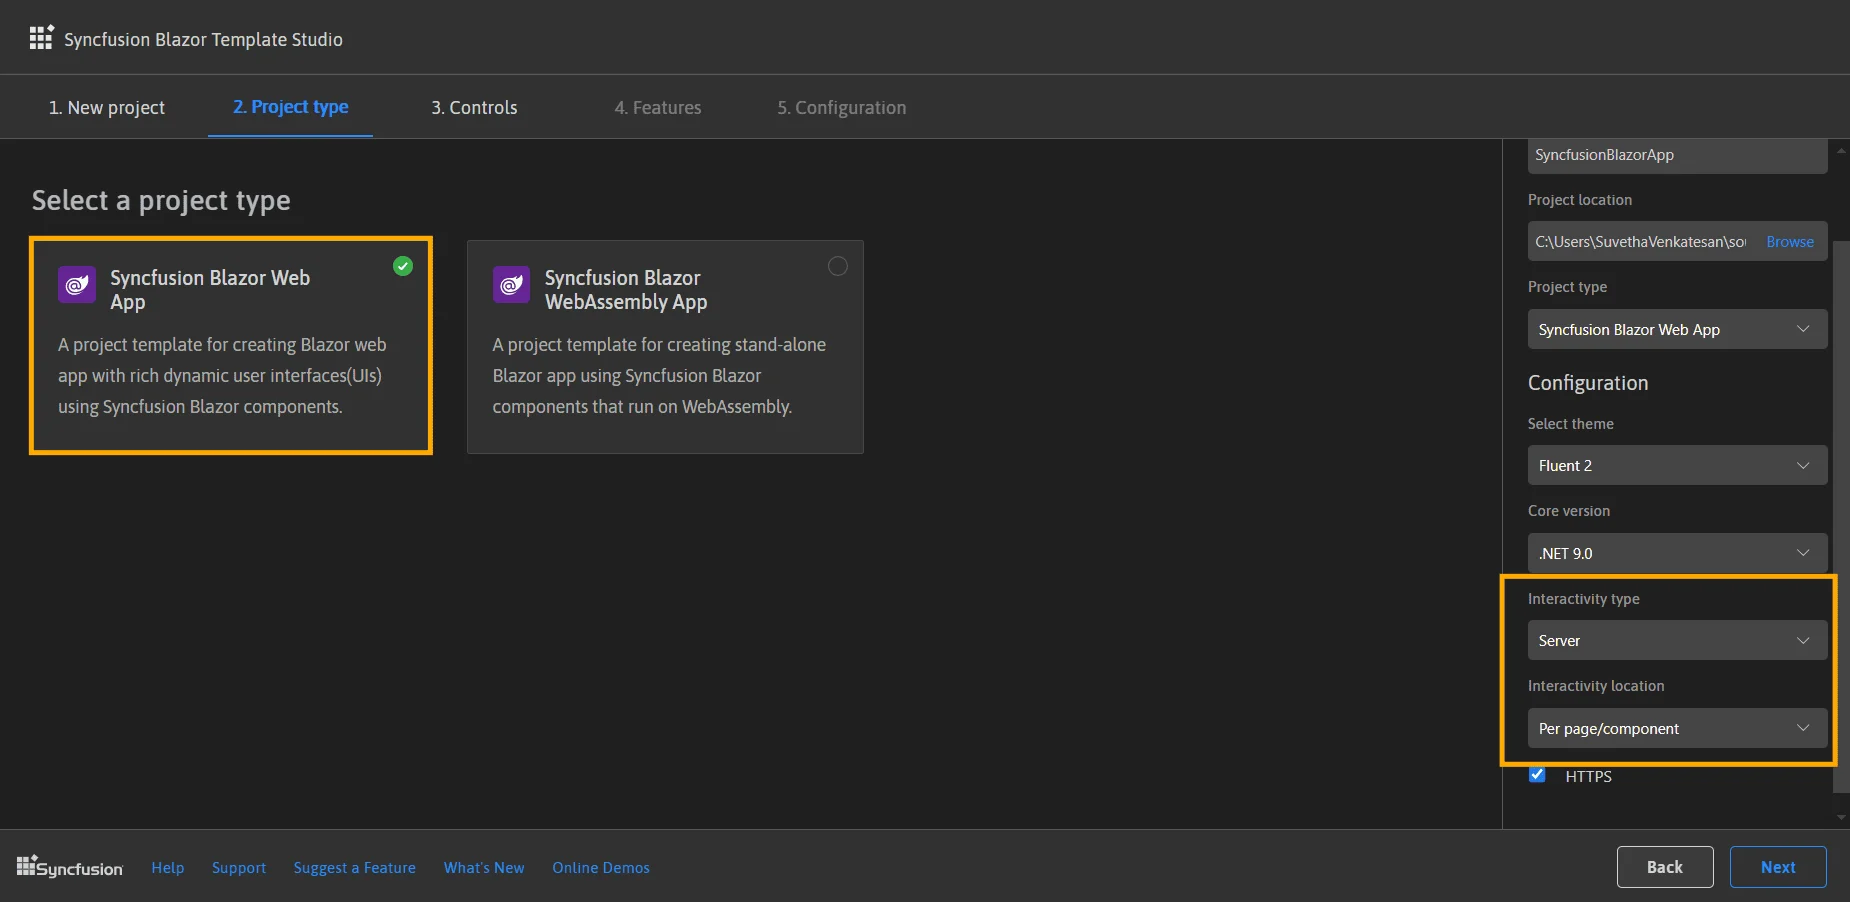
On the Project type tab, select the application type that matches your installed .NET SDK.
Supported .NET SDKs and application types:
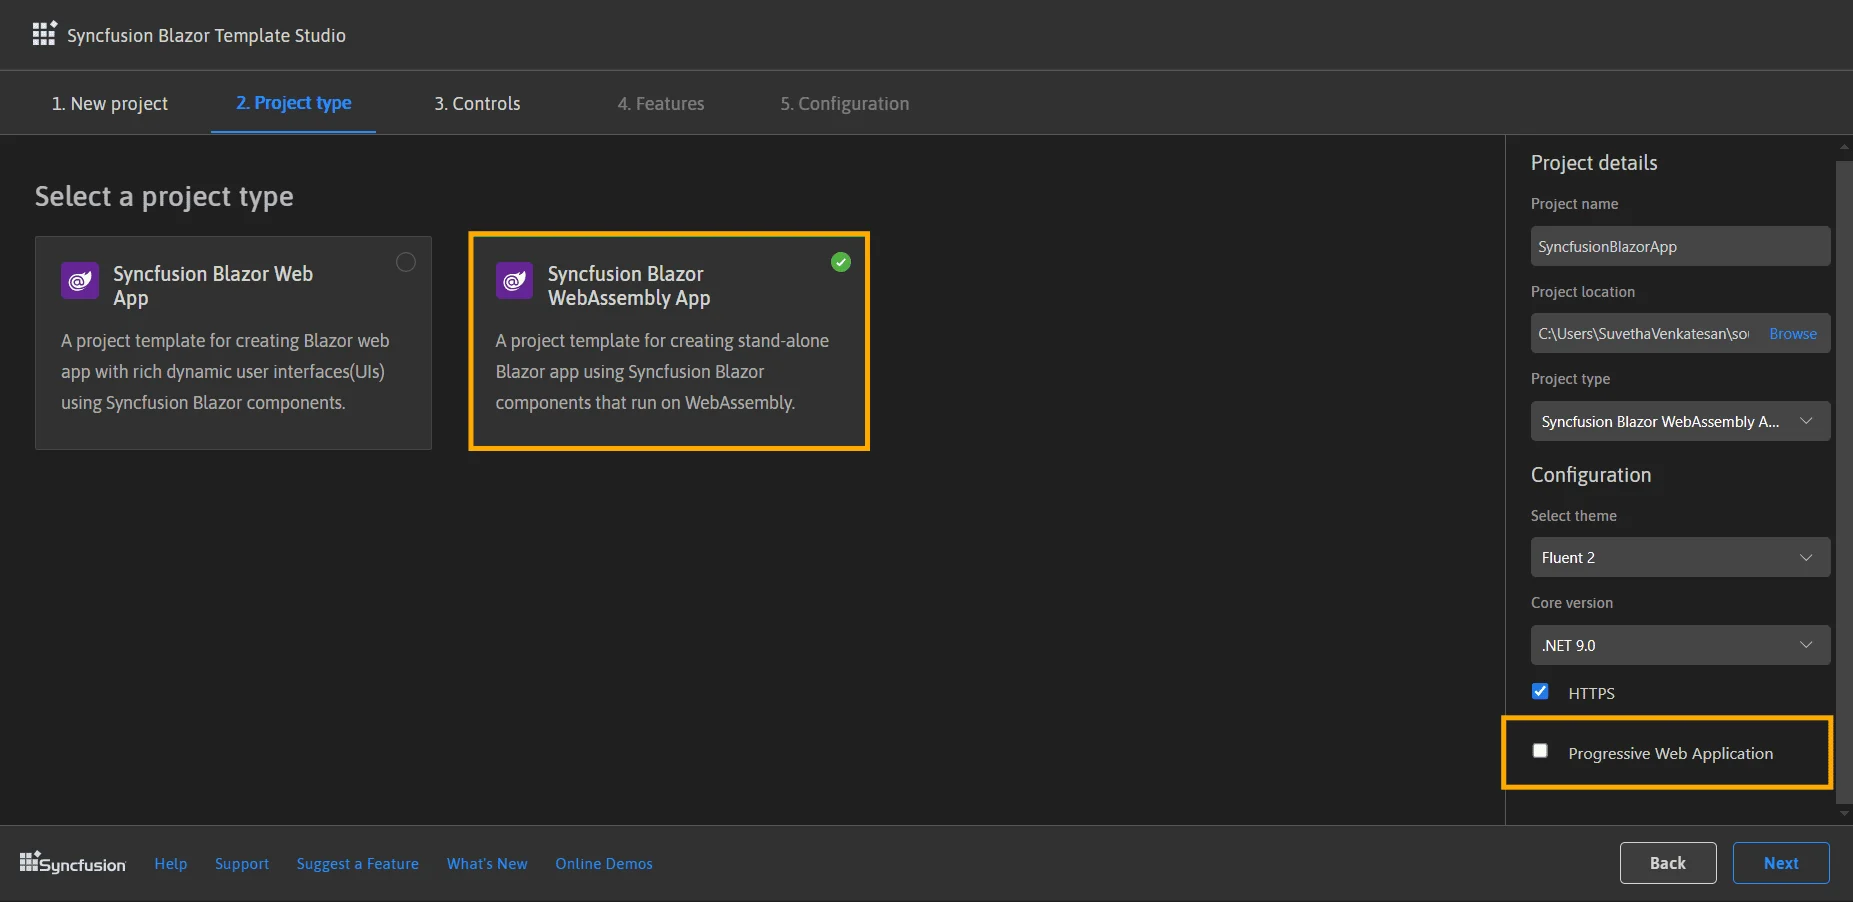
Application Type Supported .NET SDK Versions Blazor Web App .NET 8.0, 9.0, 10.0 Blazor WebAssembly App .NET 8.0, 9.0, 10.0 In the Blazor Web App type you can choose interactivity (Server, WebAssembly, Auto) and interactivity location (global or per page/component).
For WebAssembly projects, you can opt into Progressive Web Application (PWA) support.
-
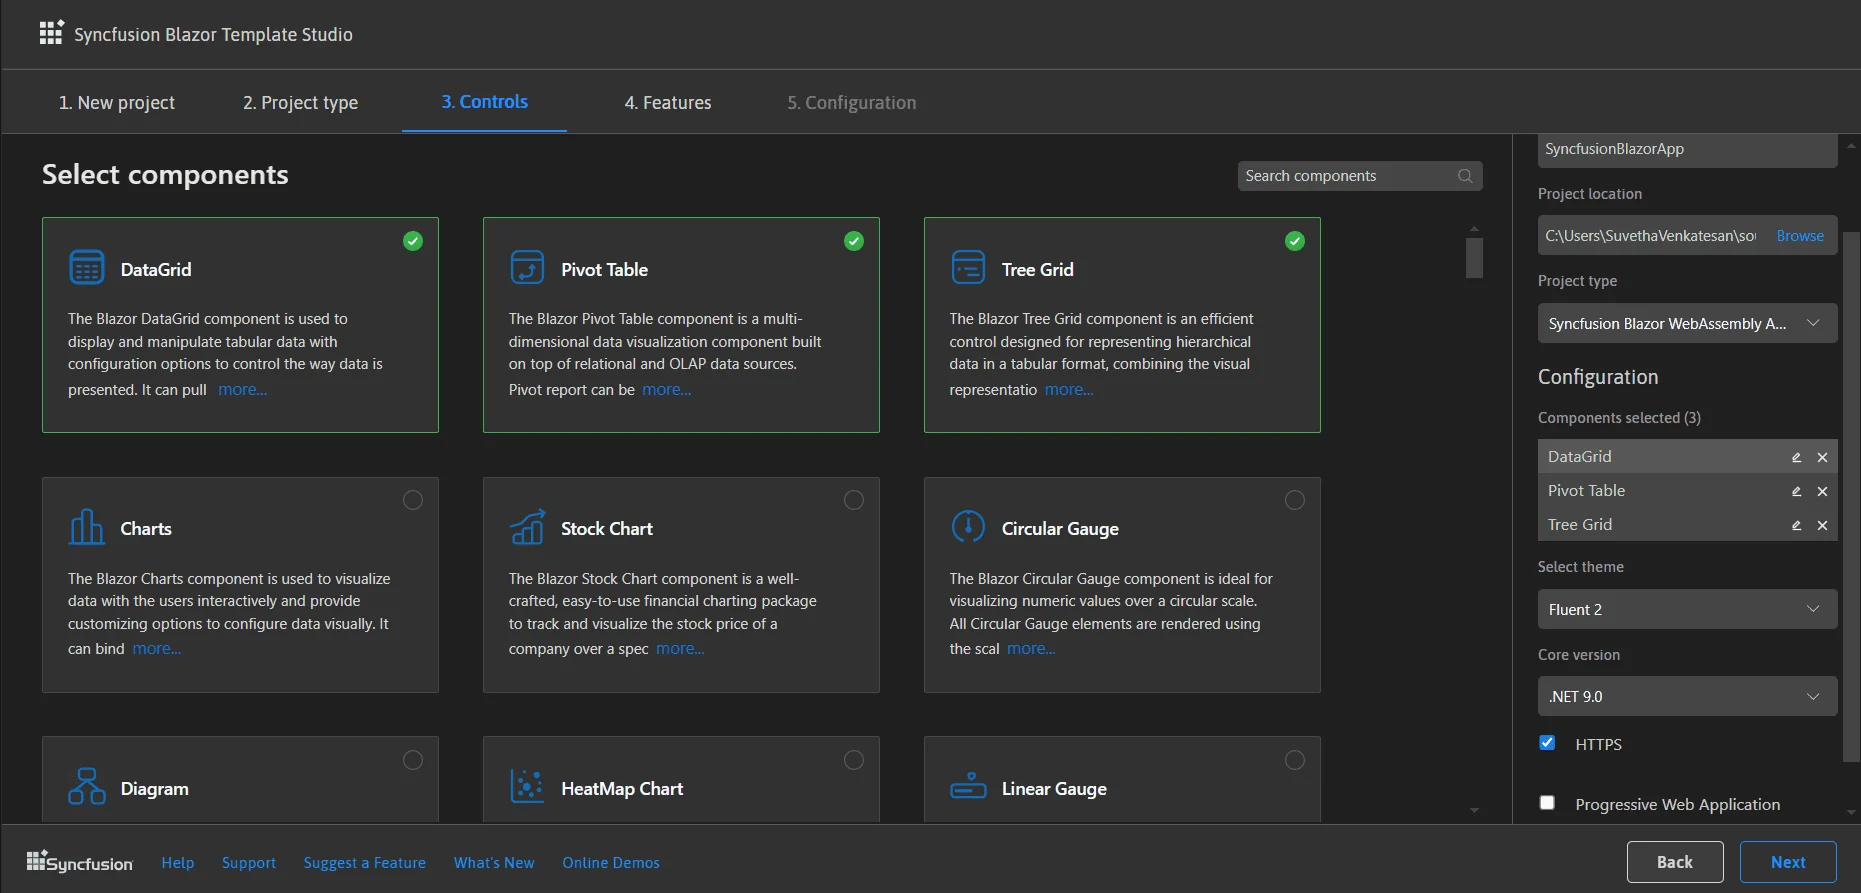
On the Controls tab, pick the Blazor components to include in the project by selecting their tiles.
NOTE
Select at least one control to enable the Features and Configuration tabs.
-
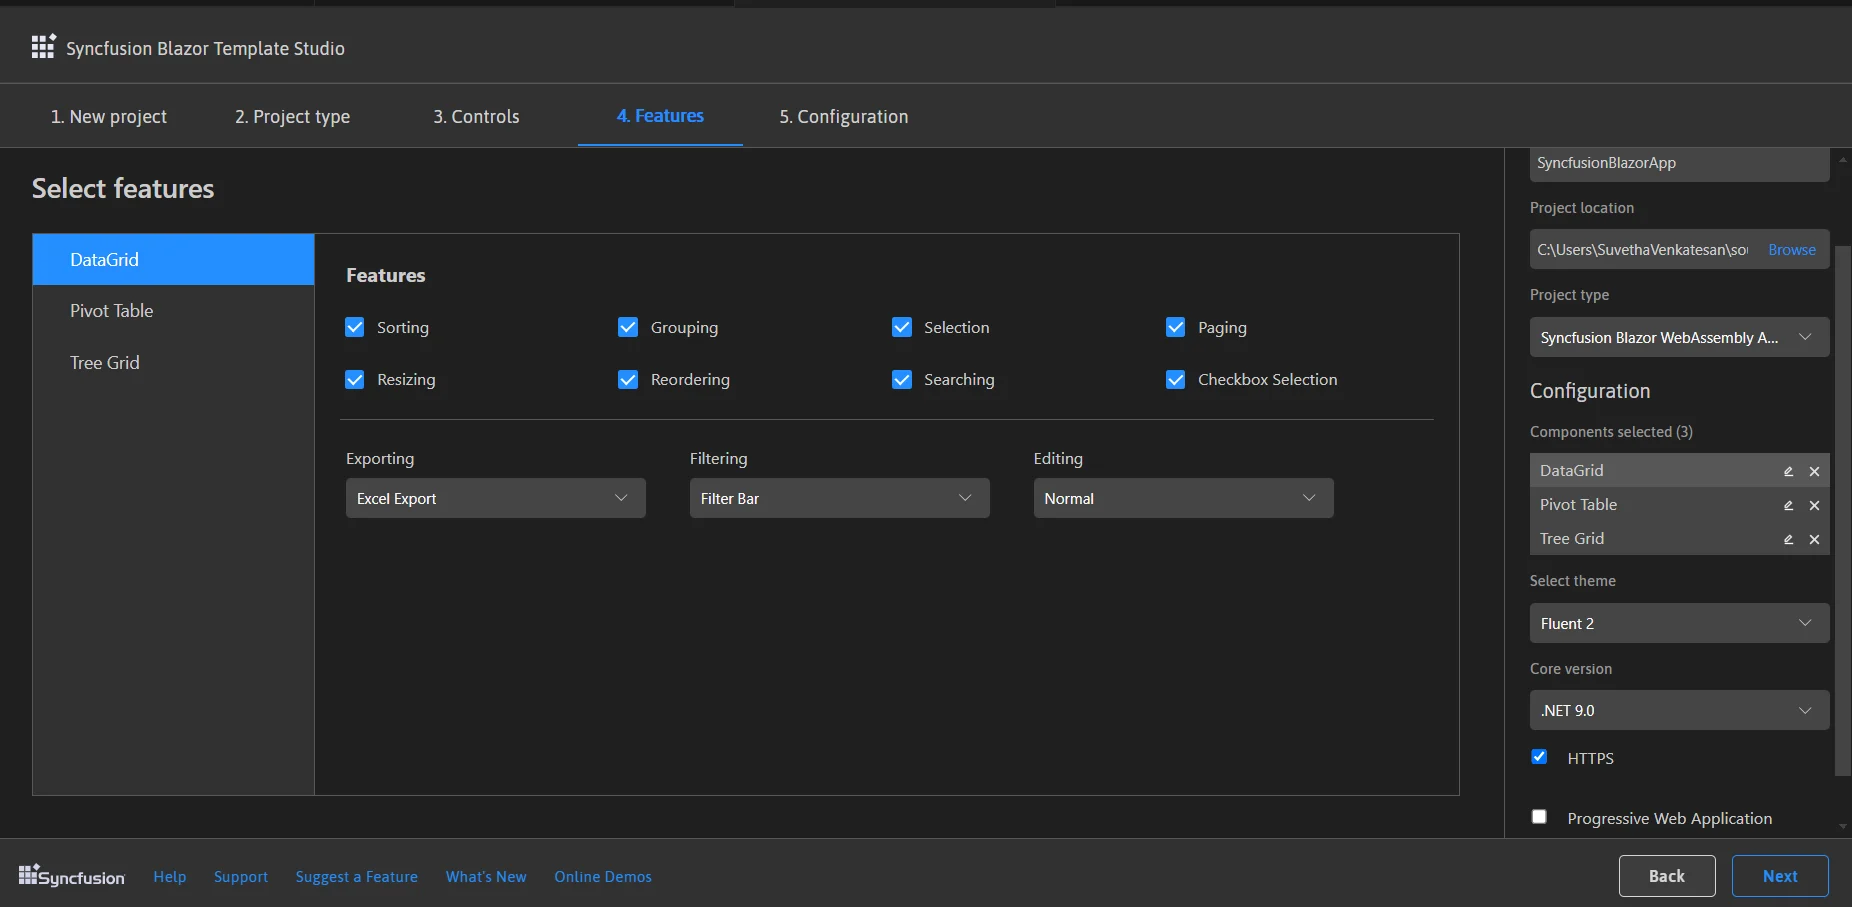
On the Features tab, choose per-control features you want included in the scaffolded pages.
-
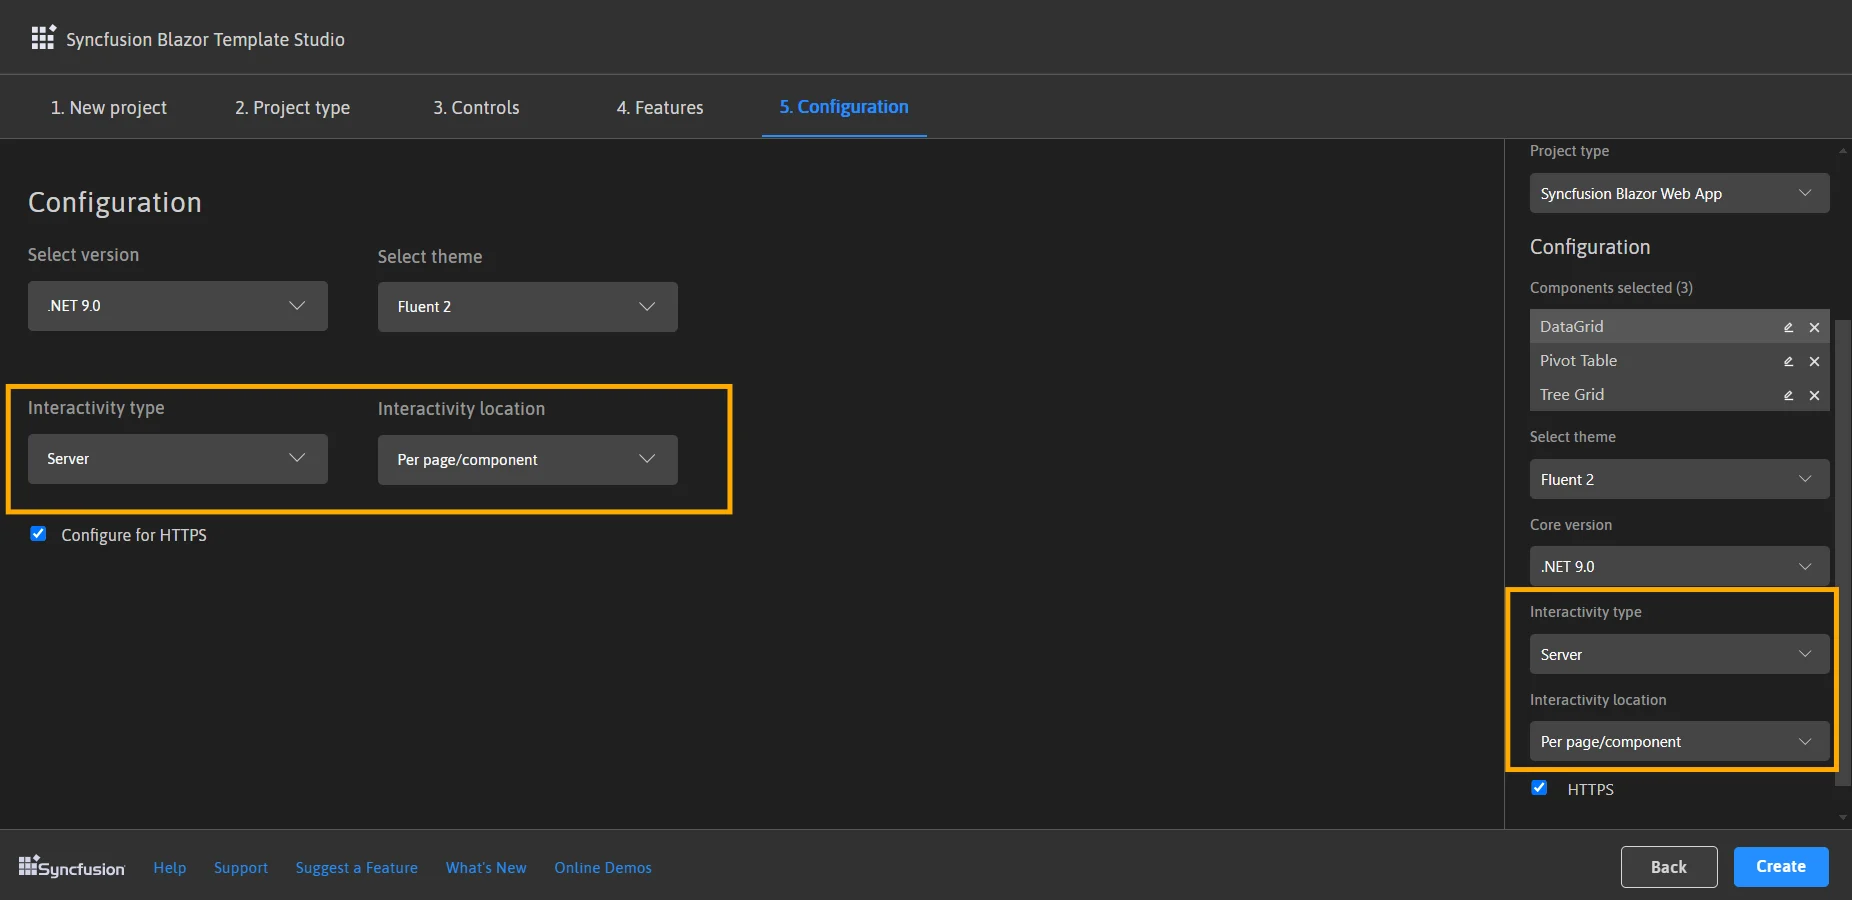
On the Configuration tab, set .NET target version, theme, HTTPS, localization, authentication type, and other app-specific options.
Authentication options vary by application type:
Application type Authentication Blazor Web App None, Individual Accounts Blazor WebAssembly App None, Individual Accounts, Microsoft Identity Platform Configure interactivity options for Blazor Web App and PWA settings for WebAssembly as needed.

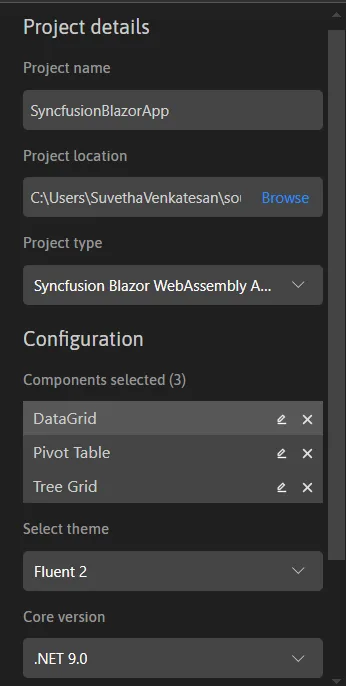
Use the Project details panel to review selections, remove controls, or change the app configuration before creating the project.
-
Click Create. The Template Studio generates the project with the selected NuGet packages, theme references, namespaces, and component render code.
-
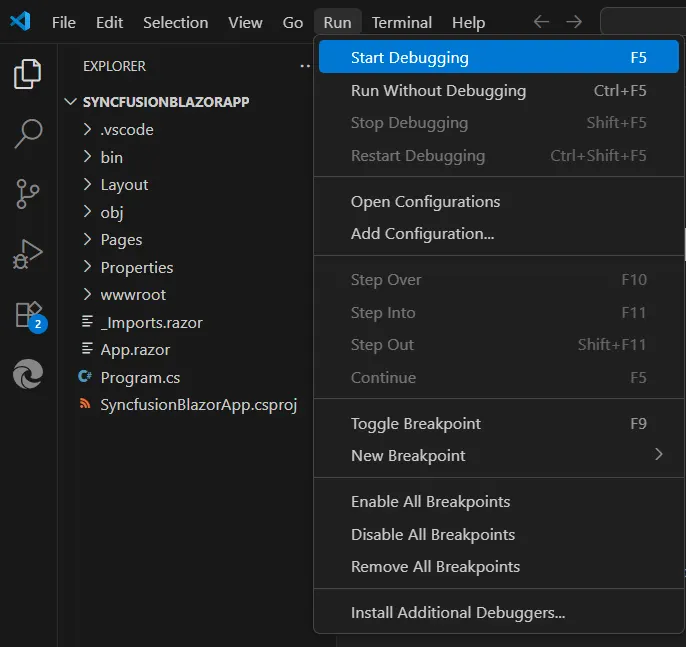
Run the project using the terminal command or the debugger:
dotnet runAlternatively, press F5 or go to Run > Start Debugging to launch the application.
What Template Studio configures for you
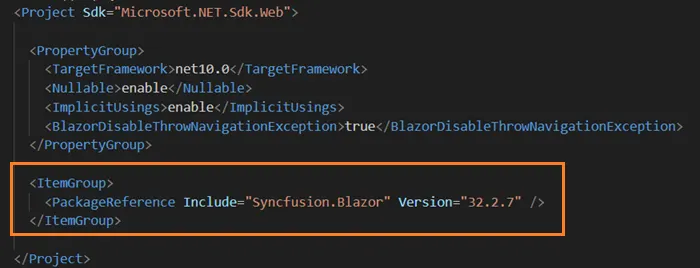
-
NuGet: Adds the Syncfusion.Blazor package (and individual packages when applicable).
-
Theme: Adds the chosen theme reference to the appropriate location (
~/Components/App.razorfor Blazor Web App, orwwwroot/index.htmlfor WebAssembly projects).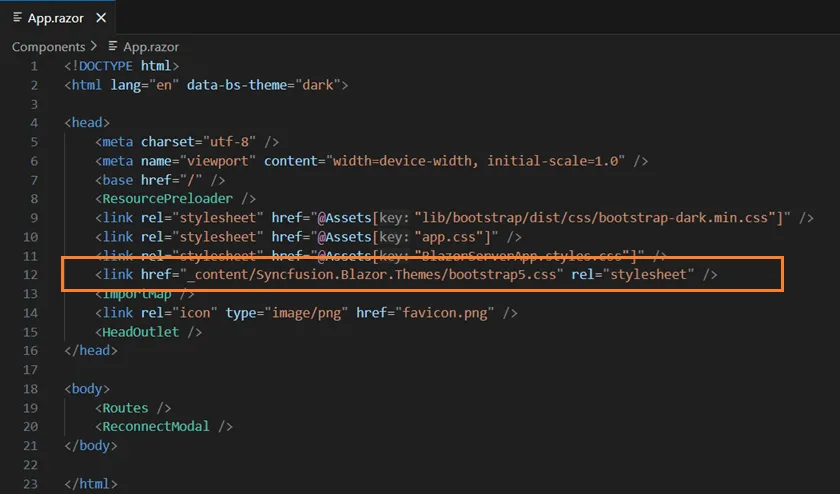
-
Namespaces: Inserts namespaces into
_Imports.razor.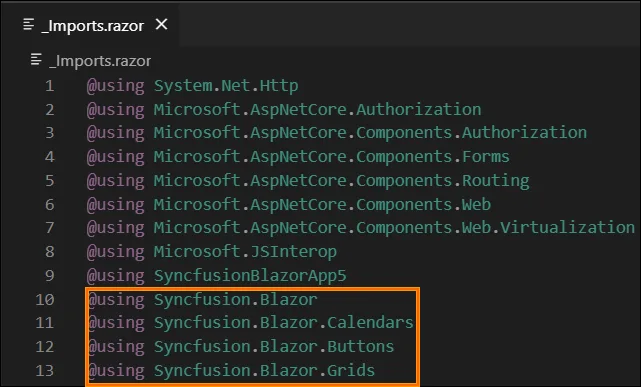
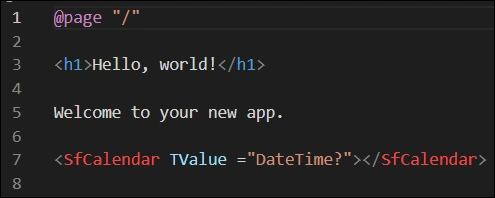
-
Component render code: Adds sample usage (Calendar, Button, DataGrid) into the Pages folder (Index/Counter/FetchData).
NOTE
If you installed the trial setup or NuGet packages from nuget.org, you must register the license key. Refer to the licensing overview for details on generating and registering your license key.