Getting Started with Blazor DocumentEditor Component in Blazor WASM
30 May 20255 minutes to read
This section briefly explains about how to include Blazor DocumentEditor component in your Blazor WebAssembly (WASM) App using Visual Studio and Visual Studio Code.
Prerequisites
Create a new Blazor App in Visual Studio
You can create a Blazor WebAssembly App using Visual Studio via Microsoft Templates or the Syncfusion® Blazor Extension.
Install Syncfusion® Blazor WordProcessor and Themes NuGet in the App
To add Blazor DocumentEditor component in the app, open the NuGet package manager in Visual Studio (Tools → NuGet Package Manager → Manage NuGet Packages for Solution), search and install Syncfusion.Blazor.WordProcessor and Syncfusion.Blazor.Themes. Alternatively, you can utilize the following package manager command to achieve the same.
WARNING
* The Document Editor is not part of the common package. If you wish to use the Document Editor with other components, please import all the components individually.
* Do not use bothSyncfusion.Blazorand individual NuGet packages (Syncfusion.Blazor.WordProcessor) in the same application. It will throw ambiguous errors while compiling the project.
Install-Package Syncfusion.Blazor.WordProcessor -Version 30.2.4
Install-Package Syncfusion.Blazor.Themes -Version 30.2.4
NOTE
Syncfusion® Blazor components are available in nuget.org. Refer to NuGet packages topic for available NuGet packages list with component details.
Prerequisites
Create a new Blazor App in Visual Studio Code
You can create a Blazor WebAssembly App using Visual Studio Code via Microsoft Templates or the Syncfusion® Blazor Extension.
Alternatively, you can create a WebAssembly application using the following command in the terminal(Ctrl+`).
dotnet new blazorwasm -o BlazorApp
cd BlazorApp
Install Syncfusion® Blazor WordProcessor and Themes NuGet in the App
- Press Ctrl+` to open the integrated terminal in Visual Studio Code.
- Ensure you’re in the project root directory where your
.csprojfile is located. - Run the following command to install a Syncfusion.Blazor.WordProcessor and Syncfusion.Blazor.Themes NuGet package and ensure all dependencies are installed.
dotnet add package Syncfusion.Blazor.WordProcessor -v 30.2.4
dotnet add package Syncfusion.Blazor.Themes -v 30.2.4
dotnet restore
NOTE
Syncfusion® Blazor components are available in nuget.org. Refer to NuGet packages topic for available NuGet packages list with component details.
Register Syncfusion® Blazor Service
Open ~/_Imports.razor file and import the Syncfusion.Blazor and Syncfusion.Blazor.DocumentEditor namespace.
@using Syncfusion.Blazor
@using Syncfusion.Blazor.DocumentEditor
Now, register the Syncfusion® Blazor Service in the ~/Program.cs file of your Blazor WebAssembly App.
using Microsoft.AspNetCore.Components.Web;
using Microsoft.AspNetCore.Components.WebAssembly.Hosting;
using Syncfusion.Blazor;

var builder = WebAssemblyHostBuilder.CreateDefault(args);
builder.RootComponents.Add<App>("#app");
builder.RootComponents.Add<HeadOutlet>("head::after");

builder.Services.AddScoped(sp => new HttpClient { BaseAddress = new Uri(builder.HostEnvironment.BaseAddress) });

builder.Services.AddSyncfusionBlazor();
await builder.Build().RunAsync();
....
Add stylesheet and script resources
Add the following stylesheet and script to the head section of ~/index.html file. The theme stylesheet and script can be accessed from NuGet through Static Web Assets. Reference the stylesheet and script in the <head> of the main page as follows:
<head>
    ....
    <link href="_content/Syncfusion.Blazor.Themes/bootstrap5.css" rel="stylesheet" />
    <script src="_content/Syncfusion.Blazor.WordProcessor/scripts/syncfusion-blazor-documenteditor.min.js" type="text/javascript"></script>
</head>
NOTE
Check out the Blazor Themes topic to discover various methods (Static Web Assets, CDN, and CRG) for referencing themes in your Blazor application. Also, check out the Adding Script Reference topic to learn different approaches for adding script references in your Blazor application.
Add Blazor DocumentEditor Component
Add the Syncfusion® Blazor DocumentEditor component in the ~/Pages/Index.razor file.
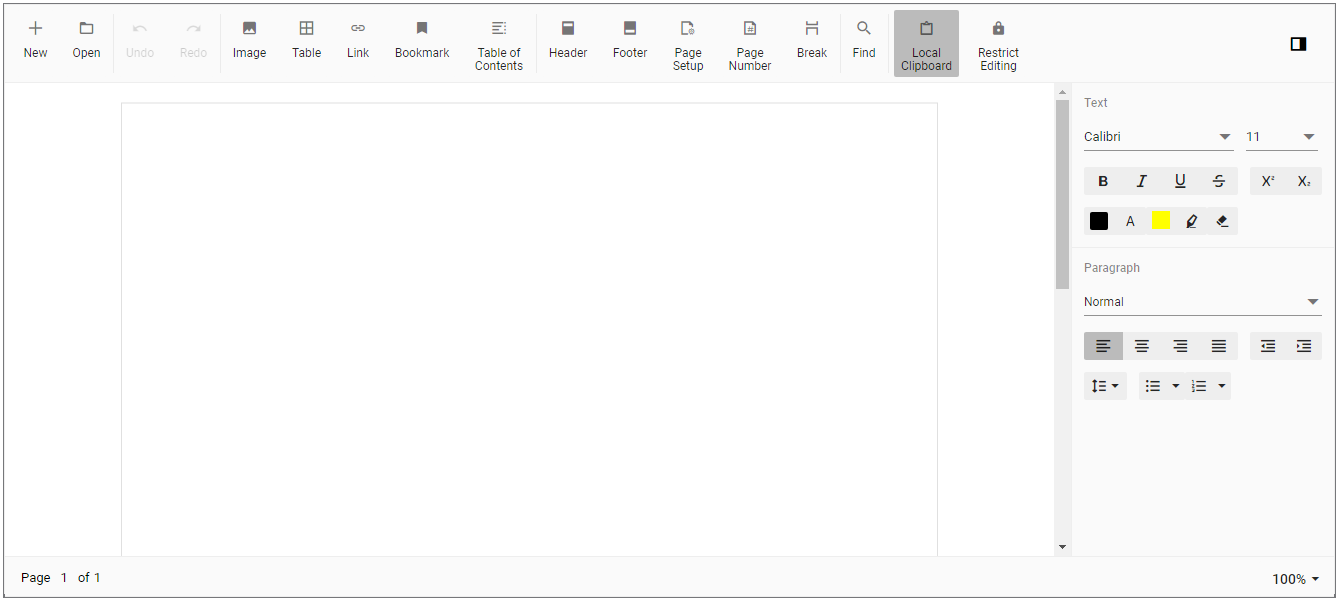
<SfDocumentEditorContainer EnableToolbar=true></SfDocumentEditorContainer>- Press Ctrl+F5 (Windows) or ⌘+F5 (macOS) to launch the application. This will render the Syncfusion® Blazor DocumentEditor component in your default web browser.
NOTE
The Document editor is one of the large functionalities covered component as it gives you many functionalities of Microsoft Word application. It has more UI views like text properties pane, header footer properties pane, image properties pane and dialogs.
The dependency components are Syncfusion.Blazor.Calendars, Syncfusion.Blazor.Core, Syncfusion.Blazor.Data, Syncfusion.Blazor.DropDowns, Syncfusion.Blazor.Navigations, Syncfusion.WordProcessor.AspNet.Core, System.Text.Json. So, it takes some time (less than 6seconds) for initial loading in client browsers to load all the dependency components and it is an expected one.
You can also explore our Blazor Word Processor example to know how to render and configure the document editor.