How can I help you?
Embedly Integration with Rich Text Editor
16 Feb 20268 minutes to read
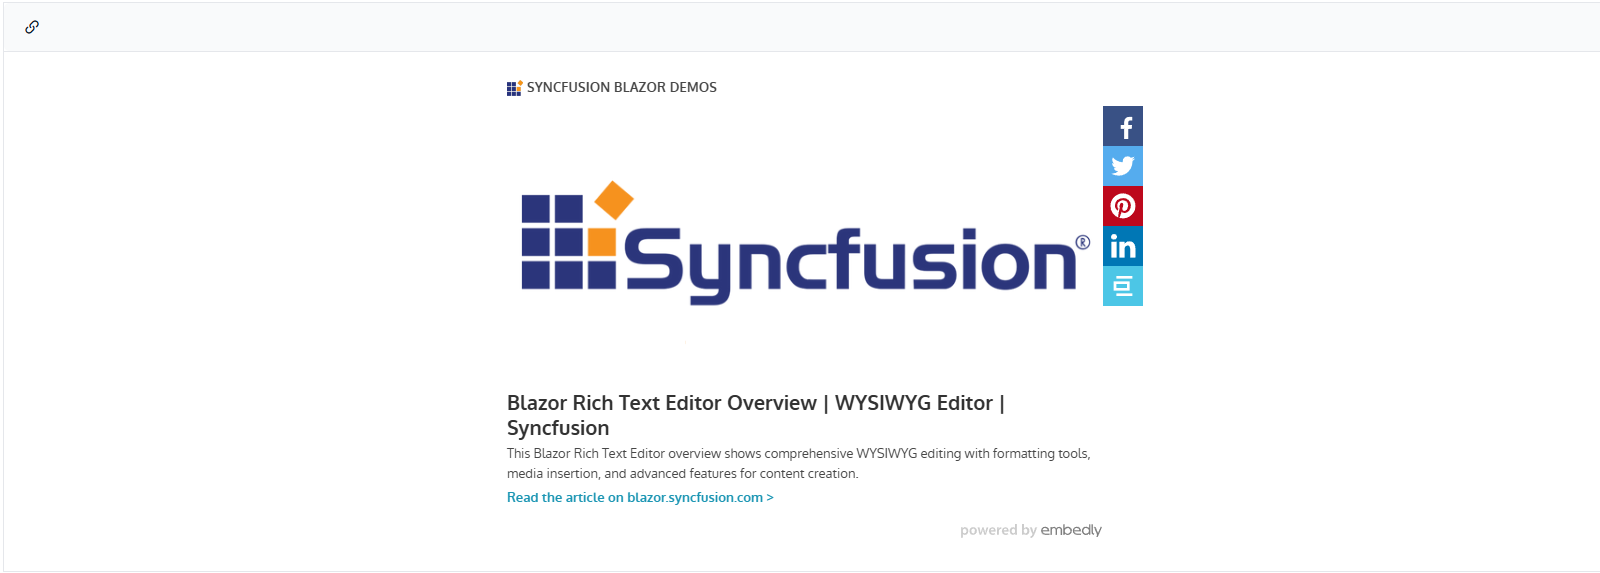
By integrating Embedly with the Blazor Rich Text Editor, you can automatically convert URLs into rich preview cards. This integration allows users to insert links that render as interactive embed cards, enhancing the visual presentation and user experience when sharing web content.
Overview
This documentation provides a complete integration of Embedly with the Rich Text Editor component. Users can:
- Insert links in the editor content.
- Links automatically render as interactive Embedly embed cards.
- Support for various content types (videos, articles, social media, etc.).
- Interactive embed cards enhance content visibility and engagement.
Prerequisites
- Syncfusion.Blazor NuGet package installed and configured
-
Required namespaces:
Syncfusion.Blazor.RichTextEditor
-
JavaScript interop enabled —
IJSRuntimesupport - Embedly CDN access — https://cdn.embedly.com/widgets/platform.js
Before integrating Embedly with Rich Text Editor, refer to the Rich Text Editor Getting Started documentation for initial setup.
Step 1: Add the JavaScript Interop File
Create a JavaScript interop module to handle link processing and communication between the Blazor Rich Text Editor and Embedly.
1.1 Create the interop file
In your Blazor project, create a new folder wwwroot/scripts/ and add a file named embedly-interop.js.
Copy the complete interop implementation from:
window.embedlyInterop = {
    wrapLinkInEmbedlyCard: function() {
        const rteContent = document.querySelector('.e-rte-content');
        if (!rteContent) {
            return;
        }
        const links = rteContent.querySelectorAll('a');
        links.forEach(link => {
            if (!link.closest('.embedly-card')) {
                const blockquote = document.createElement('blockquote');
                blockquote.className = 'embedly-card';
                const anchor = document.createElement('a');
                anchor.href = link.href;
                anchor.textContent = link.textContent || link.href;
                blockquote.appendChild(anchor);
                blockquote.appendChild(document.createElement('p'));
                link.parentNode.replaceChild(blockquote, link);
            }
        });
        if (window.embedly && window.embedly.lib) {
            window.embedly.lib.process(rteContent);
        }
    }
};
// Initialize Embedly processing on page load
function initializeEmbedly() {
    if (window.embedly && window.embedly.lib) {
        window.embedly.lib.process(document.body);
    }
}
1.2 Verify file placement
Ensure the file is located at:
YourProject/
└── wwwroot/
    └── scripts/
        └── embedly-interop.js
Step 2: Add Script Reference in Host Page
Add the script references in your host page before the closing </body> tag:
<script src="https://cdn.embedly.com/widgets/platform.js" charset="UTF-8"></script>
<script src="/scripts/embedly-interop.js"></script>
</body>
The host page location varies by project type. Refer to the Rich Text Editor Getting Started guide for the correct host page file path.
Note: The Embedly CDN script (
https://cdn.embedly.com/widgets/platform.js) must be loaded before the custom interop file to ensure proper functionality.
Step 3: Create the Razor Component
In your Blazor project’s Pages folder, create a new file: EmbedlyIntegration.razor
Copy the complete component implementation from:
@using Syncfusion.Blazor.RichTextEditor
@using Syncfusion.Blazor

@inject IJSRuntime JS

<SfRichTextEditor Placeholder="Click link icon to add URLs">
    <RichTextEditorToolbarSettings Items="@ToolbarItems"></RichTextEditorToolbarSettings>
    <RichTextEditorEvents OnActionComplete="@OnActionComplete"></RichTextEditorEvents>
    <RichTextEditorQuickToolbarSettings />
    <p><strong>Embedly integration automatically transforms plain links into rich, interactive preview cards with titles, descriptions, and thumbnails.</strong></p>
    <h4>How it works:</h4>
    <ul>
        <li><strong>Paste or create links</strong> - Use the CreateLink toolbar button to add URLs to the editor.</li>
        <li><strong>Automatic card rendering</strong> - Links are automatically converted to rich Embedly cards with preview, title, and description.</li>
        <li><strong>Supported content</strong> - Works with articles, videos, images, documents, and other embeddable web content.</li>
    </ul>
</SfRichTextEditor>

@code {
    private List<ToolbarItemModel> ToolbarItems = new()
    {
        new ToolbarItemModel { Command = ToolbarCommand.CreateLink }
    };

    private async Task OnActionComplete(ActionCompleteEventArgs args)
    {
        if (args.RequestType == "Links")
        {
            await JS.InvokeVoidAsync("embedlyInterop.wrapLinkInEmbedlyCard");
        }
    }

    protected override async Task OnAfterRenderAsync(bool firstRender)
    {
        if (firstRender)
        {
            await JS.InvokeVoidAsync("initializeEmbedly");
        }
    }
}
How to Use the Integration
-
Navigate to the component — Open the page where you created the component (e.g.,
/embedly-integration). - Insert a link — Use the Rich Text Editor’s link tool to insert a URL.
- View embed card — The link automatically renders as an Embedly embed card.
- Interact with content — Click on the embed card to interact with the content (watch videos, view articles, etc.).
How It Works
When a user inserts or updates a link in the Rich Text Editor:
- The
OnActionCompleteevent is triggered withRequestTypeset to “Links”. - The JavaScript interop method
embedlyInterop.wrapLinkInEmbedlyCard()is invoked viaJS.InvokeVoidAsync. - The method queries the Rich Text Editor content area using the
.e-rte-contentselector. - Each link is wrapped in a
blockquoteelement with the.embedly-cardclass. - The Embedly library processes the container to render the interactive embed card preview.
Supported content
Embedly supports embedding from a wide range of sources including:
- Video platforms (YouTube etc.)
- Social media (Twitter, Facebook, etc.)
- Articles and blog posts
- Music services
- Image galleries
- And many more content types
For a complete list of supported services, refer to the Embedly documentation.
Preventing duplicate processing
The JavaScript interop includes a check to prevent duplicate embed card wrapping:
if (!link.closest('.embedly-card')) {
    // Process the link only if it's not already wrapped
}
This ensures that links are only wrapped once, preventing duplicate Embedly card structures when the same link is processed multiple times.
Integration points
Toolbar configuration
The ToolbarItems list includes only the CreateLink command to allow users to insert links:
private List<ToolbarItemModel> ToolbarItems = new()
{
    new ToolbarItemModel { Command = ToolbarCommand.CreateLink }
};
Event handling
The OnActionComplete event checks if the action is a link insertion and triggers the Embedly processing:
private async Task OnActionComplete(ActionCompleteEventArgs args)
{
    if (args.RequestType == "Links")
    {
        await JS.InvokeVoidAsync("embedlyInterop.wrapLinkInEmbedlyCard");
    }
}