Add Blazor Components Using Code Snippets
16 Jul 20262 minutes to read
The Syncfusion® Blazor extension for Visual Studio Code speeds up component insertion by providing ready-to-use Razor markup and placeholders for common features.
Quick start
- Open your Blazor project in Visual Studio Code and the target Razor file.
- Position the cursor where you want the component markup inserted.
-
Type the
sfprefix using the convention:sf<Syncfusion component name>-<feature>For example,
sfgrid-groupinginserts a DataGrid with grouping enabled. -
Choose the snippet from the suggestions and press Enter or Tab. The component markup is inserted with editable placeholders.

-
Use Tab to navigate placeholders and fill required values. Inline comments in the snippet highlight required fields.
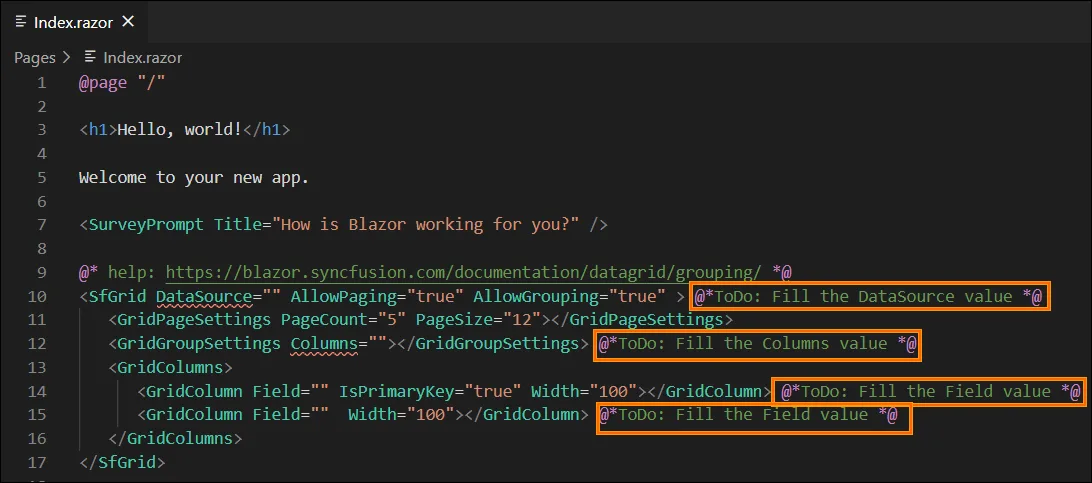
-
Each snippet includes a help link at the top so you can quickly access the relevant documentation for the inserted component or feature.
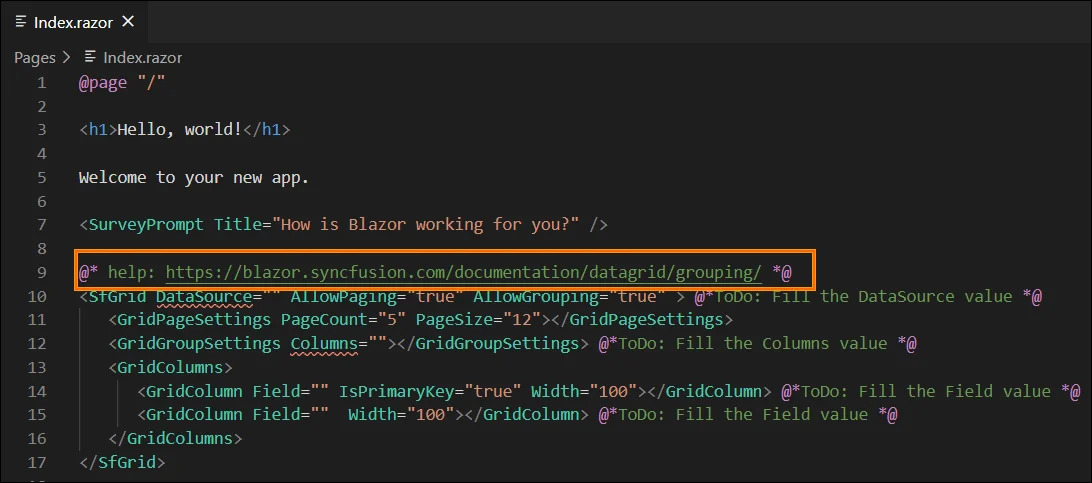
After inserting a snippet - project configuration checklist
The snippet only adds Razor markup. To render Blazor components correctly, ensure the project is configured as follows:
-
Add the required NuGet package(s). Individual packages are recommended. Refer to Benefits of using individual NuGet packages for details.
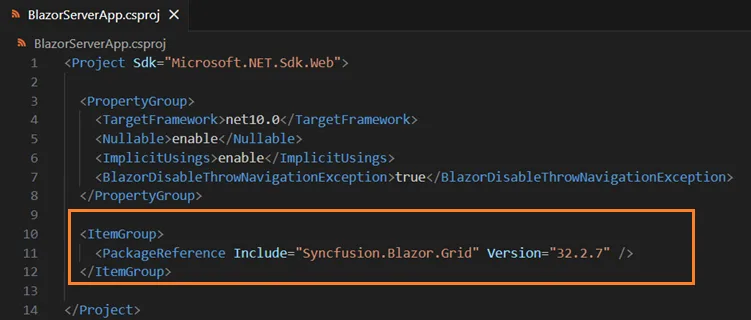
-
Import required namespaces in
~/_Imports.razor.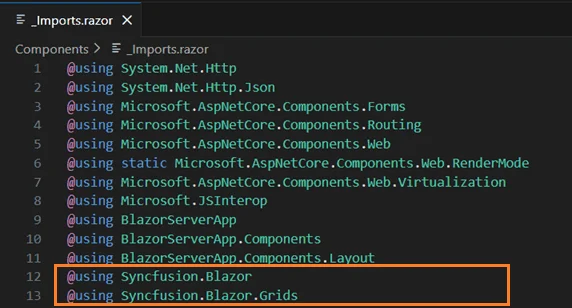
- Include a theme stylesheet in the page head:
-
~/Components/App.razor— (Blazor Web App) -
~/Pages/_Host.cshtml— (Blazor Server) -
~/wwwroot/index.html— (Blazor WebAssembly)
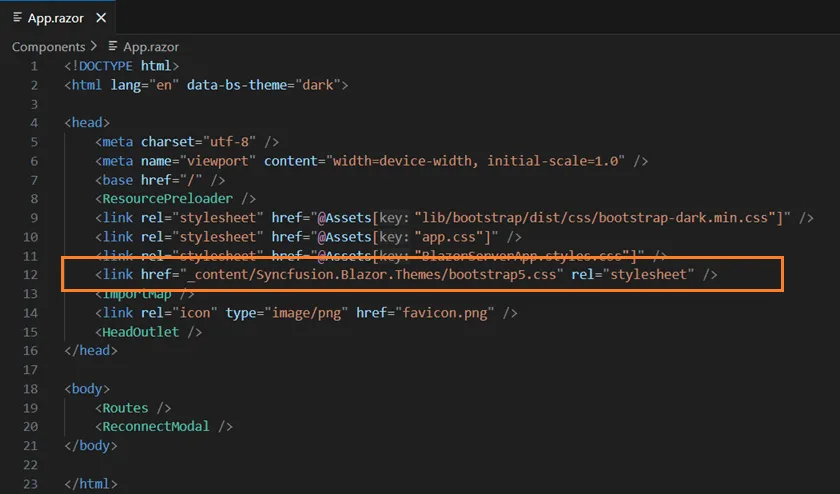
-
-
Register the Blazor service in the appropriate
Program.csfiles. For interactive Web App render modesWebAssemblyorAuto, register in bothProgram.csfiles when applicable.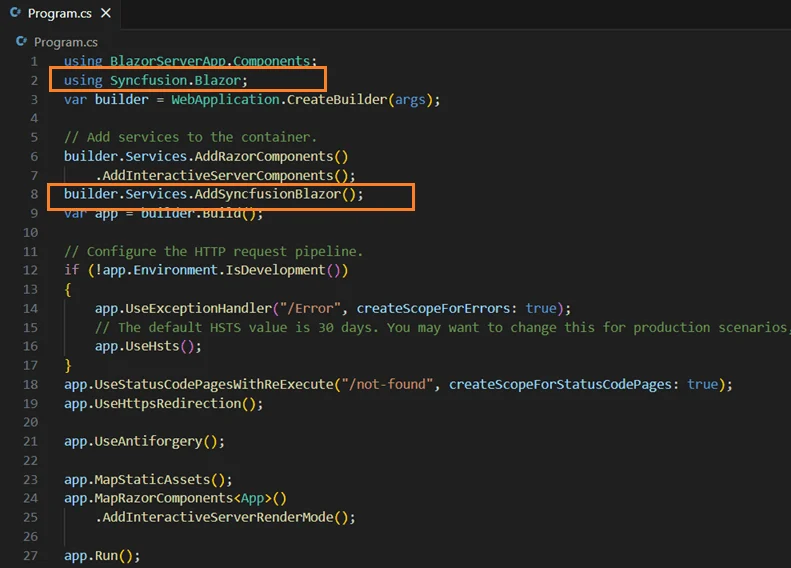
If you installed the trial setup or NuGet packages from nuget.org, you must register the license key. Refer to the licensing overview for details on generating and registering your license key.