Globalization in Blazor DataGrid
22 Jun 202624 minutes to read
The Blazor DataGrid supports globalization to make applications accessible across regions and languages. Content can be displayed in the preferred culture with localized texts and culture-aware formats for a better user experience.
Localization
The Blazor DataGrid supports localization of static text elements, such as group drop area text and pager information, can be localized to cultures like Arabic, Deutsch, French, and others.
- Apply localization to replace default UI text with culture-specific translations.
- Configure localization by referring to the Blazor Localization Documentation.
A subset of localizable strings used by the DataGrid is listed for reference.
Data Rendering
| Locale keywords | Text | Example |
|---|---|---|
| Grid_EmptyRecord | No records to display | 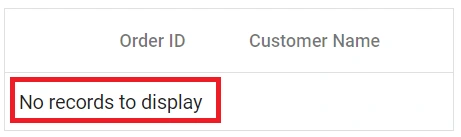 |
| Grid_EmptyDataSourceError | DataSource must not be empty at initial load since columns are generated from dataSource in AutoGenerate Column DataGrid |
Columns
| Locale keywords | Text | Example |
|---|---|---|
| Grid_True | true | 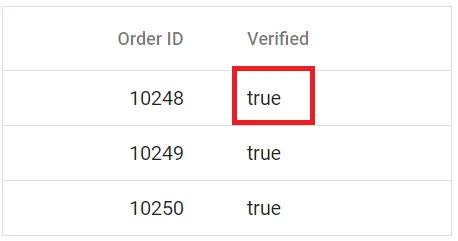 |
| Grid_False | false |  |
ColumnChooser
| Locale keywords | Text | Example |
|---|---|---|
| Grid_Columnchooser | Columns | 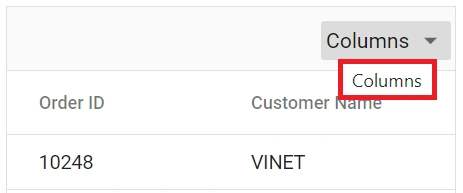 |
| Grid_ChooseColumns | Choose Column | 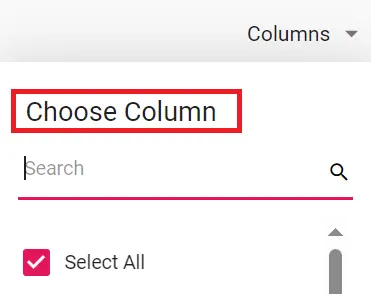 |
Editing
| Locale keywords | Text | Example |
|---|---|---|
| Grid_Add | Add | 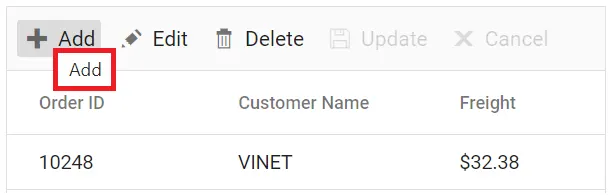 |
| Grid_Edit | Edit | 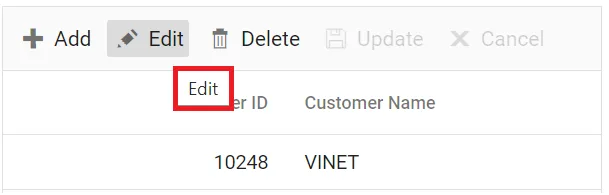 |
| Grid_Cancel | Cancel | 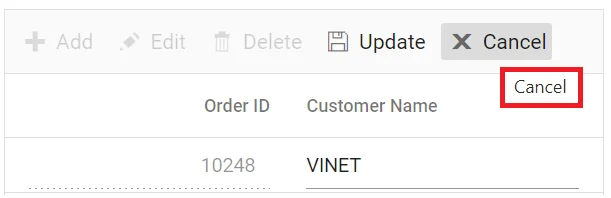 |
| Grid_Update | Update | 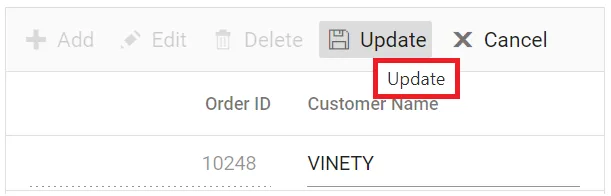 |
| Grid_Delete | Delete | 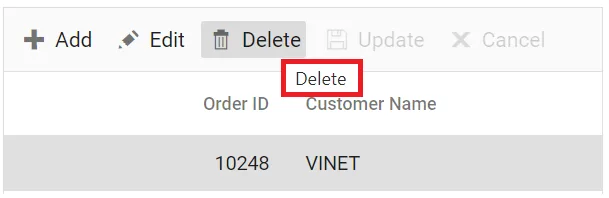 |
| Grid_Save | Save | 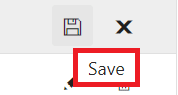 |
| Grid_EditOperationAlert | No records selected for edit operation | 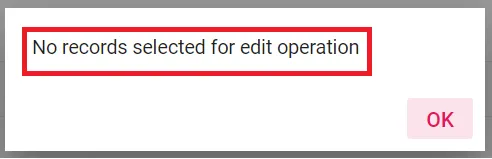 |
| Grid_DeleteOperationAlert | No records selected for delete operation | 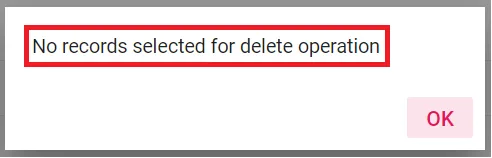 |
| Grid_SaveButton | Save |  |
| Grid_OKButton | OK |  |
| Grid_CancelButton | Cancel |  |
| Grid_EditFormTitle | Details of | 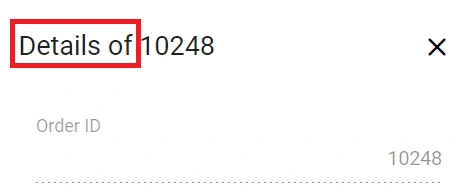 |
| Grid_AddFormTitle | Add New Record | 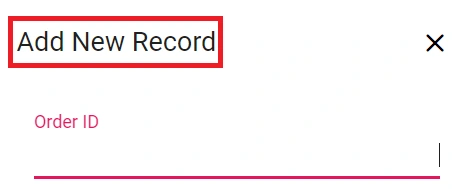 |
| Grid_BatchSaveConfirm | Are you sure you want to save changes? | 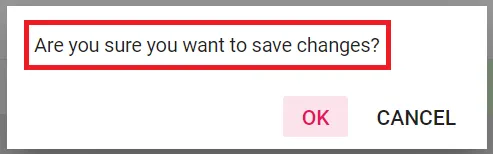 |
| Grid_BatchSaveLostChanges | Unsaved changes will be lost. Are you sure you want to continue? | 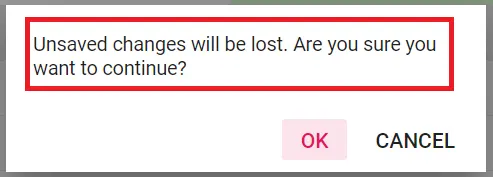 |
| Grid_ConfirmDelete | Are you sure you want to Delete Record? | 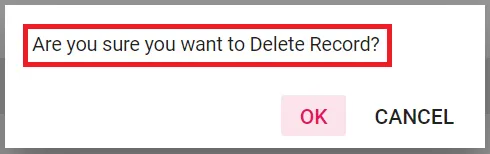 |
| Grid_CancelEdit | Are you sure you want to Cancel the changes? | 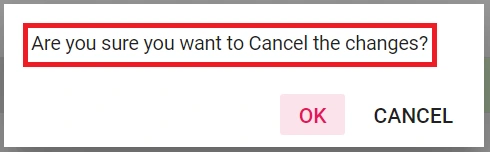 |
Grouping
| Locale keywords | Text | Example |
|---|---|---|
| Grid_GroupDropArea | Drag a column header here to group its column | 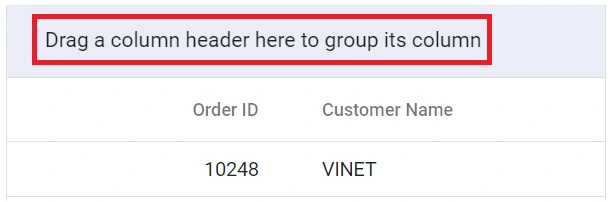 |
| Grid_UnGroup | Click here to ungroup | 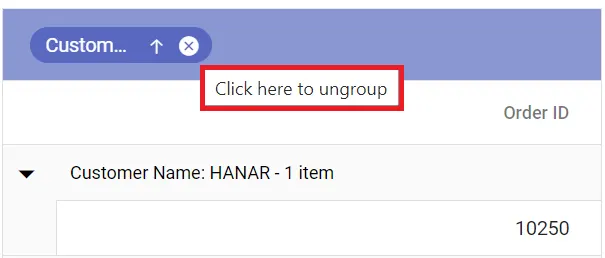 |
| Grid_GroupDisable | Grouping is disabled for this column | 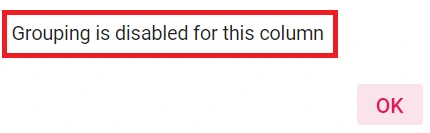 |
| Grid_Item | item | 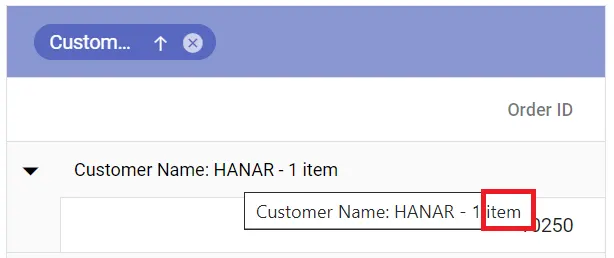 |
| Grid_Items | items | 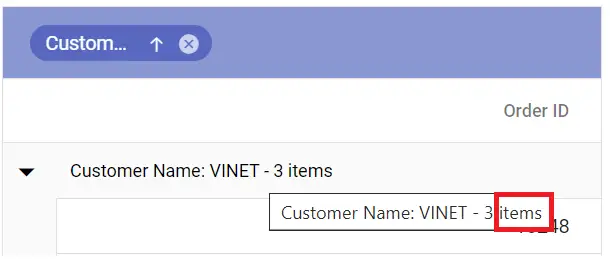 |
| Grid_UnGroupButton | Click here to ungroup | |
| Grid_GroupDescription | Press Ctrl space to group | 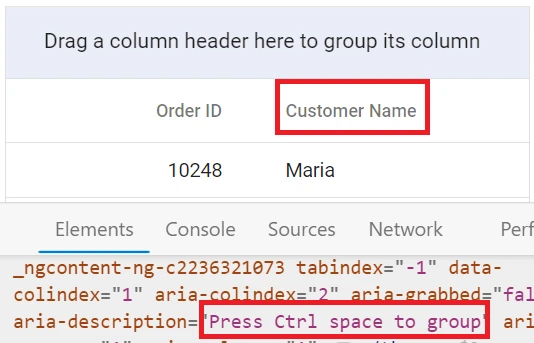 |
Filtering
| Locale keywords | Text | Example |
|---|---|---|
| Grid_InvalidFilterMessage | Invalid Filter Data | |
| Grid_FilterbarTitle | \s filter bar cell |  |
| Grid_Matchs | No Matches Found | 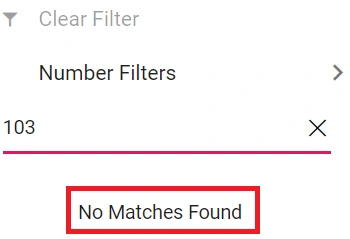 |
| Grid_FilterButton | Filter | 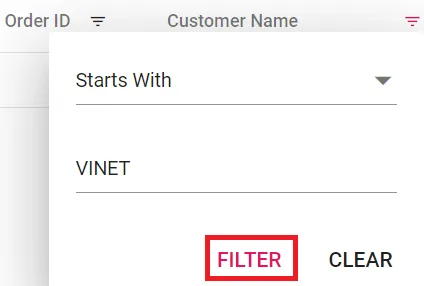 |
| Grid_ClearButton | Clear | 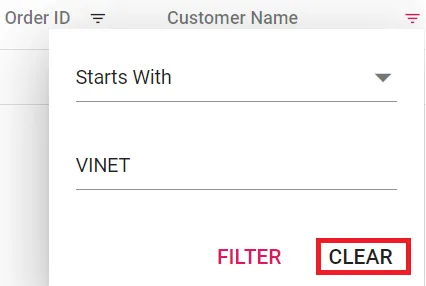 |
| Grid_StartsWith | Starts With | 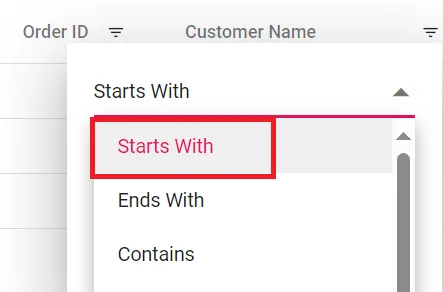 |
| Grid_EndsWith | Ends With | 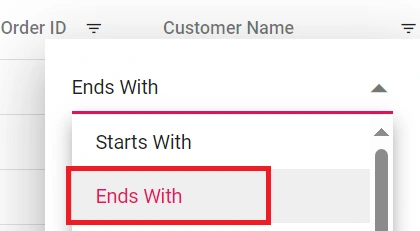 |
| Grid_Contains | Contains | 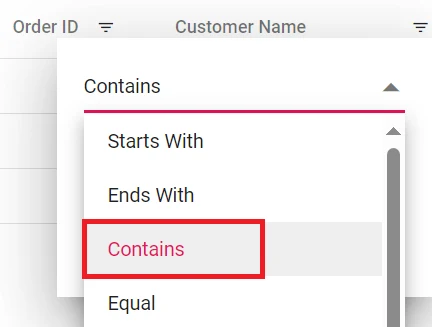 |
| Grid_Equal | Equal | 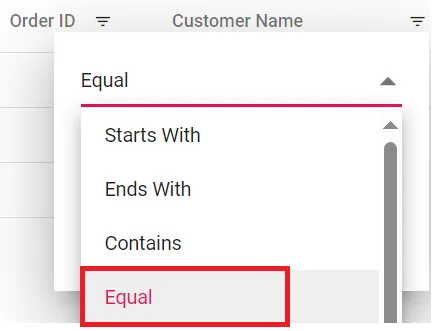 |
| Grid_NotEqual | Not Equal | 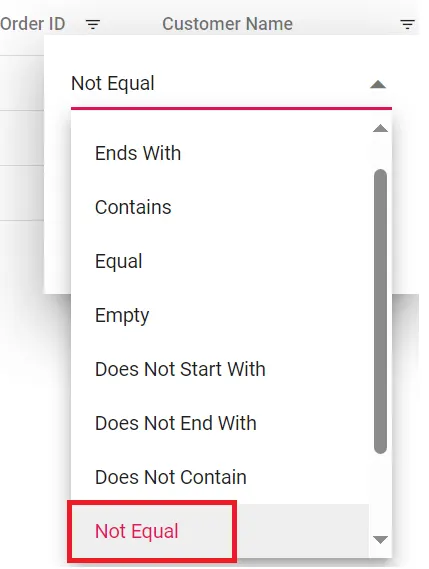 |
| Grid_LessThan | Less Than | 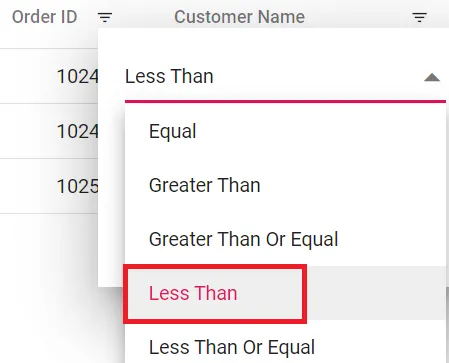 |
| Grid_LessThanOrEqual | Less Than Or Equal | 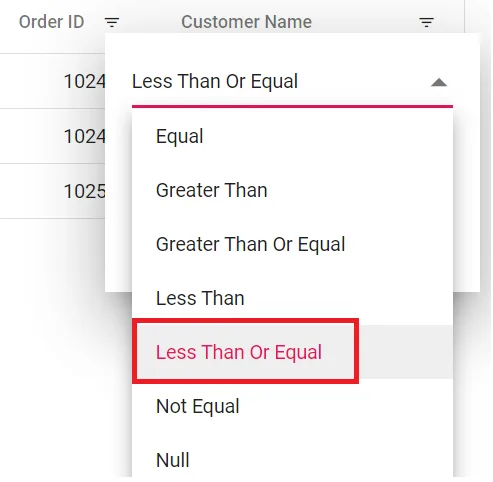 |
| Grid_GreaterThan | Greater Than | 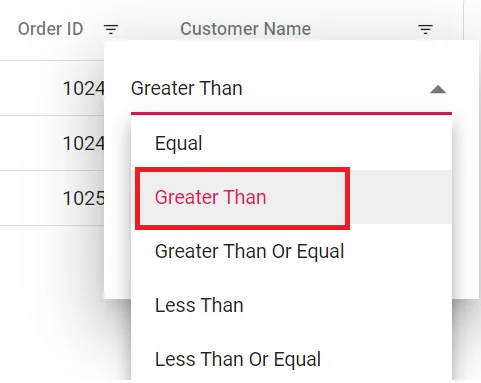 |
| Grid_GreaterThanOrEqual | Greater Than Or Equal | 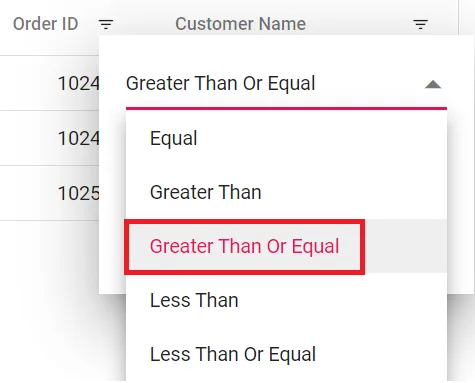 |
| Grid_ChooseDate | Choose a Date | 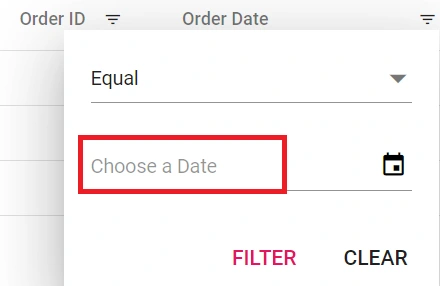 |
| Grid_EnterValue | Enter the value | 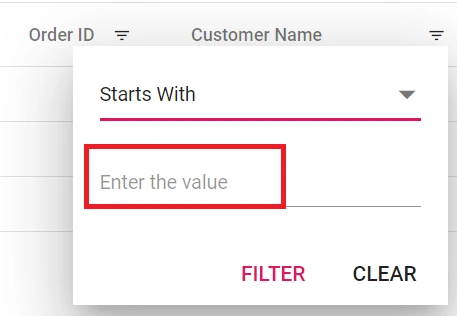 |
| Grid_SelectAll | Select All | 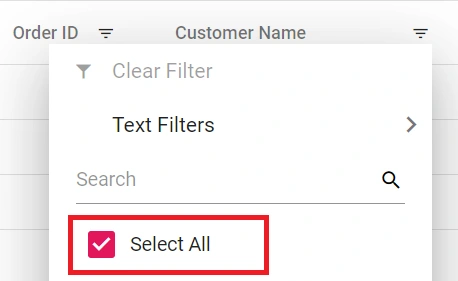 |
| Grid_Blanks | Blanks | 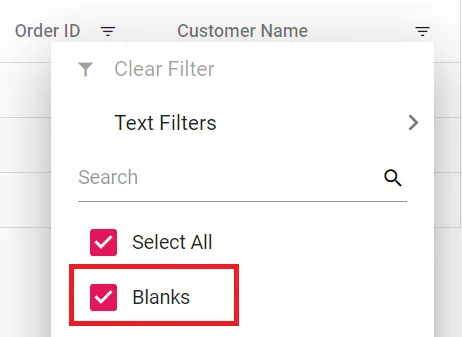 |
| Grid_FilterTrue | True | 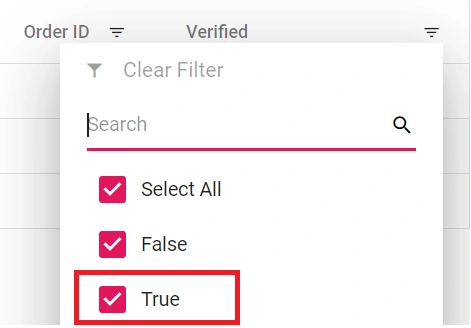 |
| Grid_FilterFalse | False | 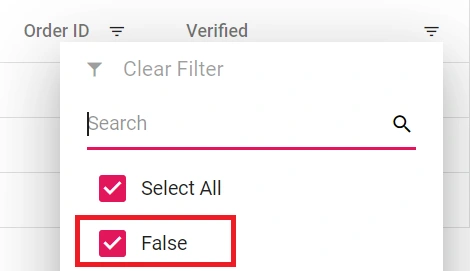 |
| Grid_NoResult | No Matches Found | 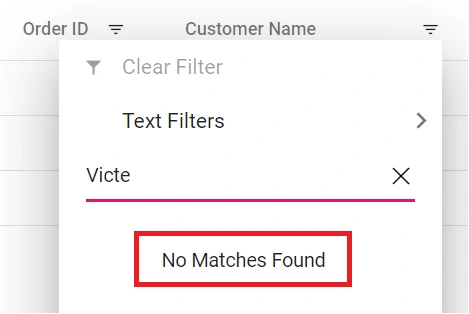 |
| Grid_ClearFilter | Clear Filter | 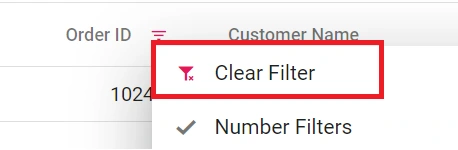 |
| Grid_NumberFilter | Number Filters | 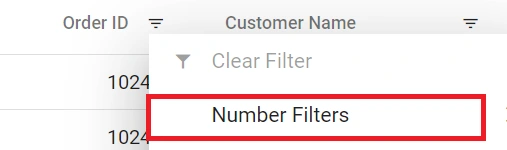 |
| Grid_TextFilter | Text Filters | 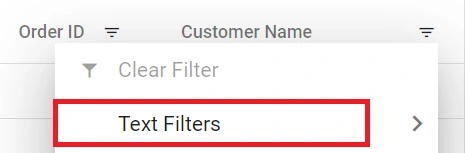 |
| Grid_DateFilter | Date Filters | 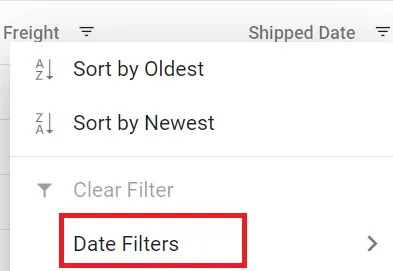 |
| Grid_DateTimeFilter | DateTime Filters | 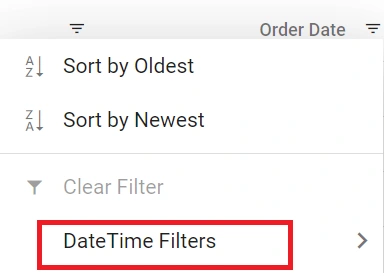 |
| Grid_MatchCase | Match Case | 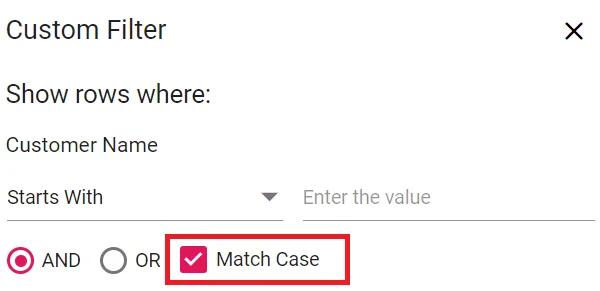 |
| Grid_Between | Between | 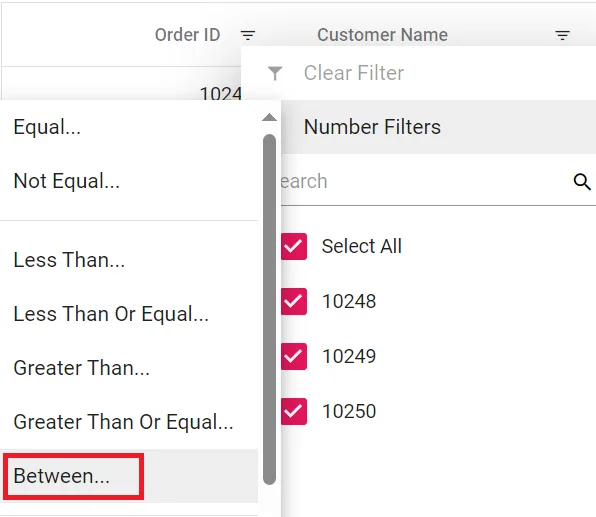 |
| Grid_CustomFilter | Custom Filter | 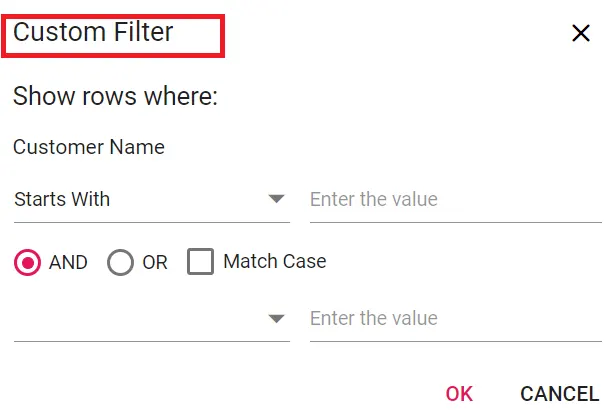 |
| Grid_CustomFilterPlaceHolder | Enter the value | 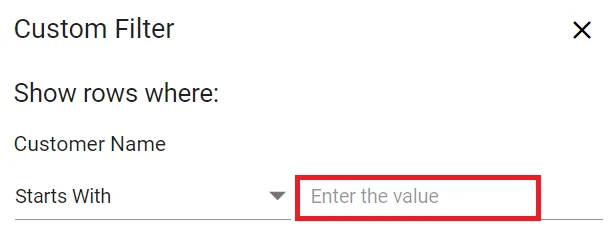 |
| Grid_CustomFilterDatePlaceHolder | Choose a date | 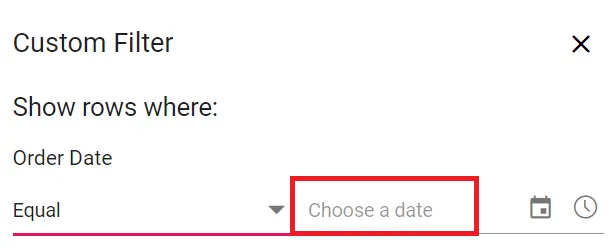 |
| Grid_AND | AND | 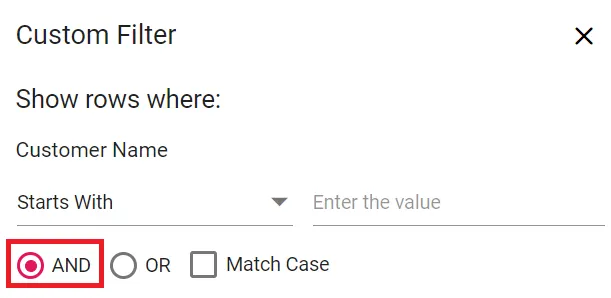 |
| Grid_OR | OR | 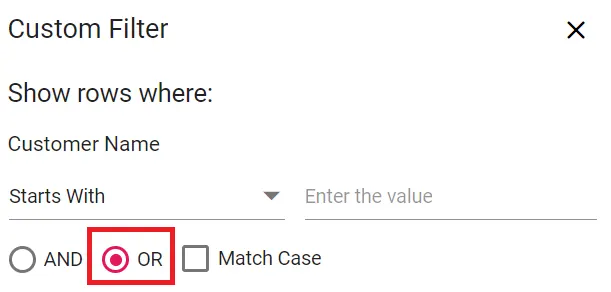 |
| Grid_ShowRowsWhere | Show rows where: | 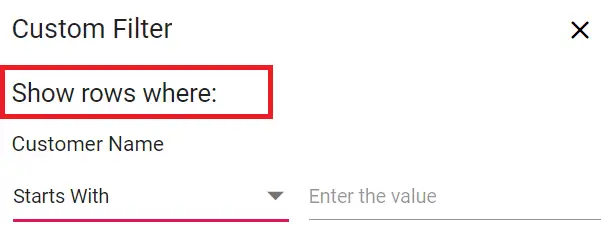 |
Searching
| Locale keywords | Text | Example |
|---|---|---|
| Grid_Search | Search | 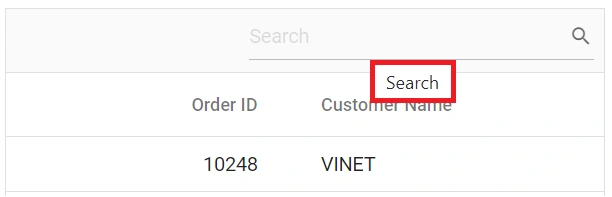 |
| Grid_SearchColumns | search columns |
Toolbar
| Locale keywords | Text | Example |
|---|---|---|
| Grid_Print | 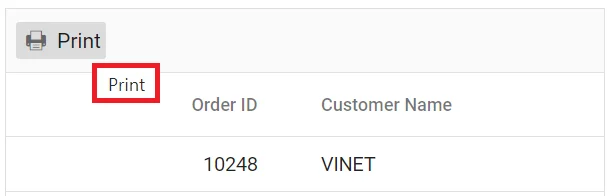 |
|
| Grid_Pdfexport | PDF Export | 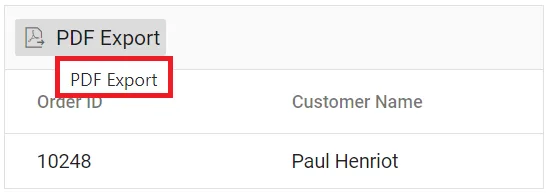 |
| Grid_Excelexport | Excel Export | 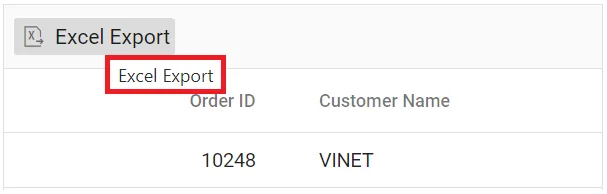 |
| Grid_Csvexport | CSV Export | 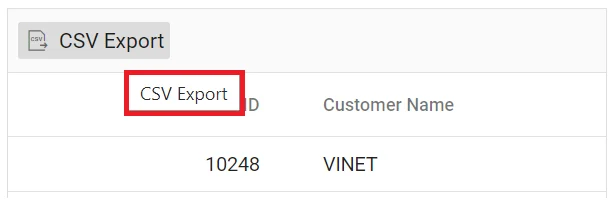 |
ColumnMenu
| Locale keywords | Text | Example |
|---|---|---|
| Grid_FilterMenu | Filter | 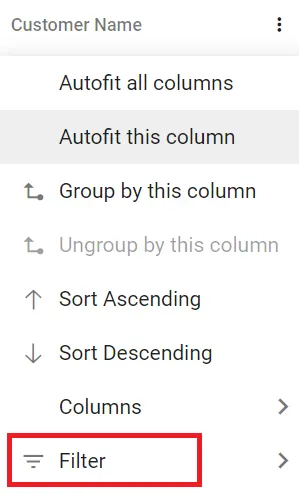 |
| Grid_AutoFitAll | Autofit all columns | |
| Grid_AutoFit | Autofit this column |
ContextMenu
| Locale keywords | Text | Example |
|---|---|---|
| Grid_Copy | Copy | 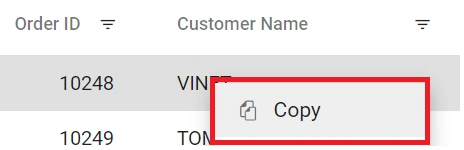 |
| Grid_Group | Group by this column | 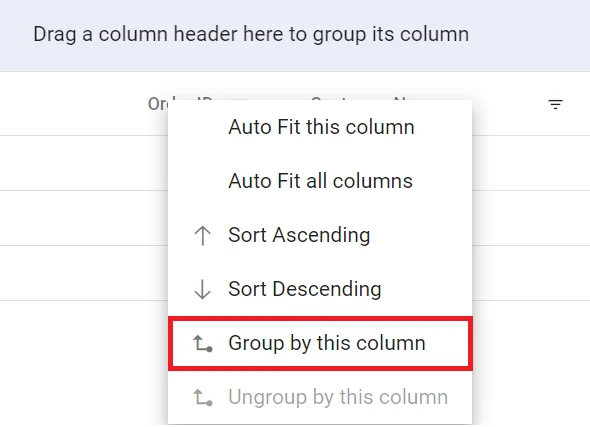 |
| Grid_Ungroup | Ungroup by this column | 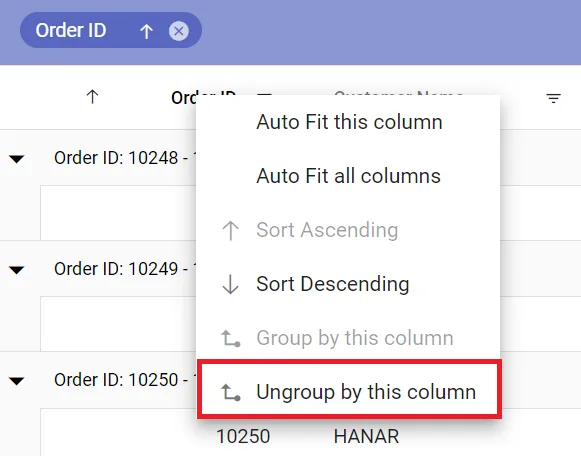 |
| Grid_autoFitAll | Auto Fit all columns | 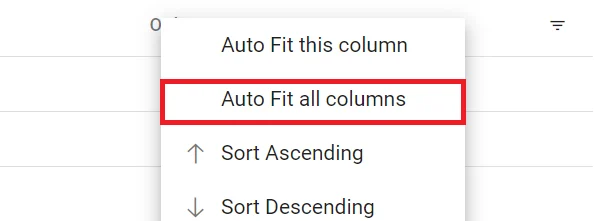 |
| Grid_autoFit | Auto Fit this column | 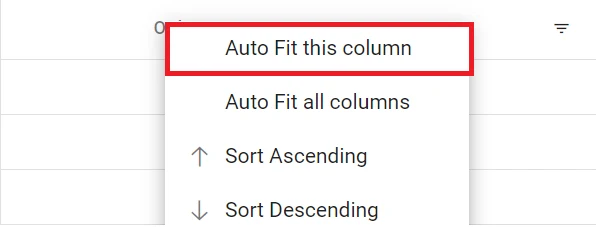 |
| Grid_Export | Export | 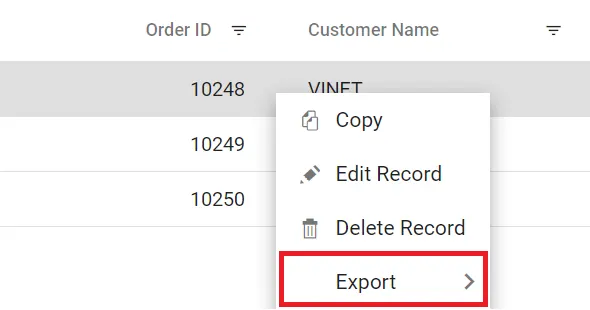 |
| Grid_FirstPage | First Page | 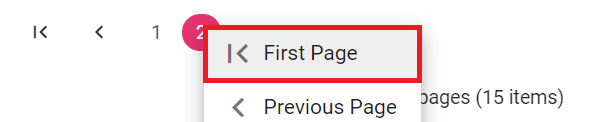 |
| Grid_LastPage | Last Page | 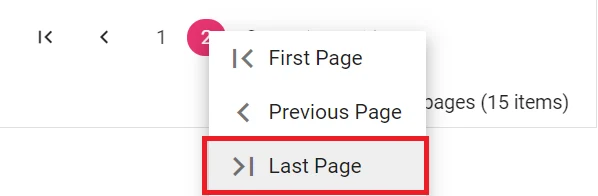 |
| Grid_PreviousPage | Previous Page |  |
| Grid_NextPage | Next Page |  |
| Grid_SortAscending | Sort Ascending | 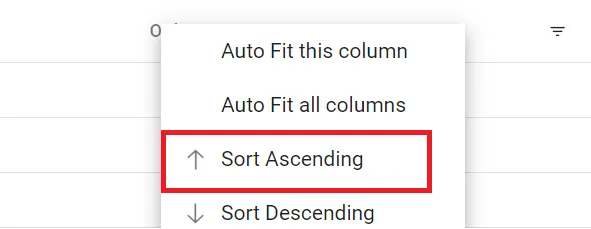 |
| Grid_SortDescending | Sort Descending | 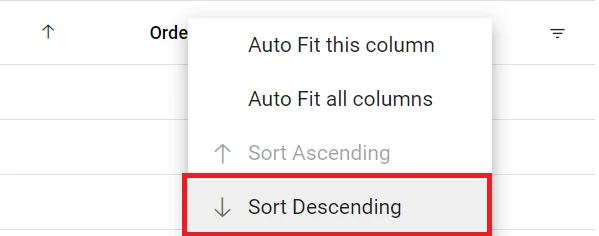 |
| Grid_EditRecord | Edit Record |  |
| Grid_DeleteRecord | Delete Record | 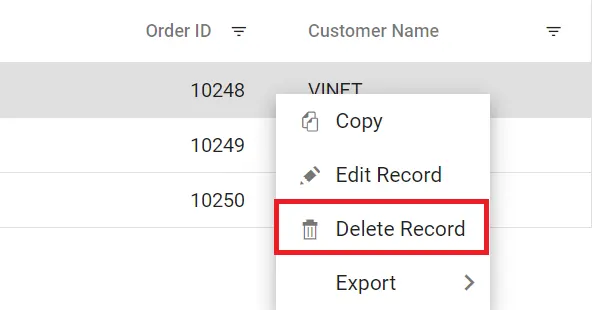 |
Switch the different localization
-
The Blazor DataGrid allows switching the localization from one culture to another at runtime. This is useful when the culture needs to be changed based on user preference or application context. For more details, see Dynamically set the culture.
-
To configure localization in a Blazor DataGrid and switch to a different culture (e.g., French, German, Arabic), follow these steps:
Step 1: Create a Blazor Web App
Create a Blazor Web App named LocalizationSample using Visual Studio 2022. Use either Microsoft Templates or the Blazor Extension. Configure the appropriate interactive render mode and interactivity location.
Step 2: Install Blazor DataGrid NuGet Packages
-
To integrate the Blazor DataGrid, open the NuGet Package Manager (Tools → NuGet Package Manager → Manage NuGet Packages for Solution) and install the following packages:
- Syncfusion.Blazor.Grid
- Syncfusion.Blazor.Themes
-
For Blazor Web Apps using WebAssembly or Auto render modes, install these packages in the client project.
- Alternatively, use the following Package Manager Console commands:
Install-Package Syncfusion.Blazor.Grid -Version 34.1.29
Install-Package Syncfusion.Blazor.Themes -Version 34.1.29
Install-Package Syncfusion.Blazor.Buttons -Version 34.1.29
NOTE
Blazor components are available on nuget.org. Refer to the NuGet packages documentation for a complete list of available packages.
Step 3: Register Blazor Service
Open the ~/_Imports.razor file and import the required namespaces.
@using Syncfusion.Blazor
@using Syncfusion.Blazor.Grids
@using Syncfusion.Blazor.Buttons- Register the Blazor service in Program.cs:
builder.Services.AddServerSideBlazor();Step 4: Add Stylesheet and Script Resources
Include the theme stylesheet and script references in the ~/Components/App.razor file:
<head>
    ...
    <link href="_content/Syncfusion.Blazor.Themes/bootstrap5.css" rel="stylesheet" />
</head>
<body>
    ...
    <script src="_content/Syncfusion.Blazor.Core/scripts/syncfusion-blazor.min.js" type="text/javascript"></script>
</body>
- Refer to the Blazor Themes documentation for theme inclusion methods (Static Web Assets, CDN, or CRG).
- Set the render mode to InteractiveServer or InteractiveAuto in the Blazor Web App configuration.
Step 5: Create and Register Localization Service
Create a SyncfusionLocalizer.cs file and add the following code. For detailed steps on creating and registering a localization service, refer to the Localization documentation.
using Syncfusion.Blazor;

namespace LocalizationSample.Client
{
    public class SyncfusionLocalizer : ISyncfusionStringLocalizer
    {
        // To get the locale key from mapped resources file
        public string GetText(string key)
        {
            return this.ResourceManager.GetString(key);
        }

        // To access the resource file and get the exact value for locale key

        public System.Resources.ResourceManager ResourceManager
        {
            get
            {
                // Replace the ApplicationNamespace with your application name.
                return LocalizationSample.Client.Resources.SfResources.ResourceManager;
            }
        }
    }
}
Step 6: Configure Program.cs
- Set the culture of the application: In the client-side ~/Program.cs, use JavaScript interop to retrieve the user’s culture from local storage. If none is found, set the default to en-US.
- Register services: Register the SyncfusionLocalizer and Blazor services in ~/Program.cs.
using LocalizationSample.Client;
using Microsoft.AspNetCore.Components.WebAssembly.Hosting;
using Microsoft.JSInterop;
using Syncfusion.Blazor;
using System.Globalization;

var builder = WebAssemblyHostBuilder.CreateDefault(args);

// Register the Blazor services.
builder.Services.AddSyncfusionBlazor();

// Register the locale service to localize Blazor components.
builder.Services.AddSingleton(typeof(ISyncfusionStringLocalizer), typeof(SyncfusionLocalizer));
Syncfusion.Licensing.SyncfusionLicenseProvider.RegisterLicense("YOUR LICENSE KEY");
var host = builder.Build();

// Setting culture of the application.
var JsInterop = host.Services.GetRequiredService<IJSRuntime>();
var Result = await JsInterop.InvokeAsync<string>("cultureInfo.get");
CultureInfo Culture;
if (Result != null)
{
    Culture = new CultureInfo(Result);
}
else
{
    Culture = new CultureInfo("en-US");
    await JsInterop.InvokeVoidAsync("cultureInfo.set", "en-US");
}
CultureInfo.DefaultThreadCurrentCulture = Culture;
CultureInfo.DefaultThreadCurrentUICulture = Culture;
await host.RunAsync();
Step 7: Update Project File
Add the following property to the project file (e.g., LocalizationSample.csproj):
<PropertyGroup>
    <BlazorWebAssemblyLoadAllGlobalizationData>true</BlazorWebAssemblyLoadAllGlobalizationData>
</PropertyGroup>
Step 8: Add JavaScript for Culture Management
Add the following JavaScript function to ~/Components/App.razor after the Blazor <script> tag and before </body> to manage culture in local storage:
<!DOCTYPE html>
<html lang="en">
<head>
    <meta charset="utf-8" />
    <meta name="viewport" content="width=device-width, initial-scale=1.0" />
    <base href="/" />
    <link rel="stylesheet" href="bootstrap/bootstrap.min.css" />
    <link rel="stylesheet" href="app.css" />
    <link rel="stylesheet" href="LocalizationSample.styles.css" />
    <link rel="icon" type="image/png" href="favicon.webp" />
    <link href="_content/Syncfusion.Blazor.Themes/bootstrap5.css" rel="stylesheet" />
    <HeadOutlet />
</head>
<body>
    <Routes />
    <script src="_framework/blazor.web.js"></script>
    <script>
        window.cultureInfo = {
            get: () => window.localStorage['BlazorCulture'],
            set: (value) => window.localStorage['BlazorCulture'] = value
        };
    </script>
    <script src="_content/Syncfusion.Blazor.Core/scripts/syncfusion-blazor.min.js" type="text/javascript"></script>
</body>
</html>
Step 9: Configure Culture Switching with Blazor DataGrid
In the Counter.razor file (or another page, e.g., Index.razor), add code to enable culture switching and display a DataGrid with buttons to toggle between English (en-US) and French (fr-FR):
@page "/counter"
@rendermode InteractiveAuto
@using System.Globalization
@inject IJSRuntime JSRuntime
@inject NavigationManager NavigationManager
@using LocalizationSample.Client.Data
<div style="padding: 10px 10px">
<SfButton CssClass="e-outline" @onclick='() => ChangeCulture("en-US")' Content="Change to English (en-US)"></SfButton>
<SfButton CssClass="e-outline" style="margin-left: 5px;" @onclick='() => ChangeCulture("fr-FR")' Content="Change to French (fr-FR)"></SfButton>
</div>
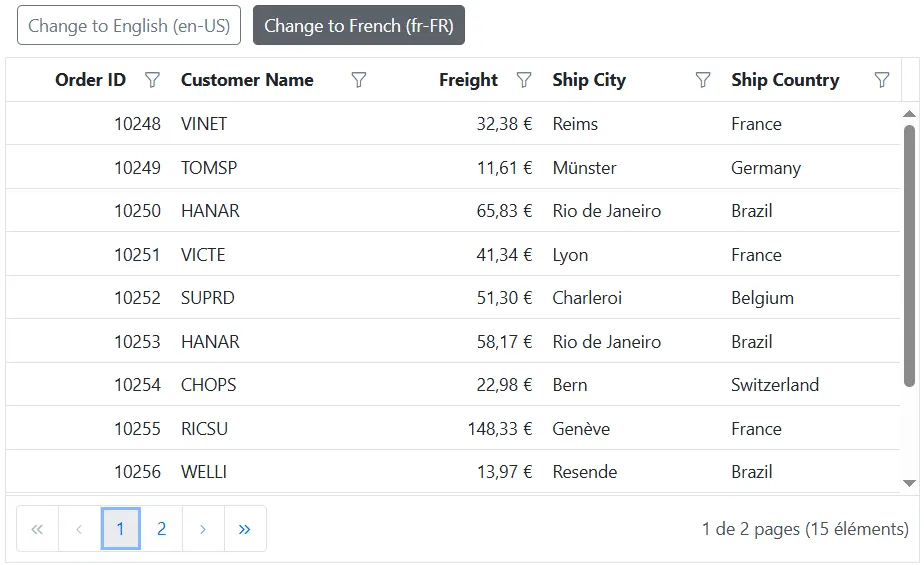
<SfGrid DataSource="@Orders" AllowFiltering="true" AllowPaging="true" Height="315">
<GridFilterSettings Type="FilterType.Menu"></GridFilterSettings>
<GridColumns>
<GridColumn Field=@nameof(OrderData.OrderID) HeaderText="Order ID" TextAlign="TextAlign.Right" Width="120"></GridColumn>
<GridColumn Field=@nameof(OrderData.CustomerID) HeaderText="Customer Name" Width="150"></GridColumn>
<GridColumn Field=@nameof(OrderData.Freight) HeaderText="Freight" Format="C2" TextAlign="TextAlign.Right" Width="120"></GridColumn>
<GridColumn Field=@nameof(OrderData.ShipCity) HeaderText="Ship City" Width="130"></GridColumn>
<GridColumn Field=@nameof(OrderData.ShipCountry) HeaderText="Ship Country" Width="130"></GridColumn>
</GridColumns>
</SfGrid>
@code {
private List<OrderData> Orders { get; set; }
protected override void OnInitialized()
{
Orders = OrderData.GetAllRecords();
}
private async Task ChangeCulture(string Culture)
{
await JSRuntime.InvokeVoidAsync("cultureInfo.set", Culture);
NavigationManager.NavigateTo(NavigationManager.Uri, forceLoad: true);
}
}Step 10: Create a Model Class
Create a Data folder and add an OrderData.cs file to define the model class for the DataGrid:
namespace LocalizationSample.Client.Data
{
    internal sealed class OrderData
    {
        internal OrderData(int orderID, string customerID, double freight, string shipCity, string shipCountry)
        {
            OrderID = orderID;
            CustomerID = customerID;
            Freight = freight;
            ShipCity = shipCity;
            ShipCountry = shipCountry;
        }

        internal static List<OrderData> GetAllRecords()
        {
            return new List<OrderData>
            {
                new OrderData(10248, "VINET", 32.38, "Reims", "France"),
                new OrderData(10249, "TOMSP", 11.61, "Münster", "Germany"),
                new OrderData(10250, "HANAR", 65.83, "Rio de Janeiro", "Brazil"),
                new OrderData(10251, "VICTE", 41.34, "Lyon", "France"),
                new OrderData(10252, "SUPRD", 51.30, "Charleroi", "Belgium"),
                new OrderData(10253, "HANAR", 58.17, "Rio de Janeiro", "Brazil"),
                new OrderData(10254, "CHOPS", 22.98, "Bern", "Switzerland"),
                new OrderData(10255, "RICSU", 148.33, "Genève", "France"),
                new OrderData(10256, "WELLI", 13.97, "Resende", "Brazil"),
                new OrderData(10257, "HILAA", 81.91, "San Cristóbal", "Mexico"),
                new OrderData(10258, "ERNSH", 140.51, "Graz", "Austria"),
                new OrderData(10259, "CENTC", 3.25, "México D.F.", "Mexico"),
                new OrderData(10260, "OTTIK", 55.09, "Köln", "Germany"),
                new OrderData(10261, "QUEDE", 3.05, "Rio de Janeiro", "Brazil"),
                new OrderData(10262, "RATTC", 48.29, "Albuquerque", "USA")
            };
        }

        internal int OrderID { get; set; }
        internal string CustomerID { get; set; }
        internal double Freight { get; set; }
        internal string ShipCity { get; set; }
        internal string ShipCountry { get; set; }
    }
}
Step 11: Run the Application
Run the application to display the DataGrid with localized content and formats based on the selected culture (e.g., en-US or fr-FR). The culture switcher buttons update the UI, such as pager text or currency formats (e.g., $ for en-US, € for fr-FR).
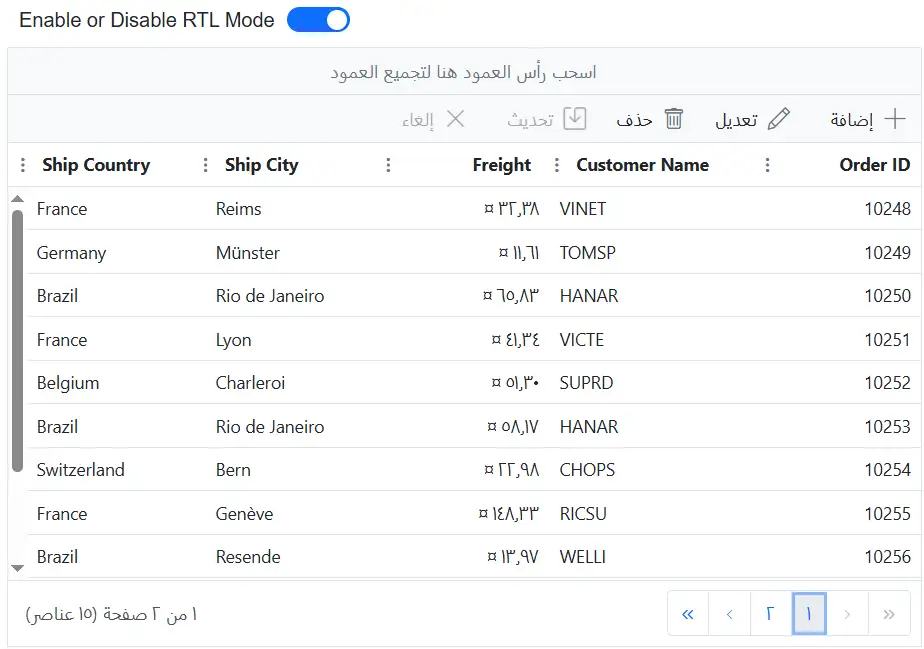
Right-to-Left (RTL) in Blazor DataGrid
-
The Right-to-Left (RTL) feature in the Blazor DataGrid reverses the layout and text direction from left-to-right to right-to-left, supporting languages like Arabic, Farsi, and Urdu. Enabling RTL improves accessibility and delivers a natural reading experience for these languages.
-
To enable RTL, set the EnableRtl property to true in the DataGrid component.
-
Follow these steps to configure RTL with a specific culture:
Step 1: Complete Initial Localization Setup
Complete steps 1 through 5 from the Switching Localization guide to set up the Blazor Web App, install NuGet packages, register services, and include theme resources.
Step 2: Configure ~/Program.cs
Register Blazor and localization services in ~/Program.cs:
using LocalizationSample.Client;
using Syncfusion.Blazor;

builder.Services.AddSyncfusionBlazor();
builder.Services.AddSingleton(typeof(ISyncfusionStringLocalizer), typeof(SyncfusionLocalizer));
Step 3: Set Culture in Blazor Start Option
- Add the autostart=”false” attribute to the Blazor
<script>tag to prevent Blazor from starting automatically. - Add the script block below Blazor’s
<script>tag and before the closing</body>tag to start Blazor with a specific culture. - Use the Blazor.start method and set applicationCulture to the desired culture code.
<!DOCTYPE html>
<html lang="en">
<head>
    <meta charset="utf-8" />
    <meta name="viewport" content="width=device-width, initial-scale=1.0" />
    <base href="/" />
    <link rel="stylesheet" href="bootstrap/bootstrap.min.css" />
    <link rel="stylesheet" href="app.css" />
    <link rel="stylesheet" href="LocalizationSample.styles.css" />
    <link rel="icon" type="image/png" href="favicon.png" />
    <link href="_content/Syncfusion.Blazor.Themes/bootstrap5.css" rel="stylesheet" />
    <HeadOutlet />
</head>
<body>
    <Routes />
    <script src="_framework/blazor.web.js" autostart="false"></script>
    <script>
        Blazor.start({
            webAssembly: {
                applicationCulture: 'ar'
            }
        });
    </script>
</body>
</html>
Step 4: Enable or Disable RTL Mode with Toggle Switch
Use a Toggle Switch Button to enable or disable RTL dynamically. The switch triggers the ValueChange event, which updates the EnableRtl property of the DataGrid.
@page "/counter"
@rendermode InteractiveAuto

@using LocalizationSample.Client.Models

<div style="display: flex; align-items: center; gap: 10px; padding: 10px;">
    <label style="margin: 0;">Enable or Disable RTL Mode</label>
    <SfSwitch ValueChange="Change" TChecked="bool"></SfSwitch>
</div>


<SfGrid @ref="Grid" DataSource="@Orders" AllowSorting="true" AllowGrouping="true" AllowFiltering="true" ShowColumnMenu="true" ShowColumnChooser="true" AllowPaging="true" Height="315" EnableRtl="@IsRtlEnabled" Toolbar="@(new List<string>() { "Add", "Edit", "Delete", "Update", "Cancel" })">
    <GridFilterSettings Type="FilterType.Menu"></GridFilterSettings>
    <GridEditSettings AllowAdding="true" AllowEditing="true" AllowDeleting="true" Mode="EditMode.Normal"></GridEditSettings>
    <GridColumns>
        <GridColumn Field=@nameof(OrderData.OrderID) HeaderText="Order ID" TextAlign="TextAlign.Right" Width="120"></GridColumn>
        <GridColumn Field=@nameof(OrderData.CustomerID) HeaderText="Customer Name" Width="150"></GridColumn>
        <GridColumn Field=@nameof(OrderData.Freight) HeaderText="Freight" Format="C2" TextAlign="TextAlign.Right" Width="120"></GridColumn>
        <GridColumn Field=@nameof(OrderData.ShipCity) HeaderText="Ship City" Width="130"></GridColumn>
        <GridColumn Field=@nameof(OrderData.ShipCountry) HeaderText="Ship Country" Width="130"></GridColumn>
    </GridColumns>
</SfGrid>

@code {
    private SfGrid<OrderData> Grid;
    private List<OrderData> Orders { get; set; }
    private bool IsRtlEnabled { get; set; } = false;

    protected override void OnInitialized()
    {
        Orders = OrderData.GetAllRecords();
    }

    private void Change(Syncfusion.Blazor.Buttons.ChangeEventArgs<bool> Args)
    {
        IsRtlEnabled = Args.Checked;
        Grid.Refresh();
    }
}
Step 5: Create a Model Class
Create a Data folder and add an OrderData.cs file to define the model class for the DataGrid:
namespace LocalizationSample.Client.Models
{
    public class OrderData
    {
        public OrderData(int orderID, string customerID, double freight, string shipCity, string shipCountry)
        {
            this.OrderID = orderID;
            this.CustomerID = customerID;
            this.Freight = freight;
            this.ShipCity = shipCity;
            this.ShipCountry = shipCountry;
        }
        public static List<OrderData> GetAllRecords()
        {
            return new List<OrderData>
            {
                new OrderData(10248, "VINET", 32.38, "Reims", "France"),
                new OrderData(10249, "TOMSP", 11.61, "Münster", "Germany"),
                new OrderData(10250, "HANAR", 65.83, "Rio de Janeiro", "Brazil"),
                new OrderData(10251, "VICTE", 41.34, "Lyon", "France"),
                new OrderData(10252, "SUPRD", 51.30, "Charleroi", "Belgium"),
                new OrderData(10253, "HANAR", 58.17, "Rio de Janeiro", "Brazil"),
                new OrderData(10254, "CHOPS", 22.98, "Bern", "Switzerland"),
                new OrderData(10255, "RICSU", 148.33, "Genève", "France"),
                new OrderData(10256, "WELLI", 13.97, "Resende", "Brazil"),
                new OrderData(10257, "HILAA", 81.91, "San Cristóbal", "Mexico"),
                new OrderData(10258, "ERNSH", 140.51, "Graz", "Austria"),
                new OrderData(10259, "CENTC", 3.25, "México D.F.", "Mexico"),
                new OrderData(10260, "OTTIK", 55.09, "Köln", "Germany"),
                new OrderData(10261, "QUEDE", 3.05, "Rio de Janeiro", "Brazil"),
                new OrderData(10262, "RATTC", 48.29, "Albuquerque", "USA")
            };
        }

        internal int OrderID { get; set; }
        internal string CustomerID { get; set; }
        internal double Freight { get; set; }
        internal string ShipCity { get; set; }
        internal string ShipCountry { get; set; }
    }
}
Step 6: Run the Application
Run the application to display the DataGrid with RTL layout and text direction based on the selected culture. Toggling the switch enables or disables RTL mode.