How can I help you?
Getting Started with Blazor Web App with Authentication
6 Mar 20264 minutes to read
This guide demonstrates how to build a Blazor Web App with authentication using .NET 9 or .NET 10. It uses the built-in AuthenticationStateProvider to retrieve and manage user identity details from the application’s authentication context, enabling secure and consistent user state handling across components.
Prerequisites
Create a new Blazor Web App in Visual Studio
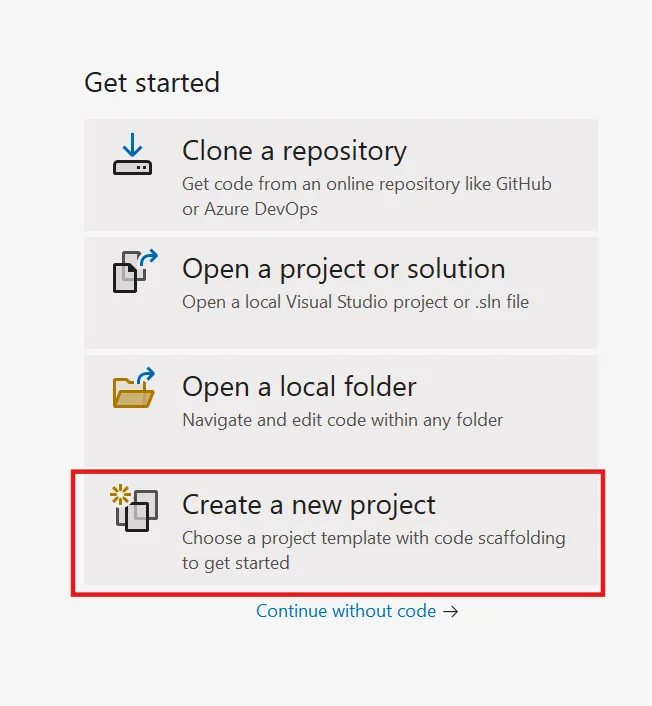
- Open Visual Studio 2022 and select Create a new project from the start screen.
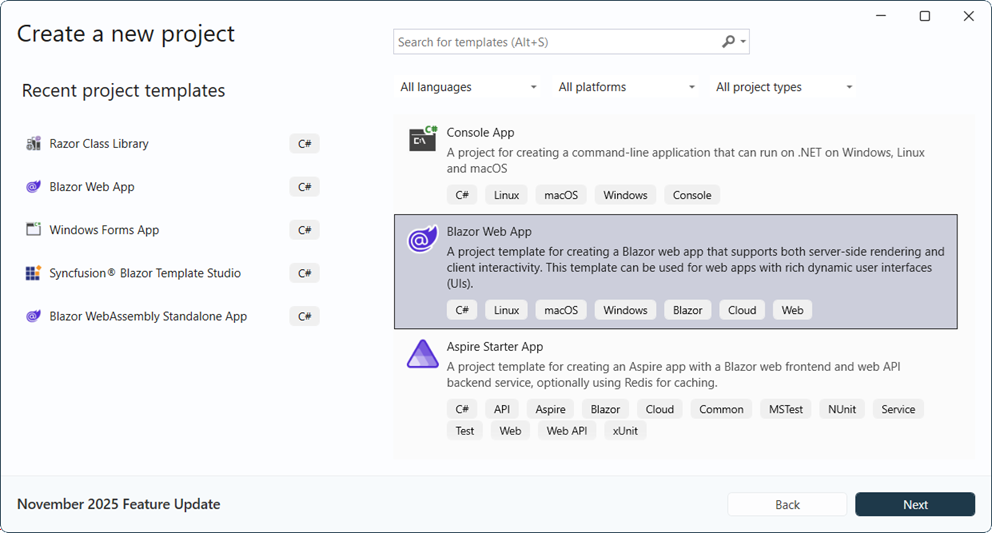
Choose Project Template
- Select the Blazor Web App template using Visual Studio via the Microsoft Templates or the Syncfusion® Blazor extension, and then click Next.
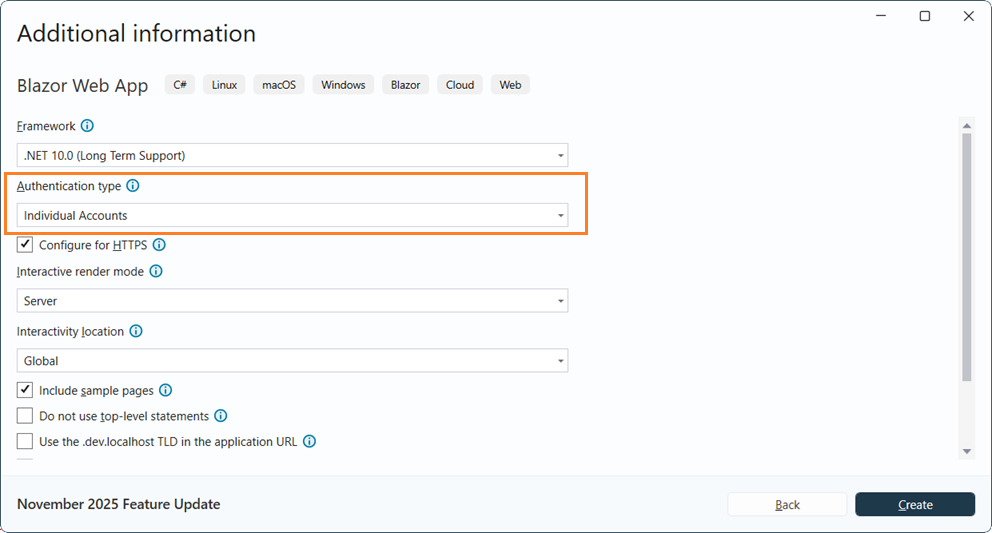
Configure Project Settings
- In the project configuration settings, choose Blazor Server, WebAssembly, or Auto as the render mode. Ensure the Configure for HTTPS option is enabled, and select Individual Accounts as the authentication type before clicking Create. This enables authentication support without persisting user data in a local database.
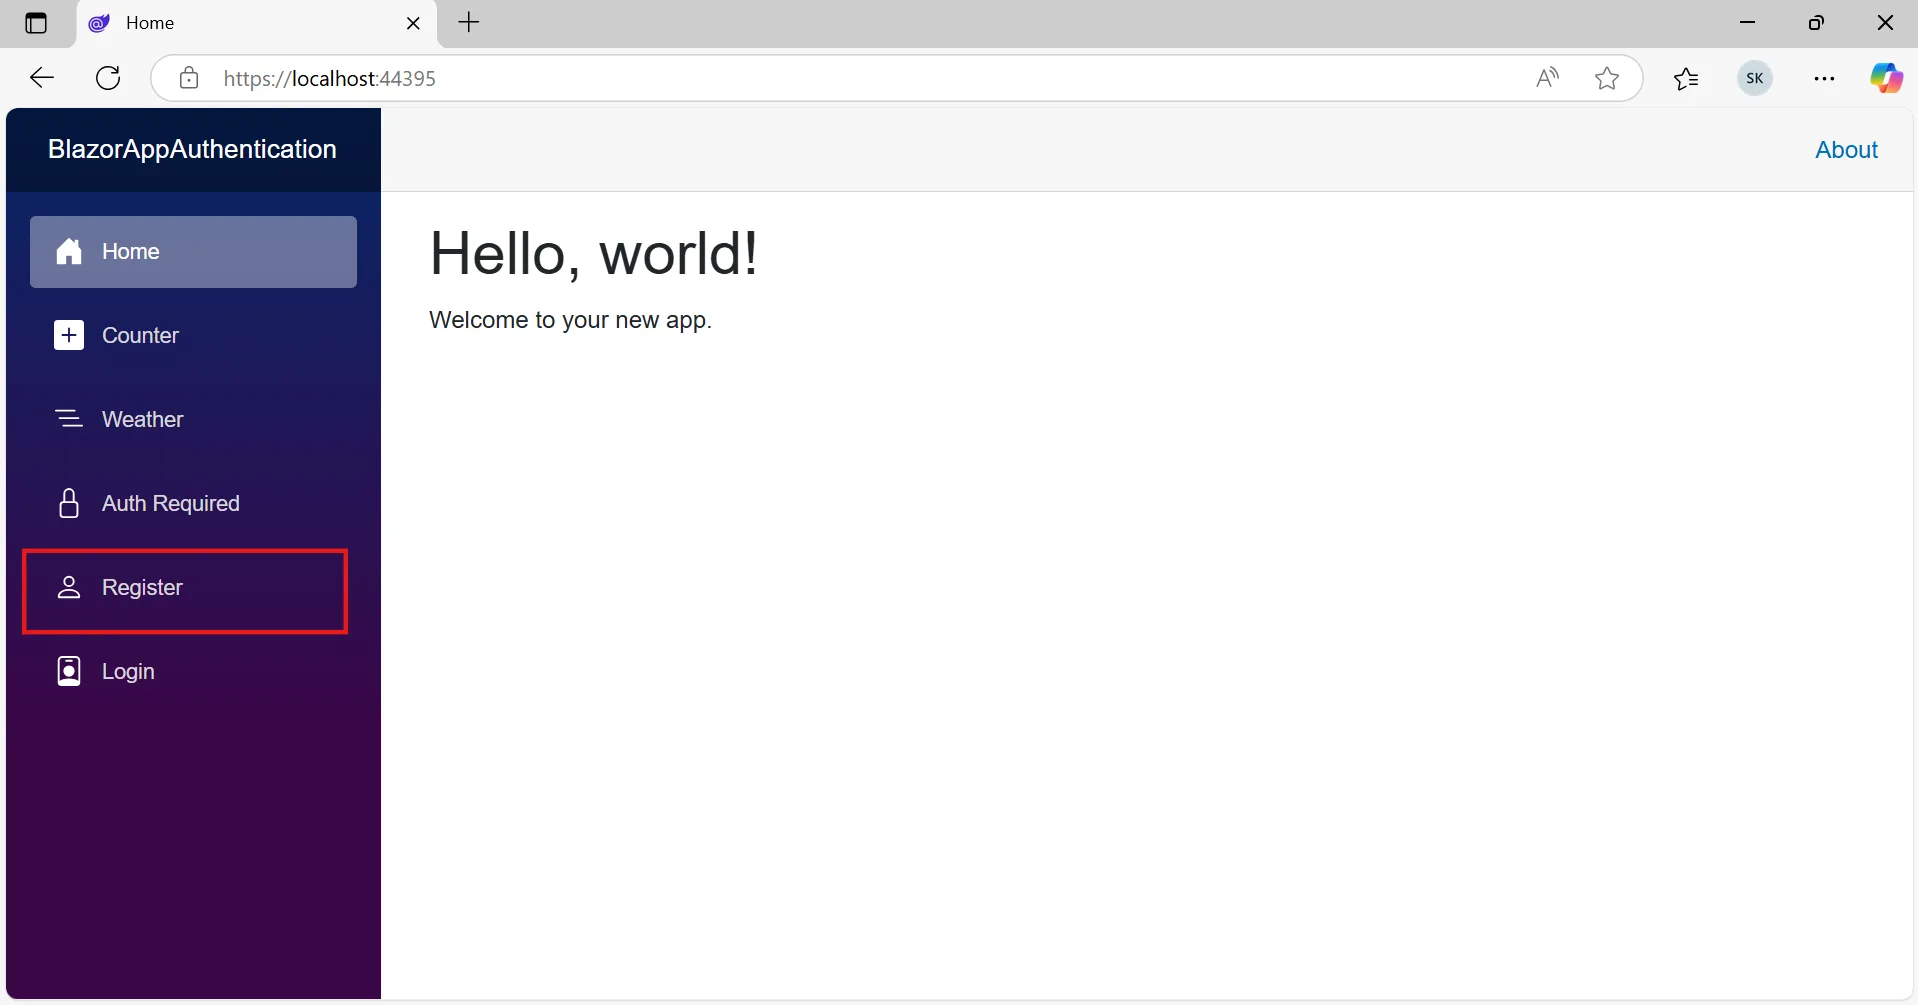
Finalize Project Creation
Click Create to generate the Blazor Web App. After the project is created, run the app and locate the Register button.
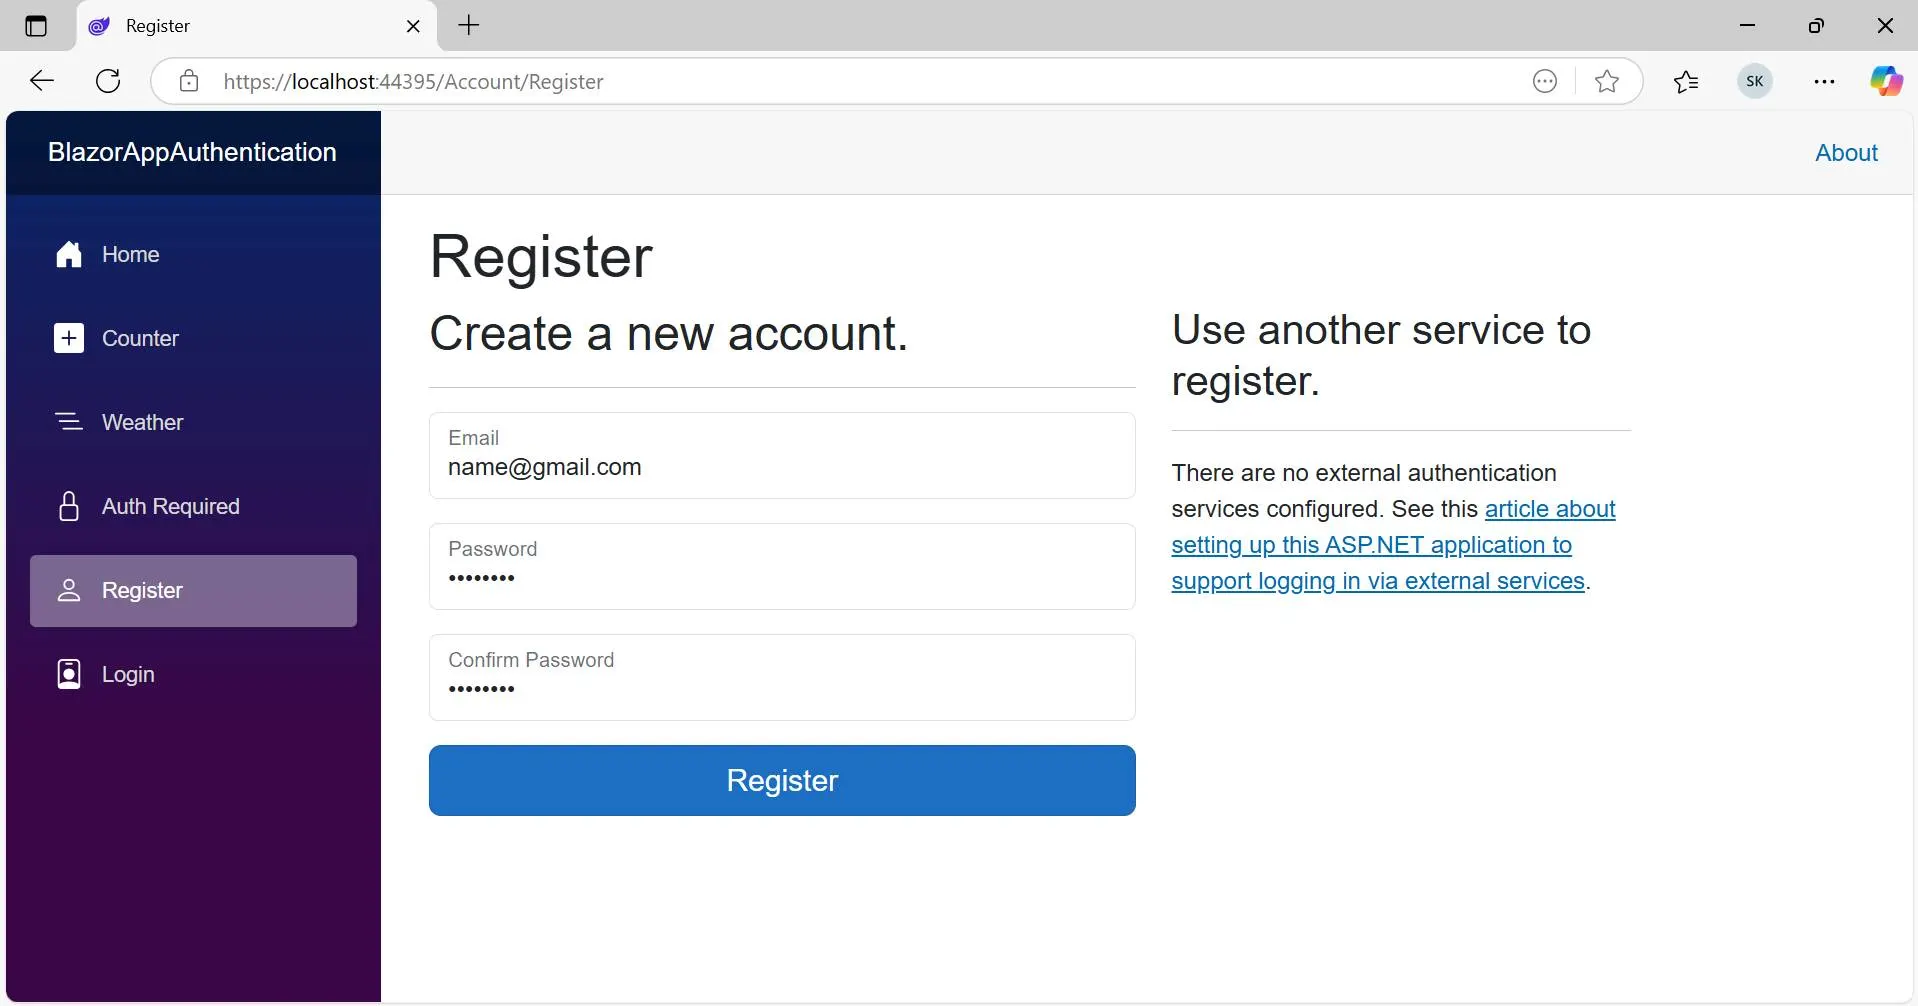
Register a User
- Enter the required details, such as email address and password, in the registration form, and then click Register to complete account creation.
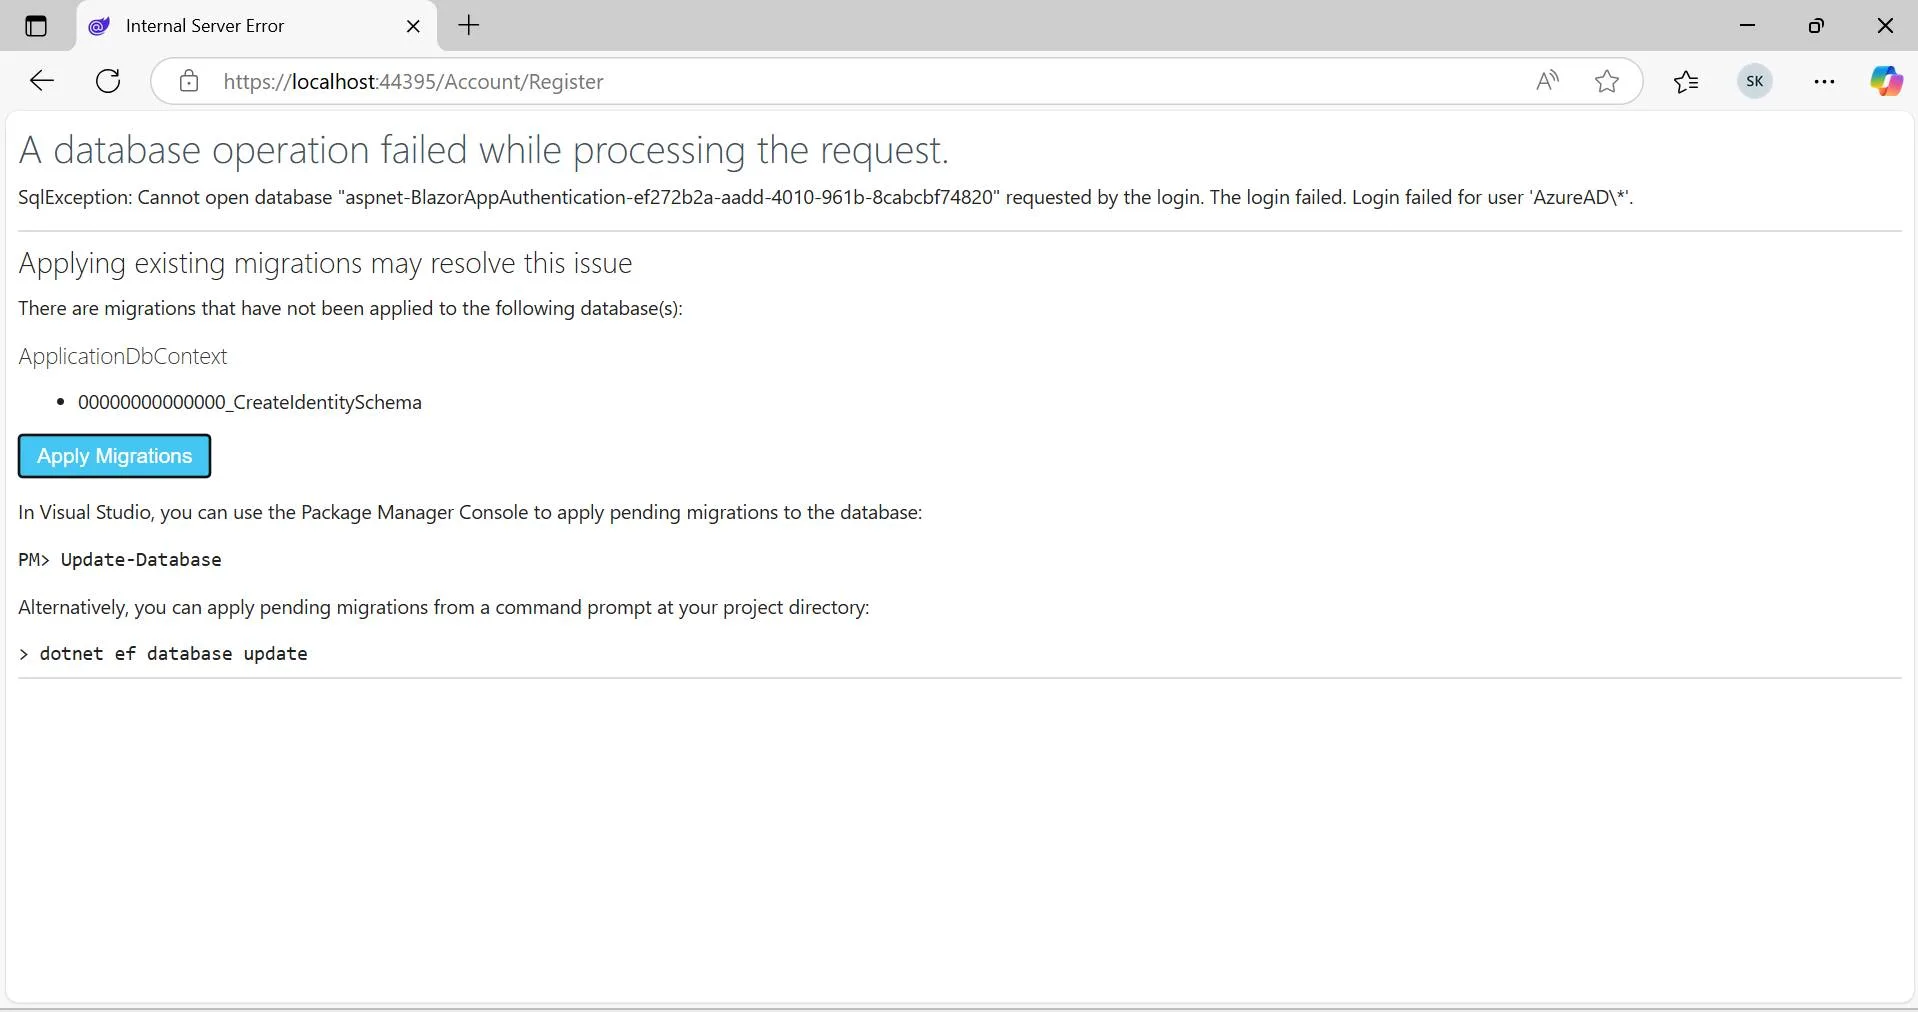
Apply Database Migrations
After registration completes, click Apply Migrations to create the database schema and configure account-related tables and settings.
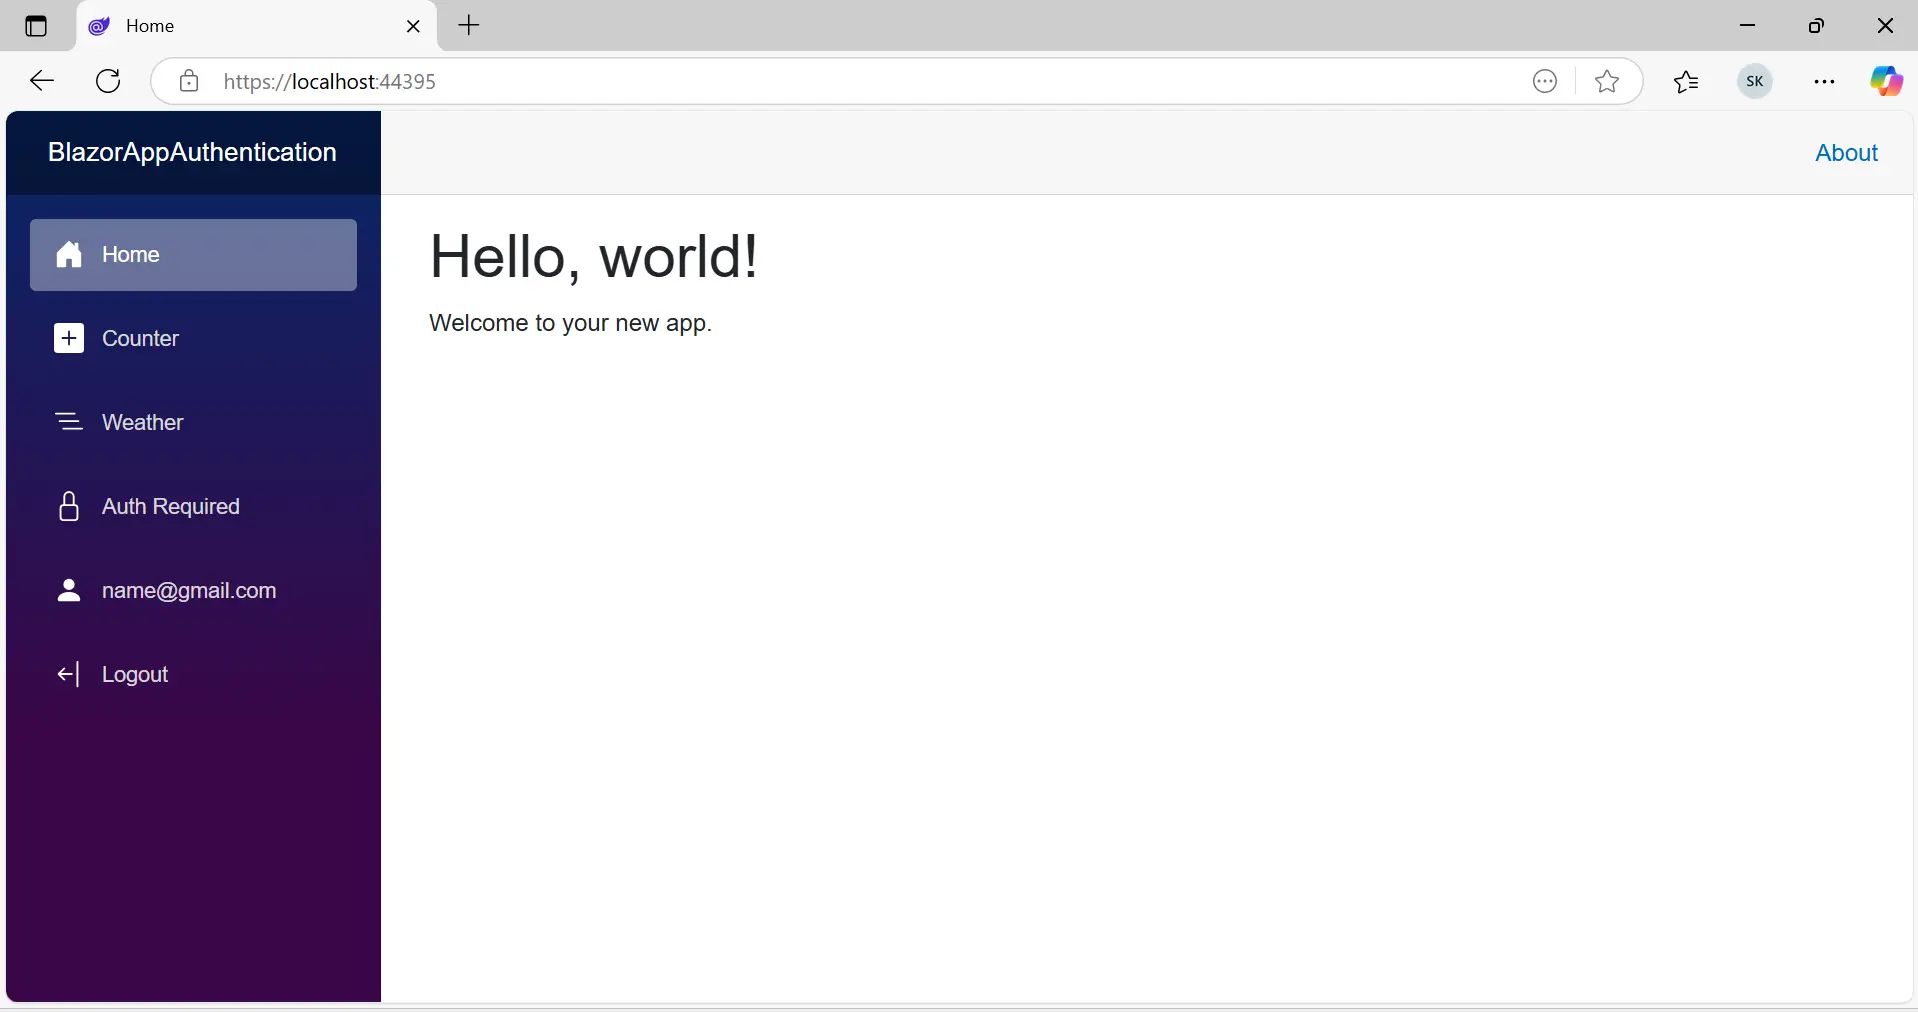
Verify Login
After migrations are applied, refresh the page. The home page displays the signed-in user’s email address and a Logout option.
Syncfusion® Blazor components can be integrated within the AuthorizeView component as shown in the following steps.
Install Syncfusion® Blazor Calendars and Themes NuGet in the App
To add the Blazor Calendar component to your application, open the NuGet Package Manager in Visual Studio (Tools → NuGet Package Manager → Manage NuGet Packages for Solution). Search and install the Syncfusion.Blazor.Calendars and Syncfusion.Blazor.Themes packages.
Alternatively, install the packages by using the following command in the Package Manager Console:
Install-Package Syncfusion.Blazor.Calendars -Version 33.2.3
Install-Package Syncfusion.Blazor.Themes -Version 33.2.3
NOTE
Syncfusion® Blazor components are available on nuget.org. Refer to the NuGet packages topic for the available package list with component details.
Register Syncfusion® Blazor Service
Open the ~/_Imports.razor file and import the Syncfusion.Blazor and Syncfusion.Blazor.Calendars namespaces.
@using Syncfusion.Blazor
@using Syncfusion.Blazor.Calendars
Then, register the Syncfusion® Blazor service in the ~/Program.cs file of the Blazor Web App.
....
using Syncfusion.Blazor;
....
builder.Services.AddSyncfusionBlazor();
....
Add stylesheet and script resources
The theme stylesheet and script are available via NuGet as Static Web Assets. To include them in the application, add the stylesheet reference within the <head> section and the script reference just before the closing </body> tag, as shown below.
- For .NET 10, .NET 9 and .NET 8 Blazor Web App, include these references in the ~/Components/App.razor file.
<head>
    ....
    <link href="_content/Syncfusion.Blazor.Themes/bootstrap5.css" rel="stylesheet" />
</head>

<body>
    ....
    <script src="_content/Syncfusion.Blazor.Core/scripts/syncfusion-blazor.min.js" type="text/javascript"></script>
</body>
NOTE
For more information on theming options, refer to the Blazor Themes documentation, which covers various methods such as Static Web Assets, CDN, and CRG for referencing themes in your Blazor application.
Additionally, see Adding Script Reference to learn different approaches for including script references in a Blazor project.
Add Syncfusion® Blazor component
Add the Syncfusion® Blazor Calendar component in the ~/Pages/Home.razor file within an AuthorizeView.
<AuthorizeView>
    <Authorized>
        <SfCalendar TValue="DateTime" />
    </Authorized>
    <NotAuthorized>
        <h1>Authentication Failure!</h1>
        <p>You're not signed in.</p>
    </NotAuthorized>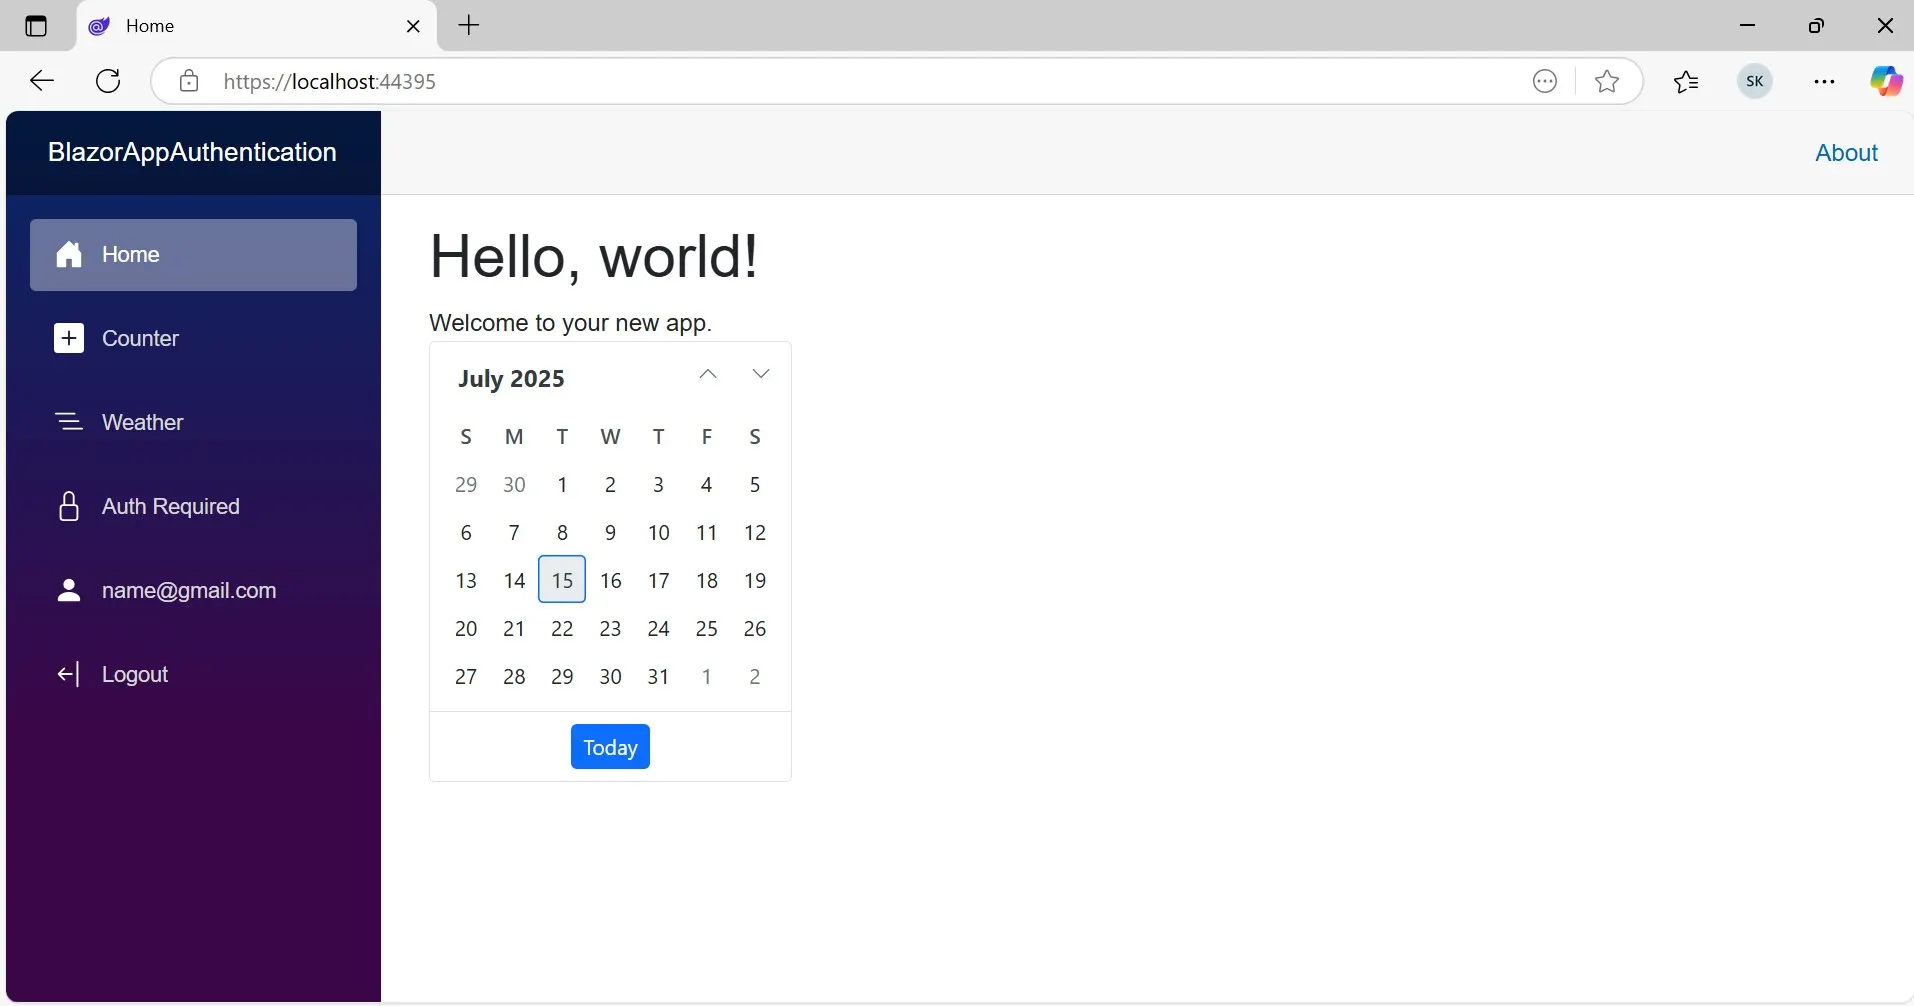
</AuthorizeView>- Press Ctrl+F5 (Windows) or ⌘+F5 (macOS) to launch the application. This opens the default web browser and displays the Syncfusion® Blazor Calendar component within the app interface.
NOTE
For a complete implementation, download the demo project from the GitHub repository.