Ollama Configuration
29 Jun 20266 minutes to read
The Blazor Smart Rich Text Editor supports Ollama for running open-source models locally. This is ideal for privacy-conscious applications and development environments.
What is Ollama?
Ollama is a lightweight, open-source framework for running large language models locally on your machine. It provides:
- Privacy: All processing happens locally
- No API costs: No cloud service fees
- Offline capability: Works without internet connection
- Model variety: Access to many open-source models
- Easy setup: Simple installation and management
Prerequisites
- Windows 10/11, macOS, or Linux
- At least 8GB RAM (16GB+ recommended)
- GPU support optional but recommended for performance
- Docker (optional, for containerized deployment)
Installation
Step 1: Download and Install Ollama
Visit Ollama’s Official Website and download the installer for your operating system.
- Visit Windows
- Click
Download for Windowsto get the.exe installer. - Run
OllamaSetup.exeand follow the wizard to install.
- Visit macOS
- Click
Download for macOSto get.dmg file - Install it by following the wizard.
- Visit Linux
-
Run the below command to install Ollama in your system
curl https://ollama.ai/install.sh | sh
Step 2: Verify Installation
Open a terminal/command prompt and verify:
ollama --versionStep 3: Start Ollama Service
Ollama starts automatically. Access at http://localhost:11434
Start the Ollama service:
ollama serve
Installing Models
Available Models
Browse available models at Ollama Library
Popular models for text generation:
-
Mistral:
mistral- Fast, efficient -
Llama 2:
llama2- General purpose -
Neural Chat:
neural-chat- Conversational -
Orca Mini:
orca-mini- Lightweight -
Dolphin:
dolphin-mixtral- Advanced
Install a Model
ollama pull mistralThis downloads and prepares the model (may take several minutes).
List Installed Models
ollama listRun a Model Directly
Test the model:
ollama run mistralType your prompt and press Enter. Type /bye to exit.
Configuration in Blazor
Note: OllamaSharp is a community package for local model integration. Ensure compliance with your organization’s policy on third-party NuGet packages before using in production.
Setup the Smart Rich Text Editor Component
Follow the Getting Started guide to configure and render the Smart Rich Text Editor component in the application and that prerequisites are met.
Install NuGet packages
Install the following NuGet packages to your project:
You can install these packages using different methods as shown below:
-
In Visual Studio Navigate to:
Tools → NuGet Package Manager → Manage NuGet Packages for Solution
- Search for the required packages.
- Select the package and click Install.
-
In Visual Studio Navigate to:
Tools → NuGet Package Manager → Package Manager Console
-
Run the following commands:
Install-Package Microsoft.Extensions.AI
Install-Package OllamaSharp- Open your project.
- Open the terminal:
- In Visual Studio Code: use the integrated terminal (Ctrl + `)
- Or use any system terminal for CLI
- Run the following commands:
dotnet add package Microsoft.Extensions.AI
dotnet add package OllamaSharp
Setup in Program.cs
using Syncfusion.Blazor;
using Syncfusion.Blazor.AI;
using Microsoft.Extensions.AI;
using OllamaSharp;

var builder = WebApplication.CreateBuilder(args);

// Add services
builder.Services.AddRazorPages();
builder.Services.AddServerSideBlazor();
builder.Services.AddSyncfusionBlazor();

// Configure Ollama
string ollamaEndpoint = "http://localhost:11434";
string modelName = "mistral"; // or any other installed model

// Create Ollama client
IOllamaApiClient ollamaClient = new OllamaApiClient(ollamaEndpoint, modelName);

// Convert to IChatClient
IChatClient chatClient = (IChatClient)ollamaClient;

builder.Services.AddChatClient(chatClient);

// Register Smart Rich Text Editor Components with Azure OpenAI
builder.Services.AddSingleton<IChatInferenceService, SyncfusionAIService>();

var app = builder.Build();

// ... rest of setup
Use Ollama AI with Smart Rich Text Editor Component
@using Syncfusion.Blazor.SmartRichTextEditor

<SfSmartRichTextEditor>
    <AssistViewSettings Placeholder="Use Ollama AI for local AI-powered editing..." />
    <div>
        <strong>Use Ollama AI with Smart Rich Text Editor:</strong>
        <ul>
            <li>Select text and use <b>AI Commands</b> to generate or refine content locally</li>
            <li>Press <b>Alt + Enter</b> to open the Ollama AI query dialog</li>
            <li>Improve grammar, rephrase sentences, or adjust tone using local AI</li>
        </ul>
        <p>
            Start typing your content and leverage Ollama AI to enhance writing quality, generate ideas, and optimize text directly within the editor using a local model.
        </p>
    </div>
</SfSmartRichTextEditor>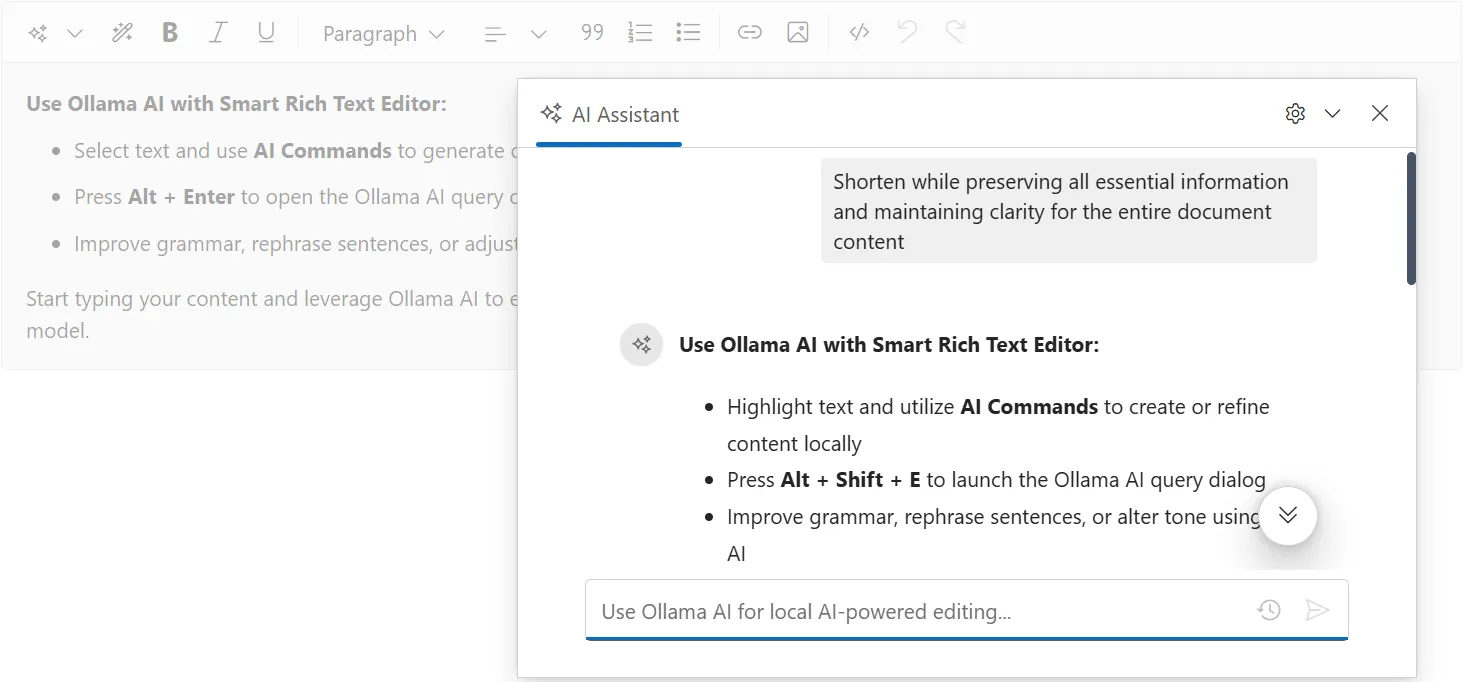
NOTE
Running Ollama locally may lead to slower response times due to system resource usage.
Troubleshooting
Connection Issues
Error: Unable to connect to Ollama
- Verify Ollama is running:
curl http://localhost:11434/api/tags -
Check endpoint configuration in Program.cs
- If running on different machine, update endpoint URL
Model Issues
Model not found
# List available models
ollama list

# Pull the model
ollama pull mistral
Out of memory errors
- Use smaller models (
orca-mini,mistral) - Close other applications
- Restart Ollama service